
Sign up for The Wanderful newletter
Join our growing community of people looking to live the simple life!
Let’s build your van now
Join our growing community of people looking to live the Simple Life


)
Of course, not all upgrades will be relevant for all lifestyles.
My version of vanlife includes things like remote work, off-grid / off-road adventures, and the occasional stealth city camping. I’ve driven to places like Mexico and Alaska, in snow and in the desert. My van has nearly seen it all.
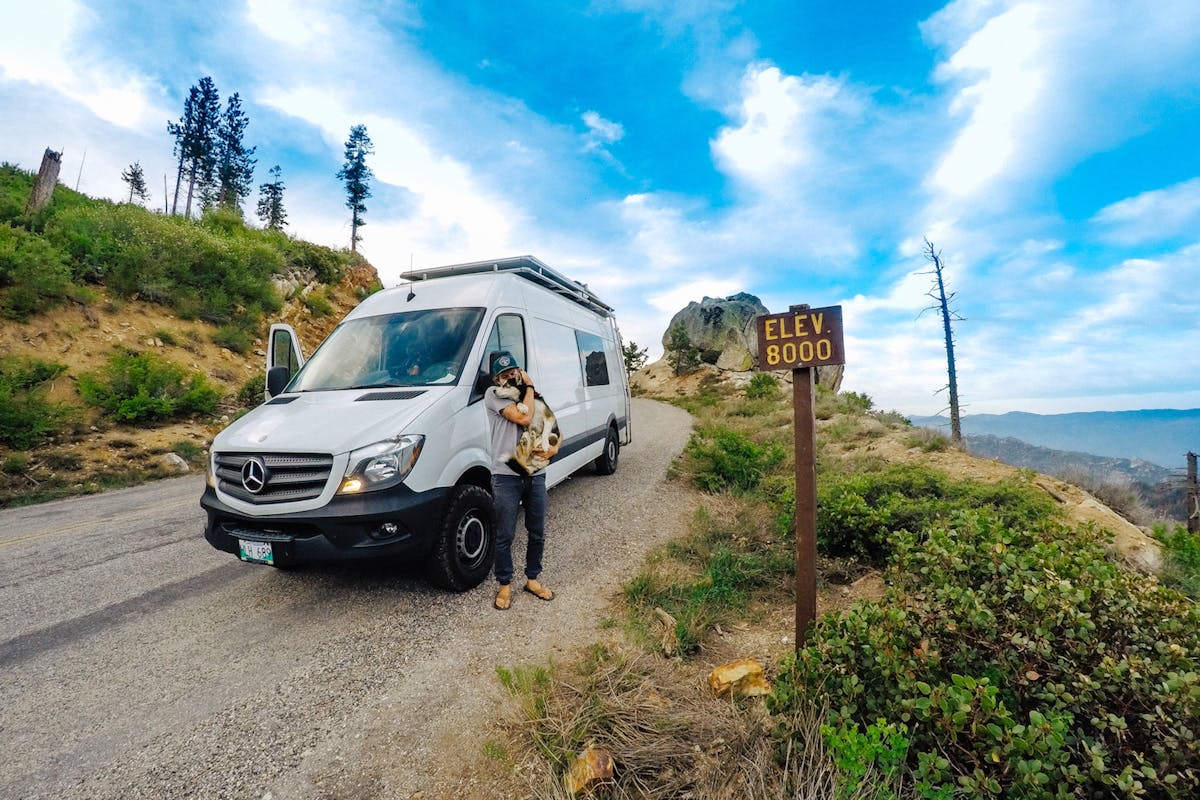
After many years of living on the road in my self-converted Sprinter Van, I’ve incorporated several upgrades that have made my Vanlife journey easier and more enjoyable.
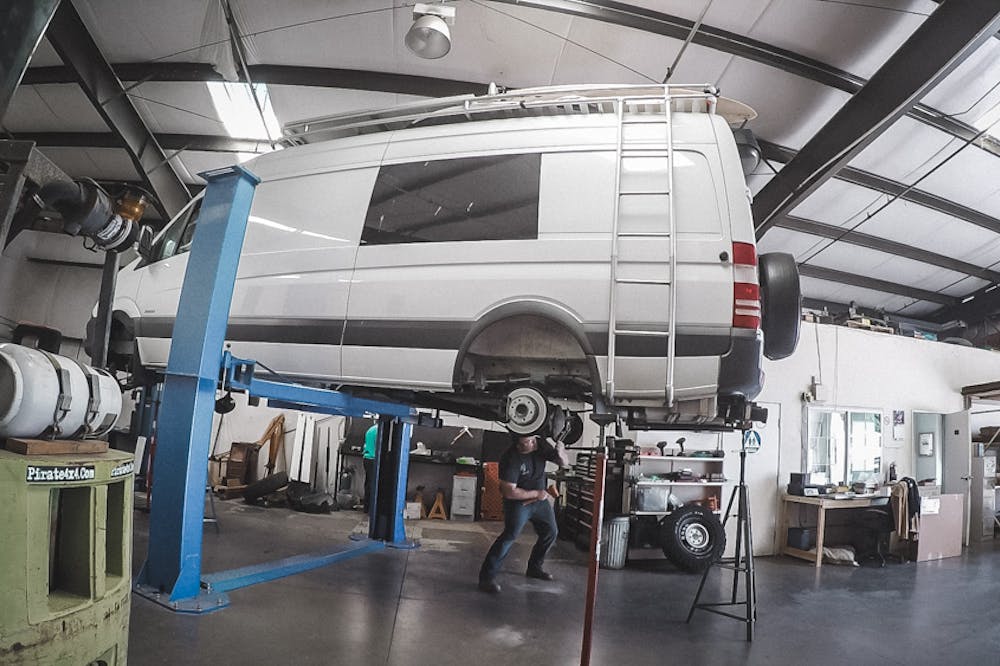
When you take on a Sprinter Van conversion project, you need to be mindful of how much weight you are adding to the back of your van.
A big issue I see with many DIY camper van builds is that little attention has been given to the overall weight of the vehicle. Often times, they end up being thousands of pounds over the manufacturer’s Gross Vehicle Weight Rating (GVWR) recommendations.
The drastic increase in weight to the van makes it so that the factory suspension parts are always under increased strain. They are simply not designed to support that kind of weight, and this is a huge safety issue.
The high roof versions of these vehicles are super tall and often top-heavy, so with the overloading suspension, it also increases the possibility of a rollover.
The awesome guys over at Van Compass, Mark and Rob, have designed some of the most amazing suspension upgrades for the Sprinter and Transit vans. I am one of their 100% satisfied customers.
I know it’s not the cheapest upgrade to the van, but when it comes to safety and overall ride quality, it’s a no-brainer.
I highly recommend reaching out to the guys over at Van Compass to learn more.
Depending on the type of traveling you intend on doing, stock tires may not cut it for your version of vanlife.
The stock tires that the Sprinter comes with are perfectly fine for the highway, but if you plan on doing any sort of off-road and winter adventuring, you are going to need something different.
I use BF Goodrich K02 245/75/16 A/T (All-Terrain) Tires and they have been amazing.
They ride smooth and have lasted around 80,000km without issue, although I probably should have replaced them a bit sooner!
The reason they are such good tires for these vans is that they have a well-designed tread pattern combined with a very thick sidewall that allows you to air down for better traction when on gravel roads, sand, or even snow-covered trails without risking the bead breaking on the tire.
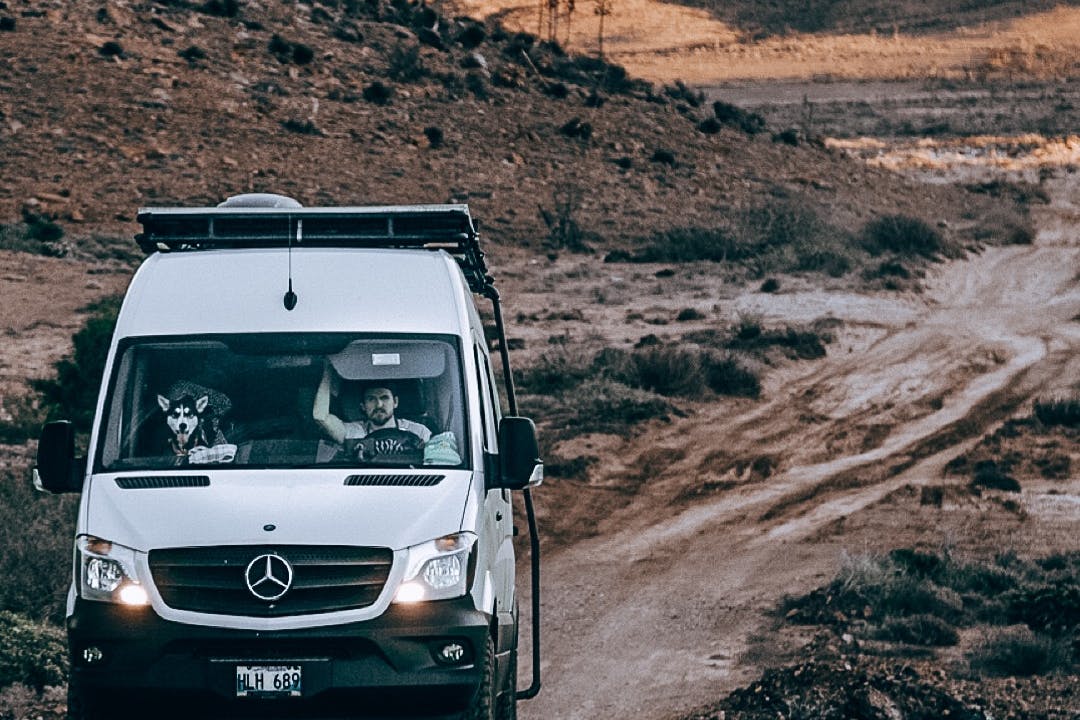
Have you ever noticed when driving these big heavy vans that whenever you step on the gas you feel the lag in acceleration? It almost feels like the van is spooling up and getting ready for lift-off.
The way the Sprinters accelerator pedal works is a system called “Throttle By Wire”. So when you push on the pedal an electrical signal is sent through a wire to the van’s computer and then the computer decides how much fuel to send to the engine. During this process, you can get what is referred to as “throttle lag”.
The PedalBox was developed to improve the response between the pedal and the computer. It increases throttle response by removing delays in the accelerator, which ultimately enhances the driveability.
All you need to do is plug in the device and it will give you pre-programmed modes that adjust the sensitivity or responsiveness of the throttle.
So instead of waiting for the van to catch up, the response is almost immediate.
Trust me, it’s worth it!!
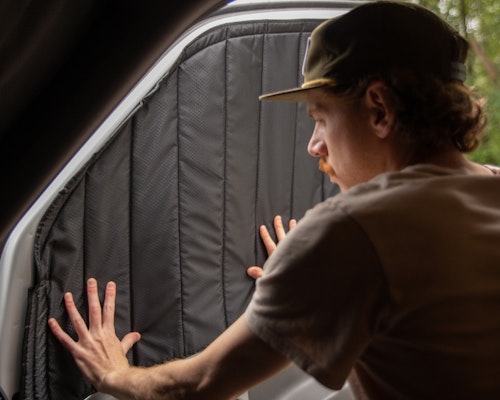
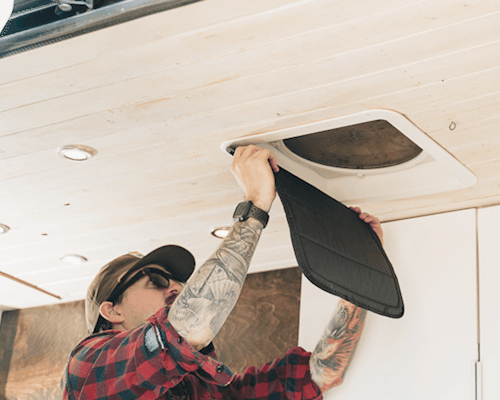
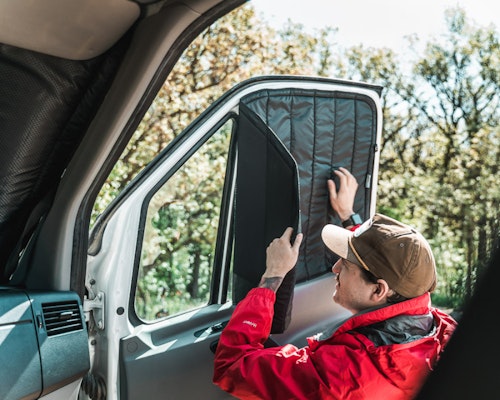
Installing window shades in your van helps to:
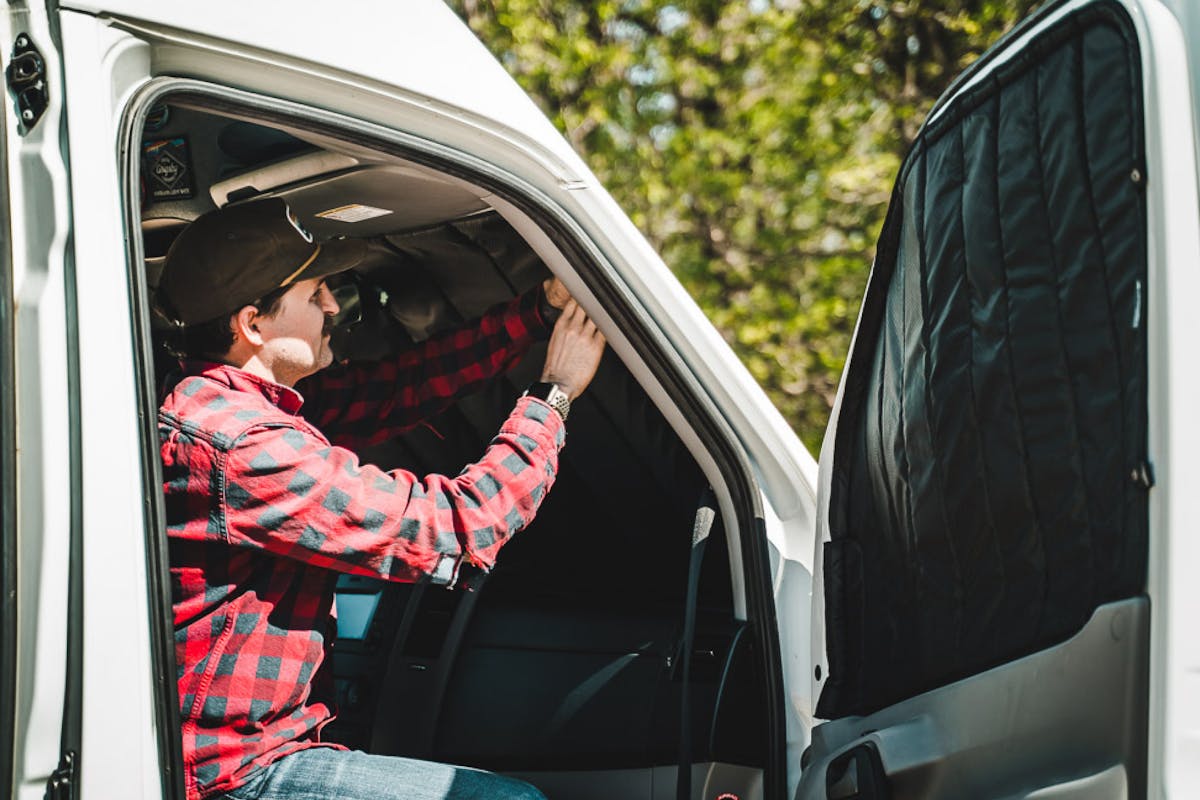
Window Shades seem like a simple product to make yourself, but I can tell you from experience that they take a very long time to make and likely won’t come close to the quality of the professional ones that are available for sale.
The biggest differences you will notice in professionally made shades are the:
I have always struggled with making window shades myself. And truth be told, I really didn’t come across any brand that made quality window shades. There was always something missing, the fit, the cut, material quality.. no brand ticked all the boxes.
Therefore, I started my own online shop. Our window shades are machine-cut to perfectly fit your van’s windows. They’re lightweight and magnetic, allowing for hassle-free installation.



A good quality 12v fridge is going to be a game-changer for you and your Vanlife experience.

When you lay your eyes on the price tag of a 12v fridge, you will immediately try to see what alternatives exist. Heck, they are almost as expensive as a regular household fridge!
But trust me when I say that a good 12v fridge is well worth the expense. I won’t get into the nitty-gritty about brands or pros and cons in this article. But in short, 12v fridges are designed to run off the power system so your van can easily accommodate it and will be a far lower power drain on your van than a 110v fridge will be.
I personally went with the Whynter FM-62DZ fridge. This particular fridge is more affordable than some of the other units and so far it has worked well.
When planning a van conversion, one main focus is to maximize storage space. For that reason, many Vanlifers choose to store their water tanks outside of the van.
I have to admit, storing water inside the van felt like such a waste of space to me. But if you are planning on spending any time in colder climates and don’t want to worry about your water freezing, I would suggest installing a couple of interior tanks.
With my new system, I completely bypass the standard freshwater and grey water tanks below my van and use 2 x 6-gallon tanks. This gives me the ability to completely drain and winterize the other sections and not worry about plumbing that exists below the van.
One thing to note is that in winter, I don’t have any black water system available, just fresh and grey.
If you plan on only using your van to escape winter, then this is likely not a priority for you.

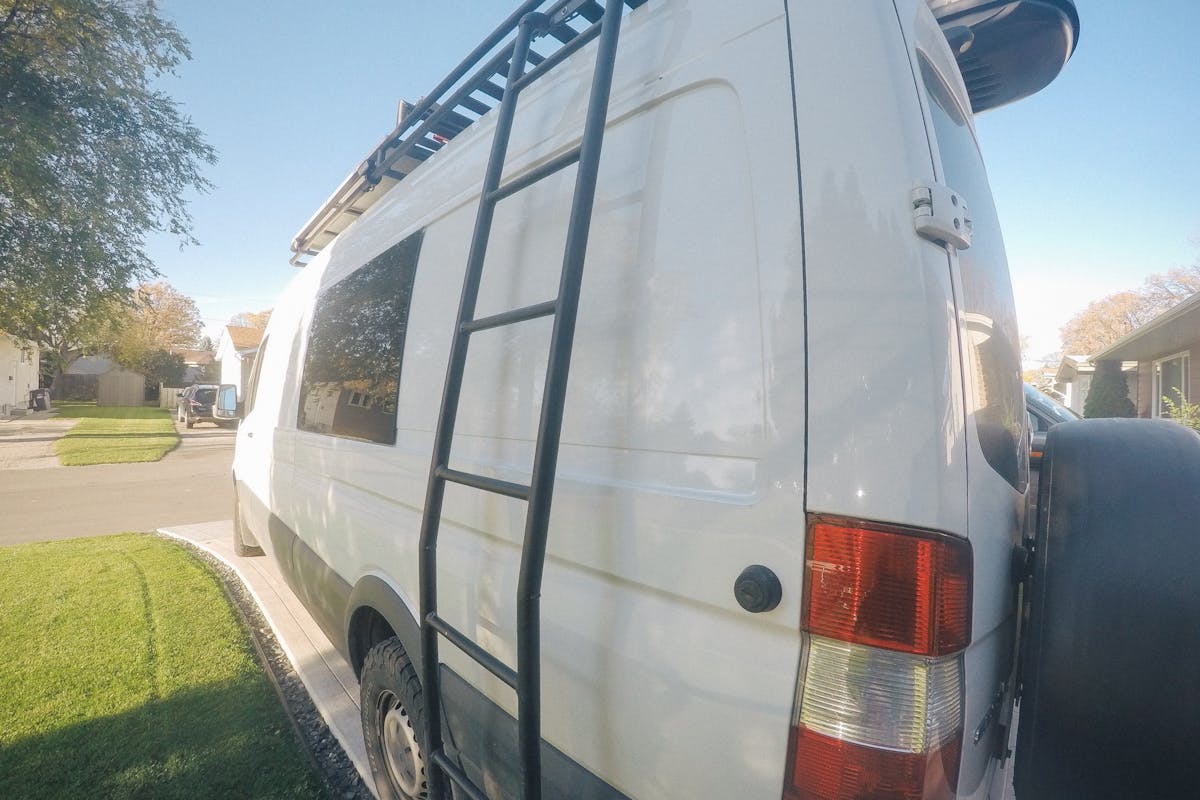
Adding a rack on the van is sort of like putting a crown on the entire achievement of building the van.
I chose to mount my solar panels and Thule carrier to the roof. There are a lot of different options for mounting items to the roof and installing a rack isn’t a requirement, but I like the way it looks.
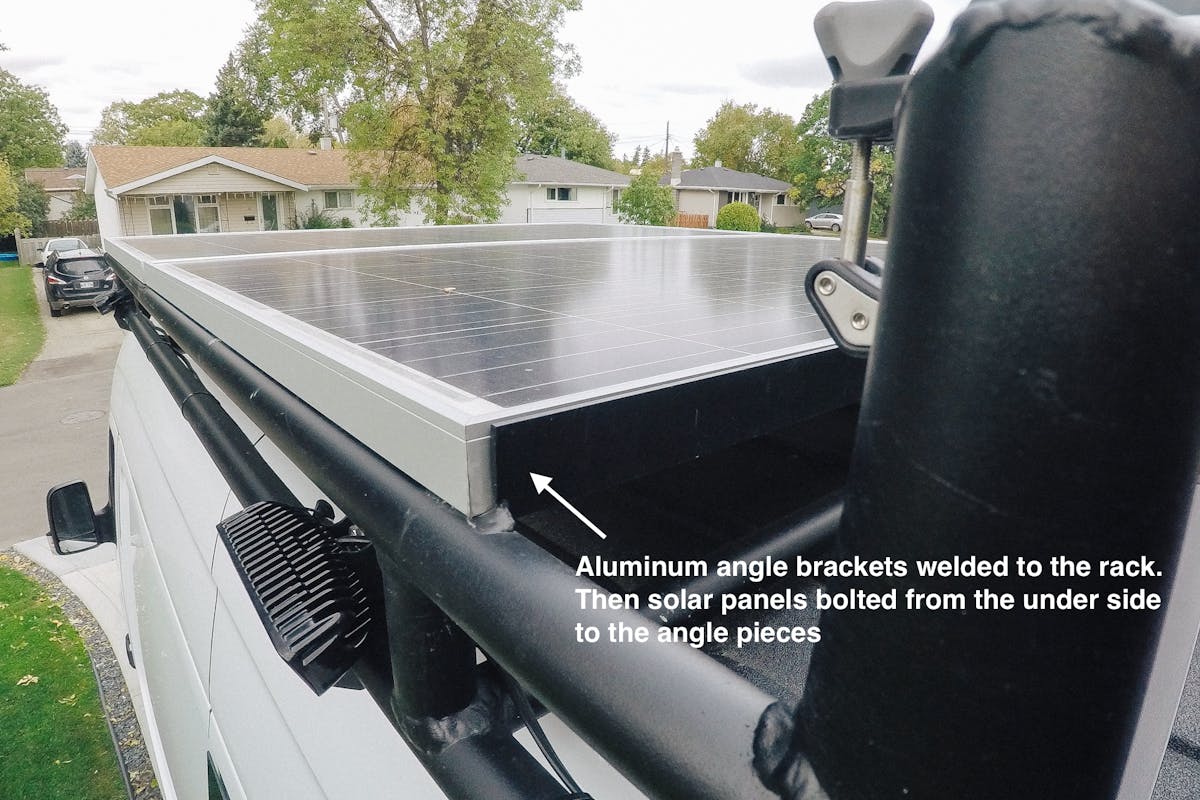
The most common racks you will find are the Aluminess custom racks. They are well made, high quality, already powder coated, and are a reputable company.
I personally chose to order material and make everything myself, with the help of a friend, purely due to the cost of shipping and the exchange rate on the Canadian dollar at the time ($$$).
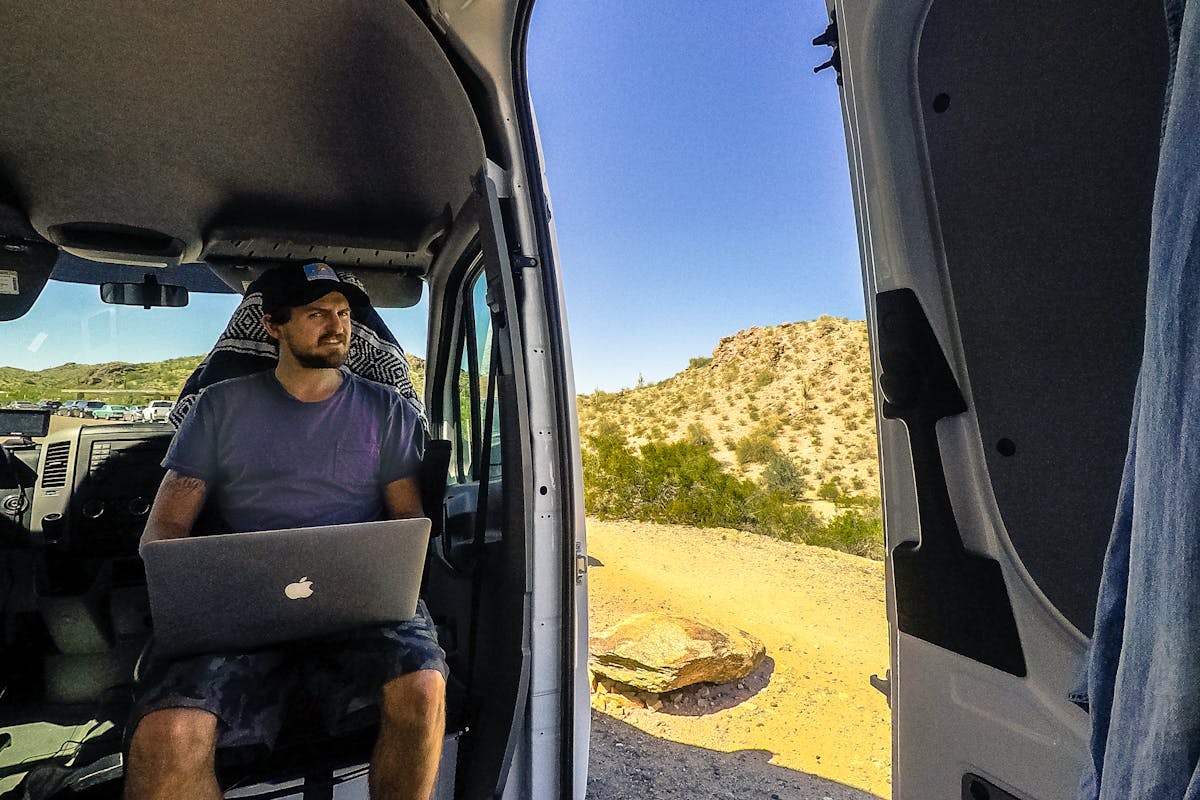
Having the ability to spin your front seats around is a great addition to your van because:
I personally only installed a swivel to the passenger seat because my wardrobe is directly behind the driver seat of my van.
As a bonus, this upgrade is very easy to install! ($255-$270 from Sprinter Store)
For me to make a living on the road, I needed to be able to continue working from anywhere. Luckily, as long as I have reliable internet, I am able to continue business as usual.
I decided to go with the IBR1100 Router from Cradlepoint with an exterior mounted antenna. This system has worked great so far and gives me the ability to use different carriers depending on my current location.
Driving a Sprinter van is likely a lot bigger than other vehicles you’ve driven before. It certainly takes some getting used to.
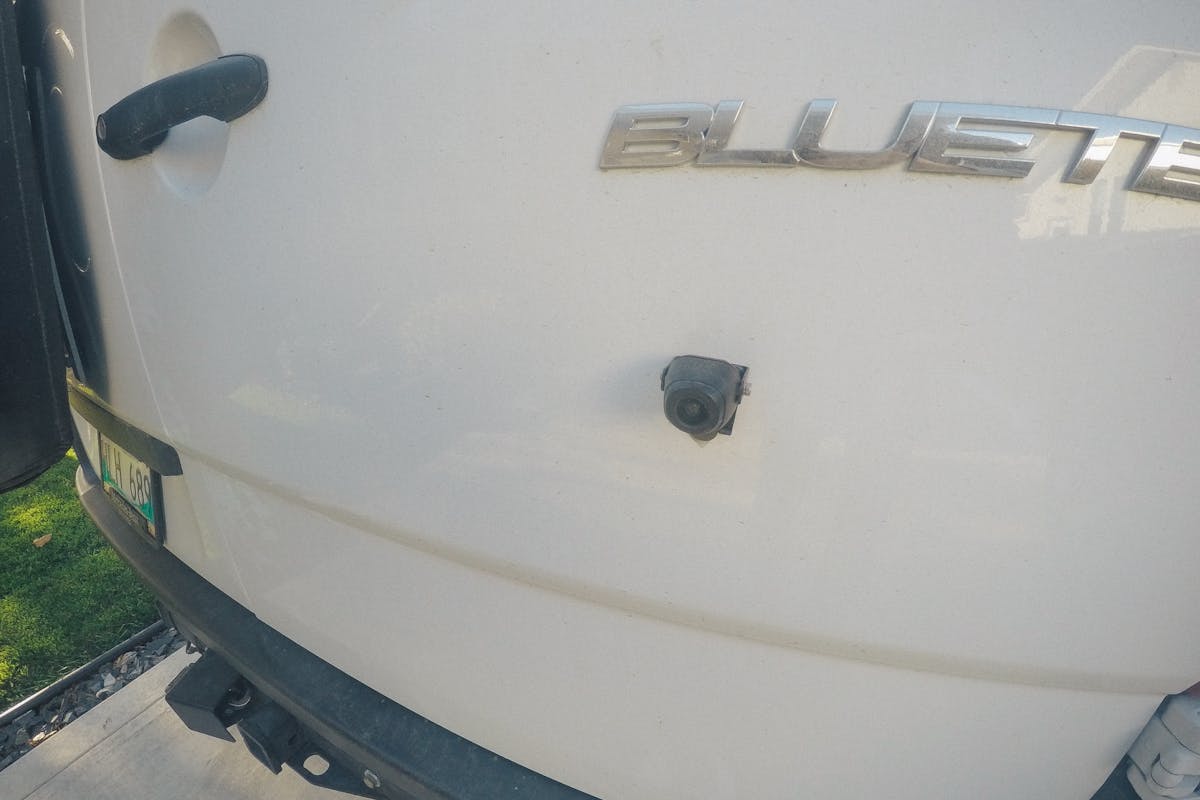
My van came with the factory backup camera but it was designed to point straight down and only give you visibility of what is 5-8ft from the vehicle. I needed better visibility so I chose to install a new camera.
After some research, I was able to find a backup camera / GPS combo from Garmin. The camera is installed on the rear passenger door with wires fed to the 12v fuse panel. Once paired to the GPS display upfront, it will display with video feed from the camera at all times.
It goes without saying that add-ons to your van can rack up the expenses. I’ve been living on the road on and off for years, so I’ve had time to accumulate all the different add-ons that make my van life easier.
Pay attention to the areas of vanlife that cause you the most frustration or concern, and tick away at the upgrades as you go. You will find life on the road getting more and more comfortable.
)
Whether you’re planning a long road trip or you’re looking to be a full time digital nomad, you may be wondering how to get internet while on the road.
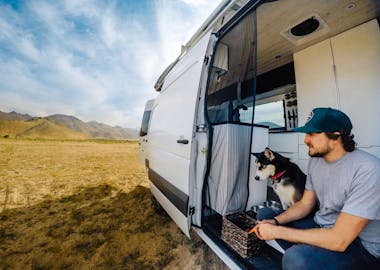)
Searching #VANLIFE on Instagram can often bring out 2 strong urges for aspiring Vanlifers…
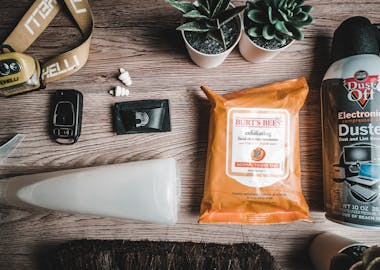)
Grabbing some last-minute items before you hit the road? These are some of my most-used items in the van.