
Sign up for The Wanderful newletter
Join our growing community of people looking to live the simple life!
Let’s build your van now
Join our growing community of people looking to live the Simple Life


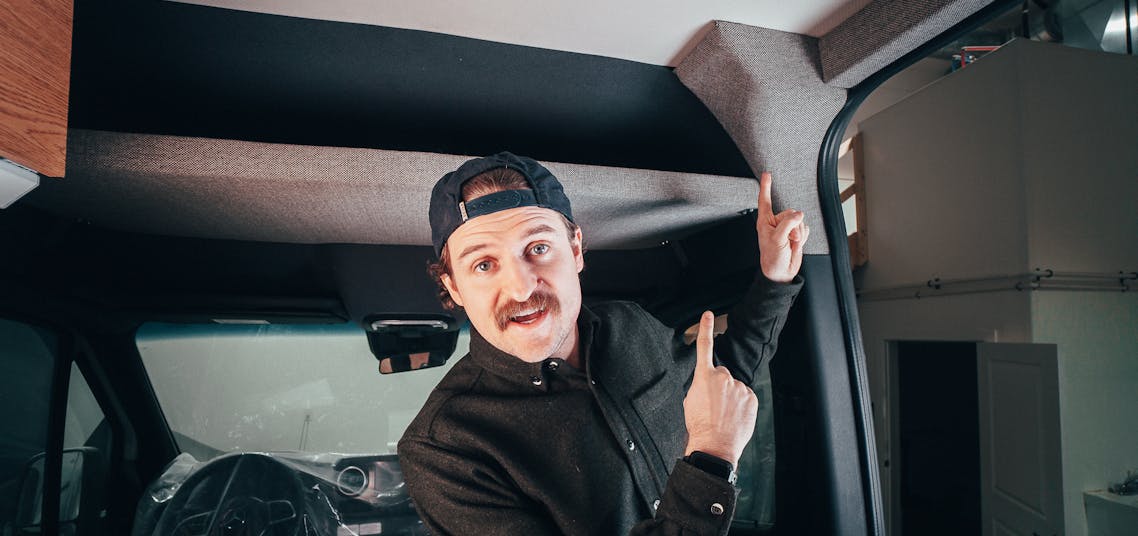)
When you look at professional van builds, you may find yourself wondering how they were able to achieve that ‘finished’ look and feel. Maybe it’s the upholstered wall panels, or possibly the sturdy-looking cabinetry.
Some of the areas that stand out to me, personally, are the trim details that many of us DIYers leave unfinished.
Some vanlifers just aren’t bothered by these areas, while others simply aren’t sure how to finish them off.
It wasn’t until I hit the road in my first van build that I started to notice (and hate) the few unfinished areas around my tiny home.
For that reason, I made an effort to find creative (and fairly simple) ways to finish off a lot of the trim and detail work in my second van build which I’d like to share with you.
When it comes to trim work on Sprinter van builds, the first area that always bugged me the most on my first van was the area between the headliner above the driver/passenger seat and the corner of the wall (b-pillar) where the seat belt is.
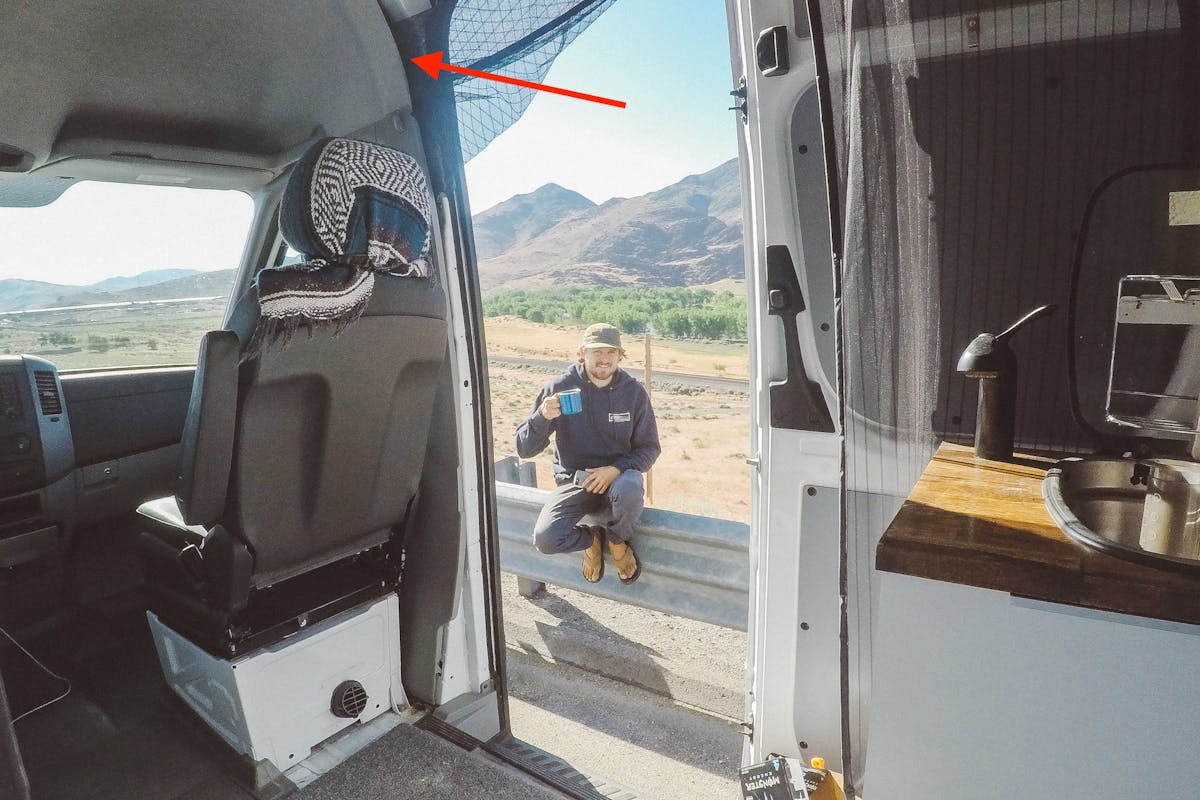
If you have a cargo van that had the partition wall from Mercedes, the wall is usually pushed up flush, and obviously, when you’re building out the van you would take that out. Once removed, it leaves gaps where you can see inside the headliner cavity.
If you buy a crew or passenger van from Mercedes, which doesn’t have a partition wall, it actually comes with these foam blocks that plug those holes.
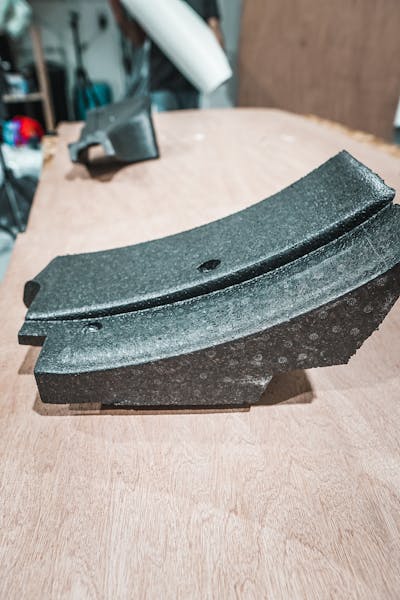
I don’t think those look particularly amazing but it gave me a starting point.
I was able to take the blocks out, shape them a bit better, and cover them using Duramax Marathon Tweed fabric to give it a super polished look.
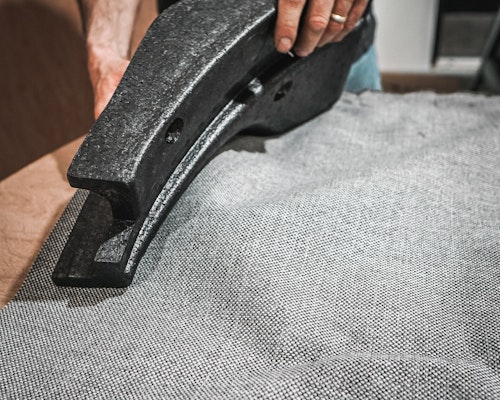
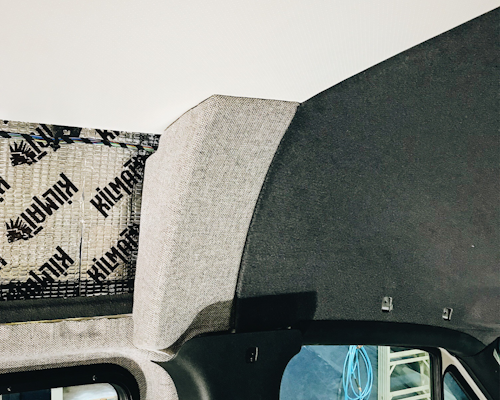
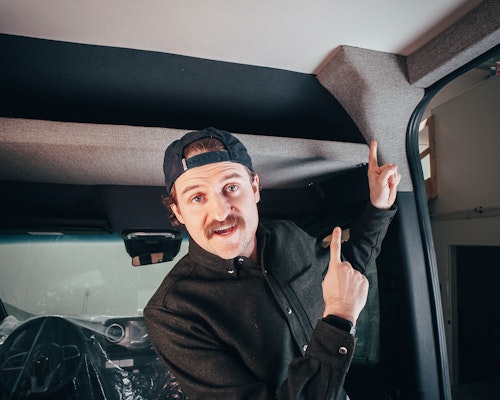
Keep reading to learn more about the tweed fabric I used for all of the upholstery in the van.
Another area that always bothered me in my first van build was the exposed metal above the sliding door. At the time, I just didn’t know how to make that look any better.
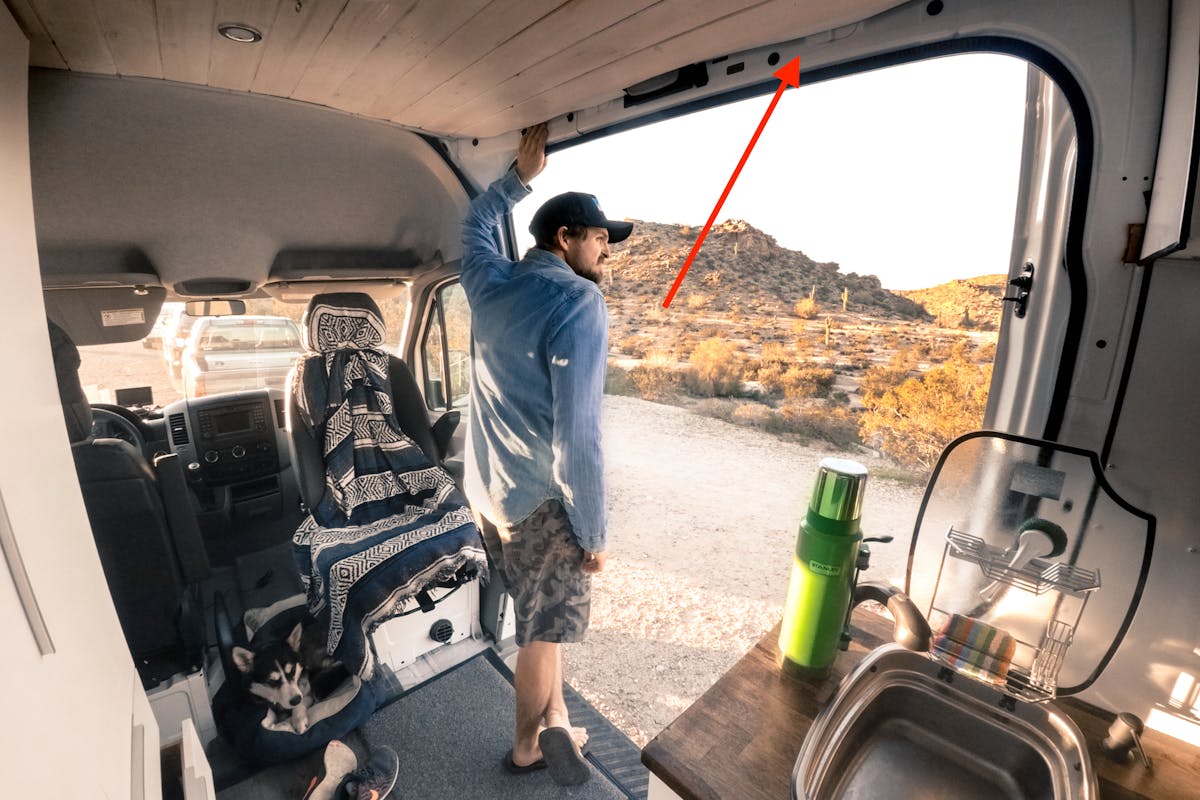
In my second van build, I created an L bracket shape to cover this area by using leftover luan plywood.
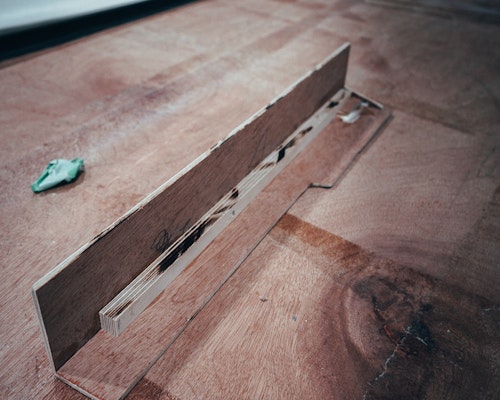
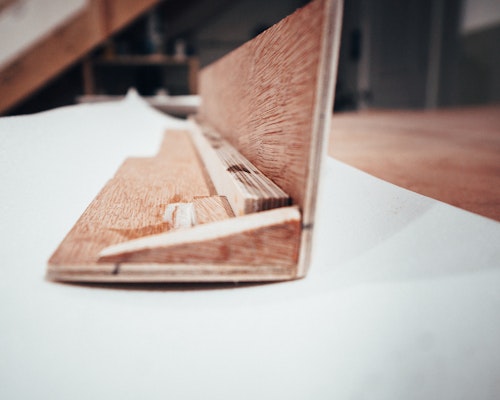
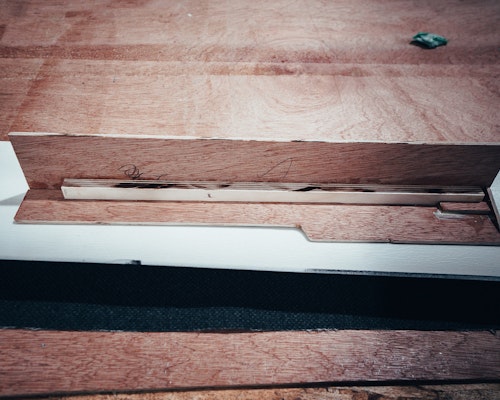
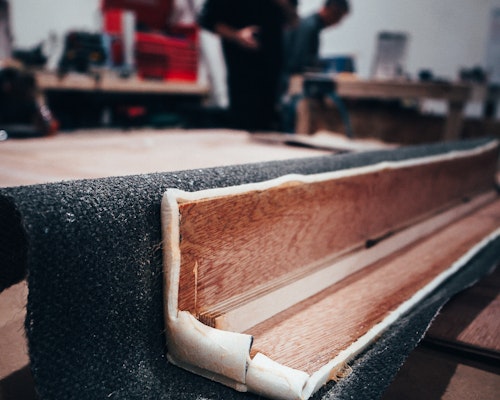

I simply covered the wood with 1/8″ Upholstery Foam, then covered that with the same Duramax Tweed material I used everywhere else in my van.
It is mounted above the sliding door using super strong (N52) Magnets.
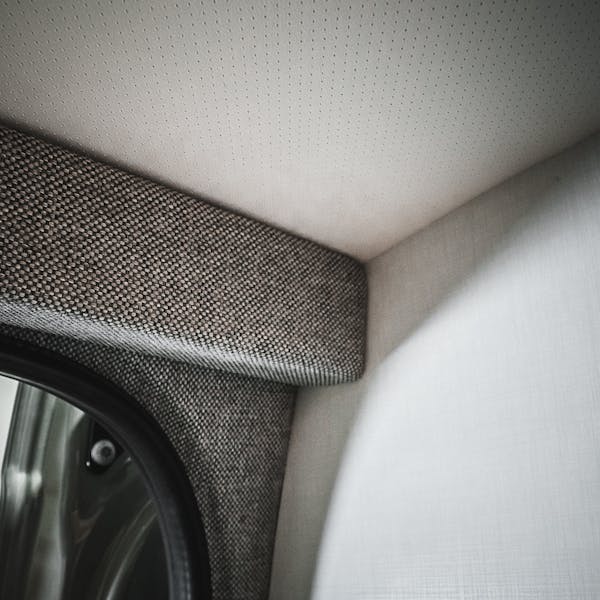
It gives that area a nice clean finished look that I was after.

On most vans, the sliding door step will be left with exposed metal… Not a big deal, I know.
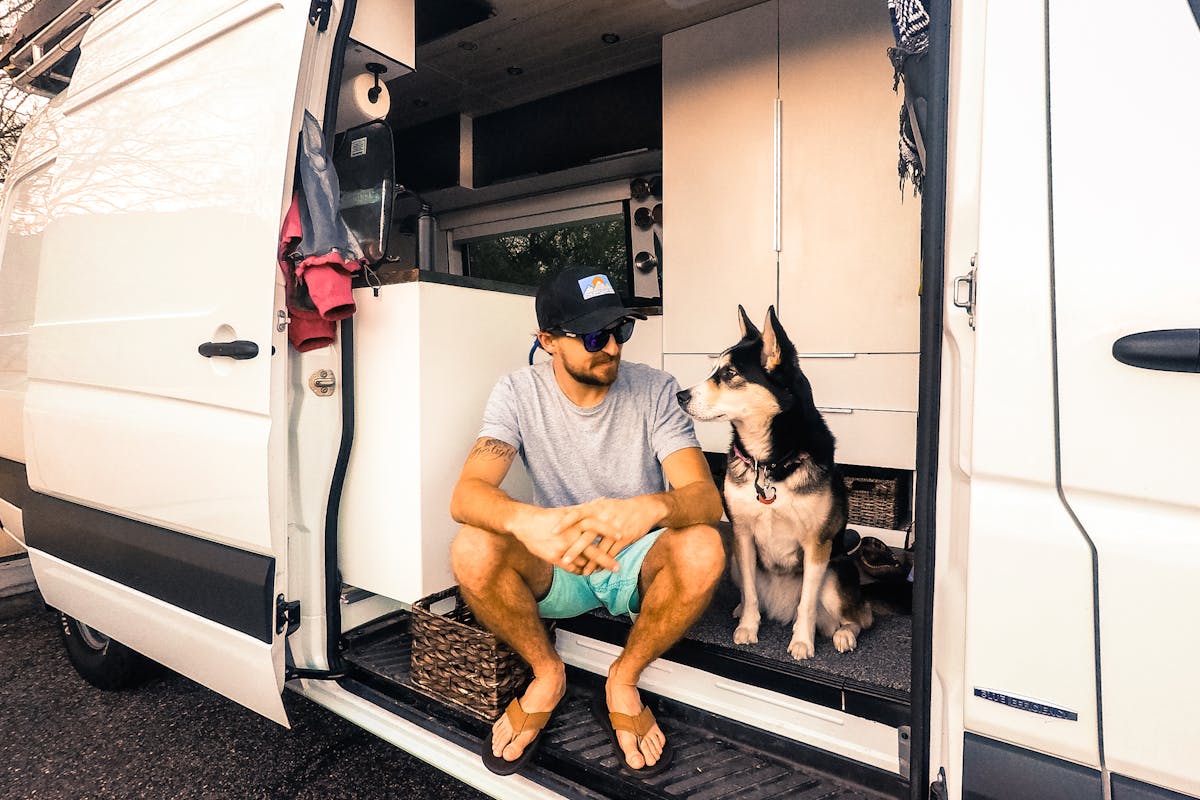
In my second van, I thought it would be nice for this area to match the cabinets so I decided to cover up the metal by using 1/2″ Baltic Birch and the same high-pressure laminate I used on the rest of my cabinets.
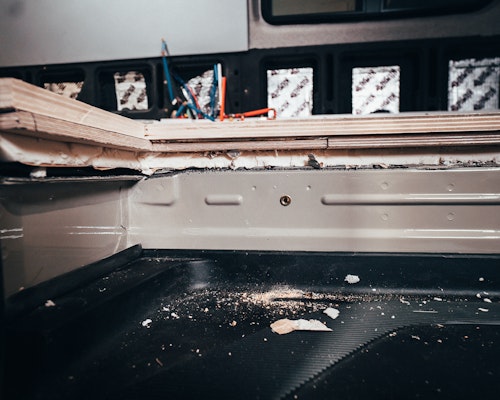
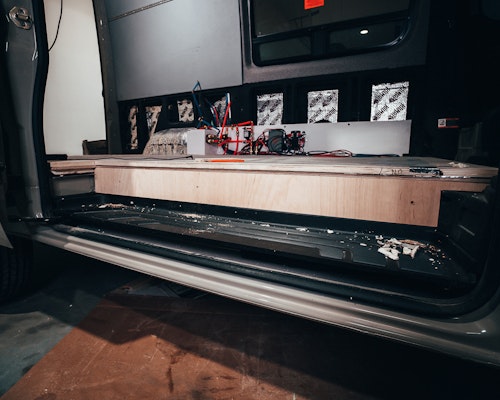
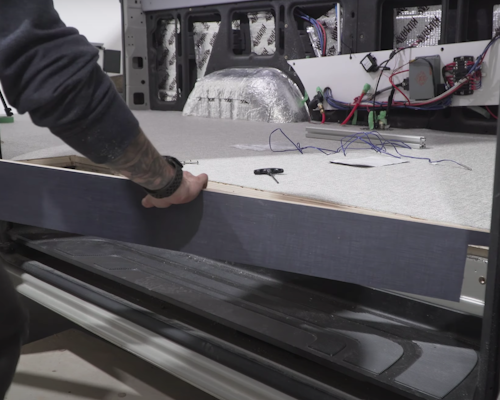
When it comes to window detailing, it’s common for people to leave the metal around their windows exposed. Alternatively, many people will box the windows in or wrap the window surround with fabric.
In my second van build, I chose to wrap the crew window surround using the same Duramax Tweed used everywhere else.
Before I installed the window, I put the Duramax fabric in place around the cutout and used a spray gun and contact cement to fasten it to the metal.
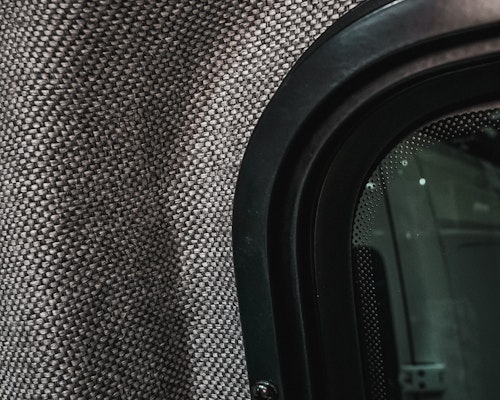
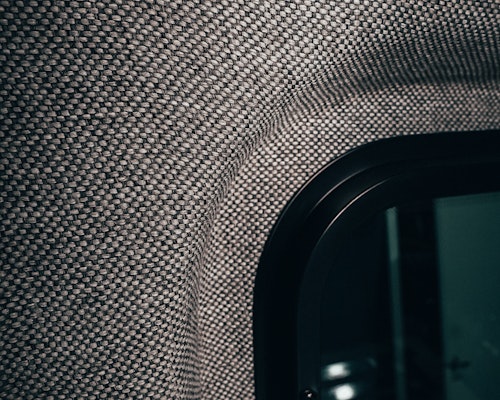
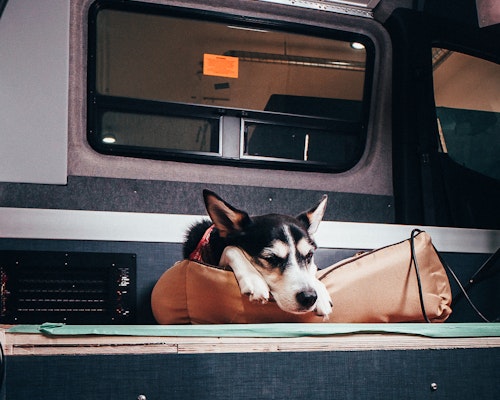
This fabric is not quite a 4-way stretch material but does have enough flexibility to make its way around the curvature of the van.
In the Sprinter van, the trim around the rear doors has a bunch of holes and access points. Some vans may have plastic covers over them and some don’t.
Left unfinished, the trim becomes a little bit of an eyesore, depending on the layout of your van.
Because I had some 1/4″ luan plywood leftover from other projects, I decided to use that to cover this area.
I scribed and traced the 3 pieces; driver’s side, passenger side, and then the top piece. Again, I covered the wood with 1/8″ Upholstery Foam, then covered that with the same Duramax Tweed material I used everywhere else.
I fastened the 3 pieces to the van using rivnuts and m6 bolts (m5s would have been fine as well).
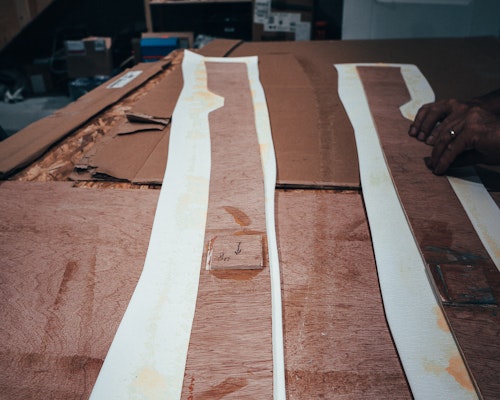
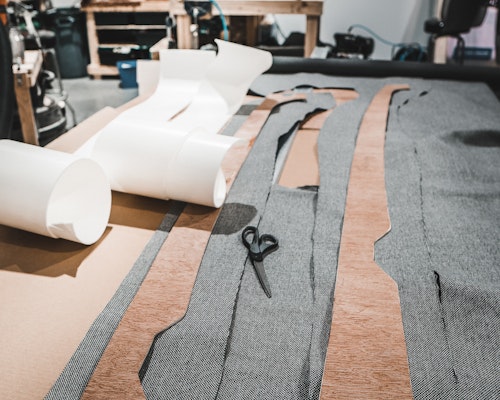
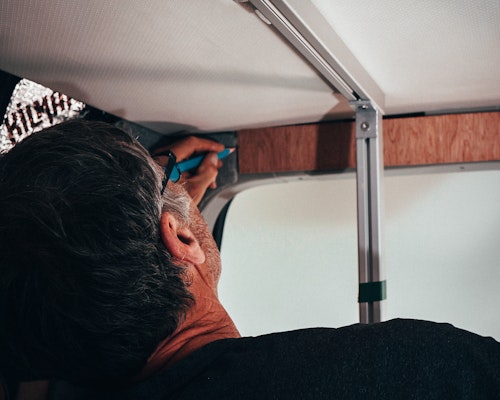
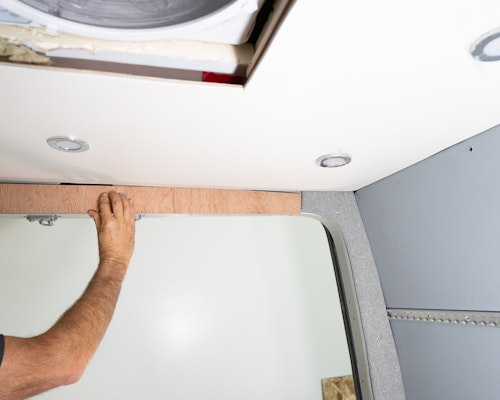
As you can see, I used nearly all the same materials for each of these projects:
Because the foam is squishy, it’s great to use for these types of jobs because it makes all your cuts look perfect. You can push them into the foam and hide any little imperfections.
The fabric I used for all the upholstery in my van interior (aside from cushions) is called Duramax Tweed, and the color is called Steele. I purchased it from Jackson.ca (based in Winnipeg, Canada) but as they don’t really sell to the general public, I’d suggest checking out the following:
I’ve also seen a lot of people get what’s called ‘Marathon Tweed’ from A Perfect Fit.
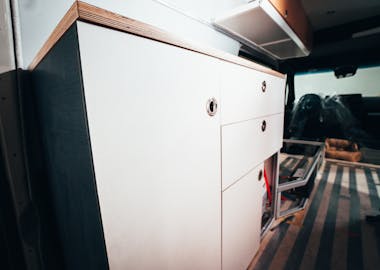
I’m using High-Pressure Laminate to cover all of my cabinet faces instead of painting. This is what I used to cover my sliding door step. The brand I’m using is Wilsonart. I was able to source it locally but you will need to find a supplier near you.
For more information on all the trim and upholstery ideas I mentioned in this article, be sure to check out the full video:
For more DIY Van Build Tips, stories, and guides, be sure to subscribe to my YouTube Channel so you don’t miss any videos.
)
Here’s a quick guide on how to install high-pressure laminate to your cabinet faces…
)
If you’re learning how to build cabinets in your van, you’ll quickly learn that most people finish their cabinetry using PAINT.
)
For the DIY Van Builders looking for “what not to do”, this one’s for you…