
Sign up for The Wanderful newletter
Join our growing community of people looking to live the simple life!
Let’s build your van now
Join our growing community of people looking to live the Simple Life


)
When you start your DIY van conversion, you will probably try to DIY absolutely everything. You’re not alone here! Most DIYers will do this for a variety of reasons, including:
Converting a van can be an extremely expensive project. That’s why most DIY van builders try to stick to a tight budget and keep costs down. This is a good thing, but in some cases, the cost savings just aren’t worth the time, effort, and headache that go into building certain things on your own. Not to mention, the quality at the end of your project can often be less than desirable. You will be confident to build many accessories initially but end up banging your head against the wall when things go south.
In this article, I’m going to share some info on:

DIY is the buzzword among van enthusiasts, with DIY videos and blogs available on virtually every component of your van build. As a DIYer myself, I can appreciate the pride people have in building their own home-on-wheels.
However, there are a few things to consider before deciding to DIY certain parts of your van:
Quality
A commercially produced accessory can vary significantly from your DIY component. You should go for outsourcing/buying when you are getting substantially better quality at an affordable cost.
Time
If making an item is going to take you a few days/weeks, you may want to consider just purchasing them. This saves you time and allows you to focus on more important/hard-to-do tasks.
Long-term Usage
You should consider purchasing if it’s an item or component that needs to withstand the test of time, and not to mention, include a warranty.
Coming to my moment of regret, here is a list of 5 things in my Van Build that I would consider outsourcing or paying for if I was to do everything all over again.
For many people, a DIY Van Conversion project is their first venture into the arena of cabinet making. And let me tell you, it can be quite frustrating.
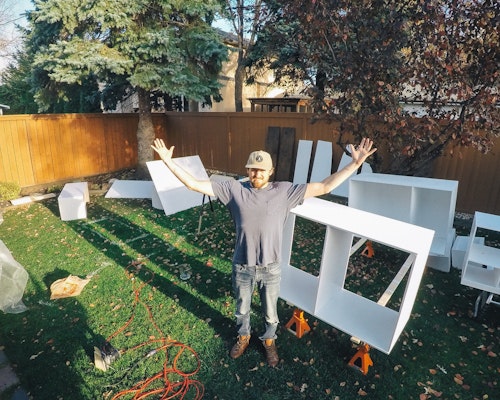
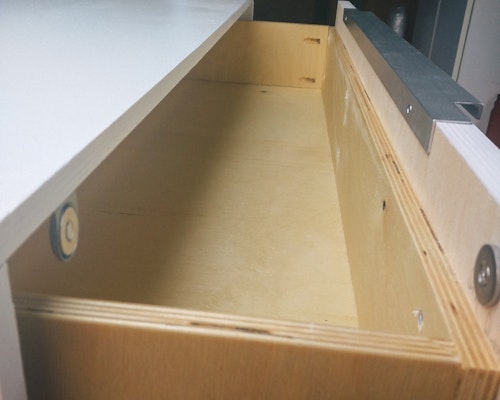
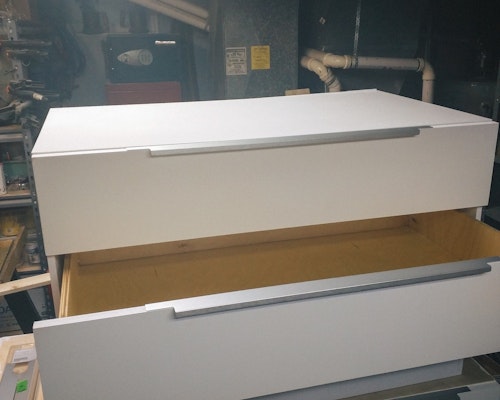
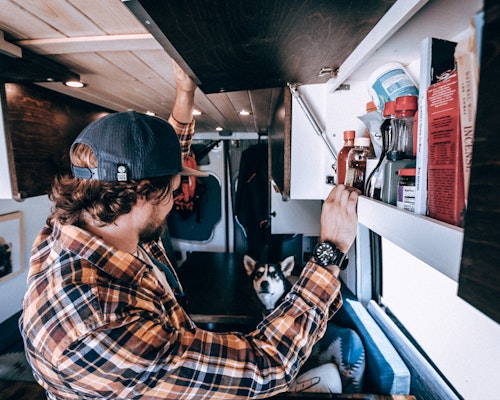
Here is what I learned from my experience:
Be patient
You will need a lot of patience to ensure your cabinets, drawers, and sliders are square. When it comes to pulling out drawers and drawer boxes, being square and close is not good enough; everything needs to be perfect!
Be open to imperfection
The first drawer box you cut out will probably not be pretty and may require additional work.
Suggestion: I suggest getting started on one drawer box as a pilot project, getting it all sorted out, and learning from it. This way, you will save money and time by not trying to get everything cut ahead of time only to find out that you made the same mistakes on all 6 drawers in the van!
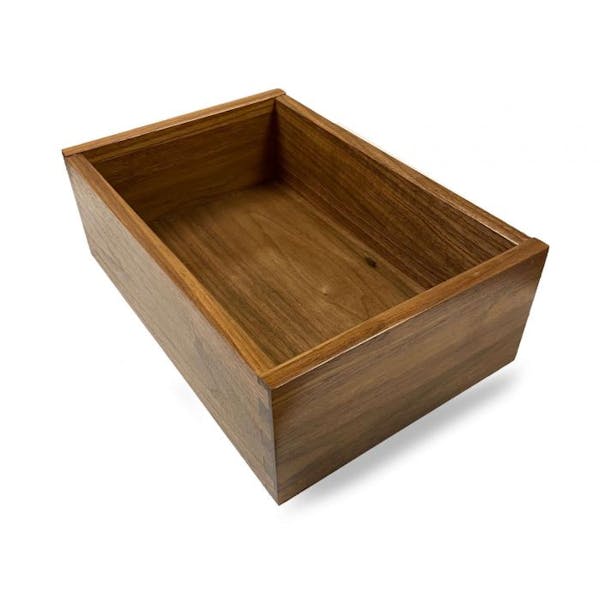
Many companies can help you customize your drawer boxes and provide reliable and consistent service. You can try a company like Drawerdepot or Fastcabinetdoors to outsource your drawer boxes and save the trouble of building sub-par drawer boxes yourself.
Full disclosure: I have never used these services, but I would like to explore these in the future!
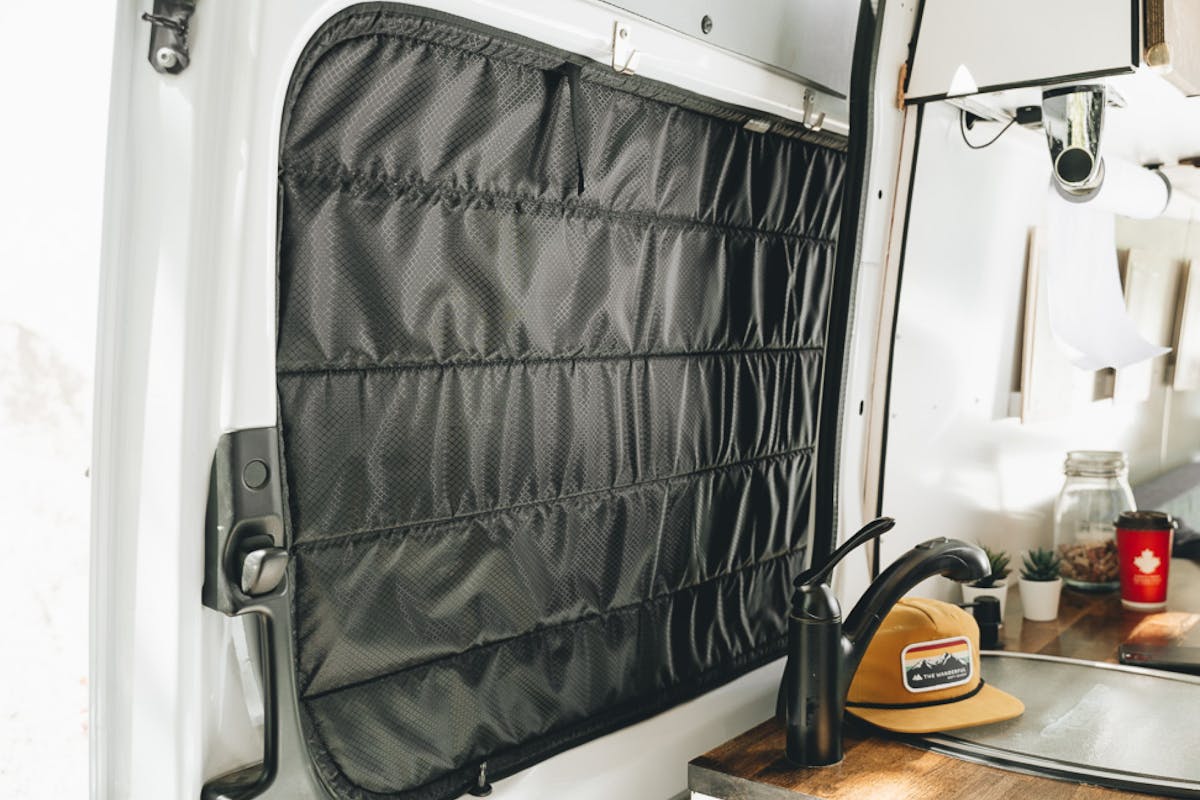
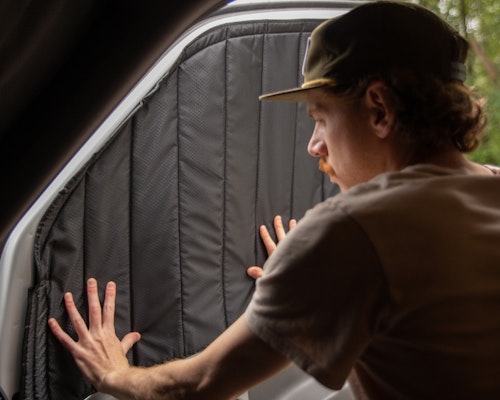
Insulated Window Covers are one of those accessories that look so easy to make, on the surface. I was in the same boat and thought I could easily DIY these, so I ended up doing it myself.
Here’s a short story.
I spent a few days templating the two rear windows and the side window.
After I had the paper templates made, I transferred the paper templates into cardboard templates. I used reflectix, fabric from my local fabric store, and Velcro and put together what I thought was a pretty decent set of window covers. After all, it took an entire week!
However, I soon realized that what I thought was a job well done was a disaster.
Needless to say, I skipped the windshield and front windows after seeing how the rear window covers turned out.
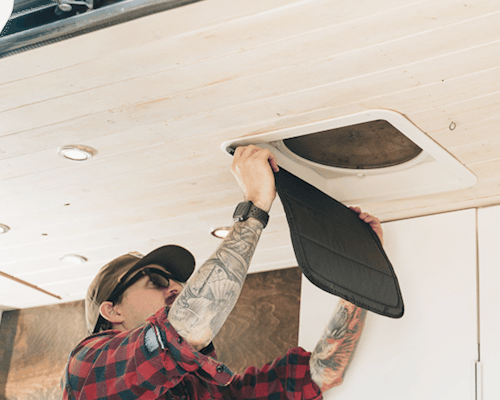
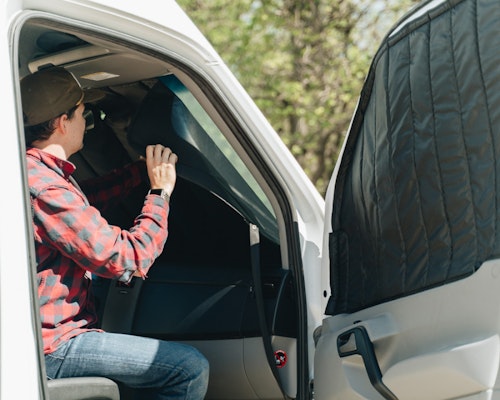
A quick update: I have since launched my own window shades online store. We offer professionally-made machine-cut window covers so they can perfectly fit your van’s windows.



Who doesn’t like squishy cushions to lay on after a tiring day of driving? You will come across a lot of recommendations on how to sew your cushion covers.
My first van had amazing cushions that were:
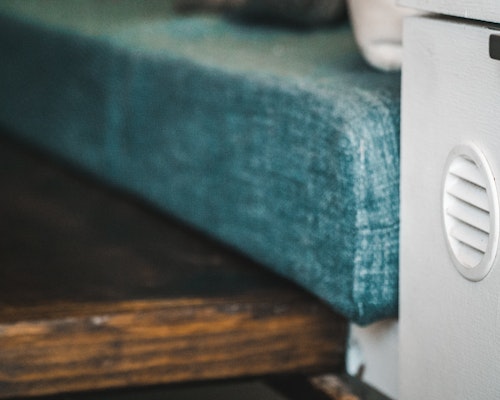
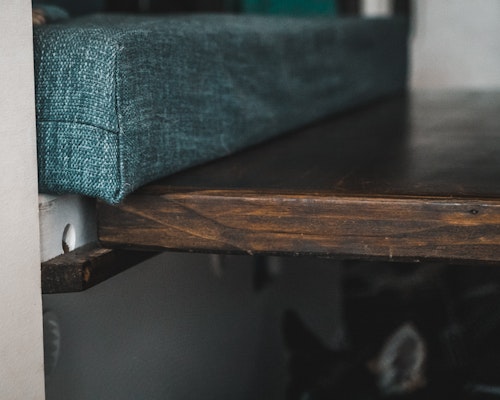

Full disclosure: I didn’t sew the cushions on my first van myself, my mom helped me for the most part, and they turned out amazing! But she’s a far better sewer than I am and still, it required a lot of time and effort on her part.
Therefore, going for DIY cushion covers is perhaps not the best way to go about it. On my second van, I discovered that every city has many talented craftspeople, such as
These professionals will happily make cushion covers for you. An added advantage is that they don’t charge a lot for the accessory you are getting.
Suggestion: So, on my future builds, the sewing machine is probably not making an appearance, and I’ll leave that to the professionals. If you are not great at sewing and want to invest your time in something else, you should consider doing the same!
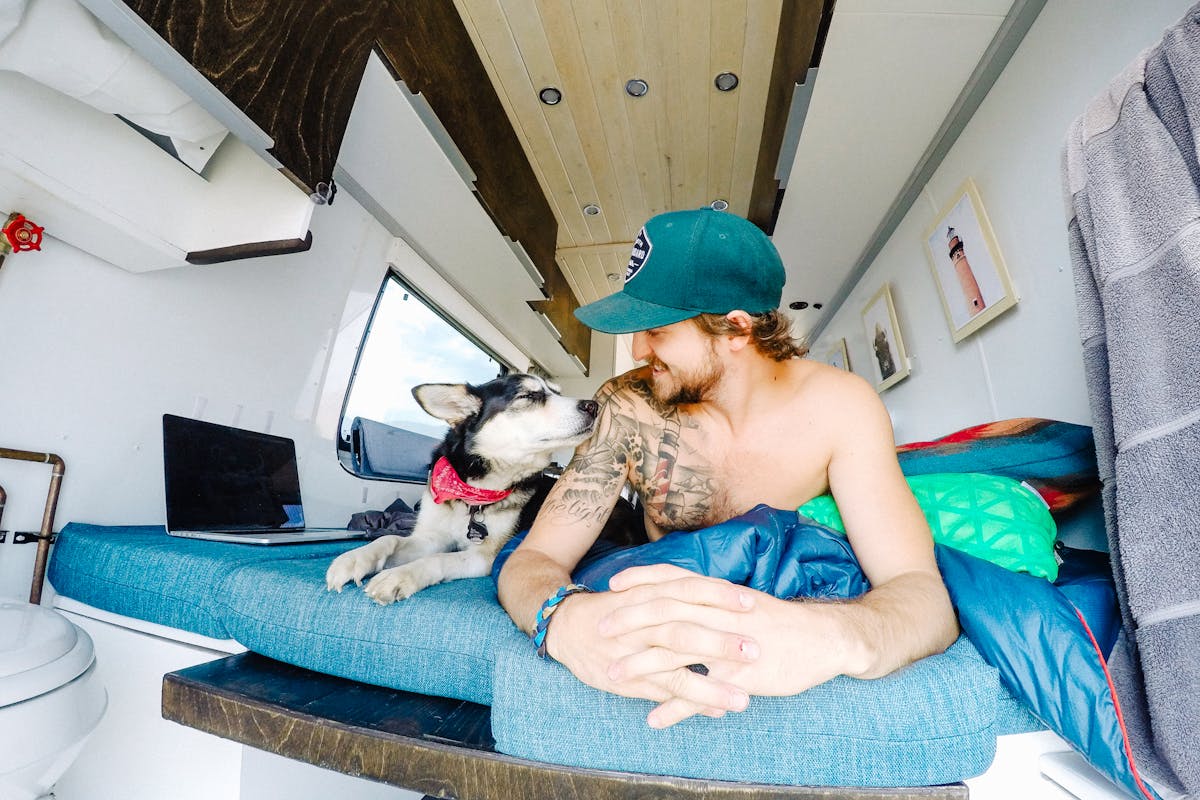
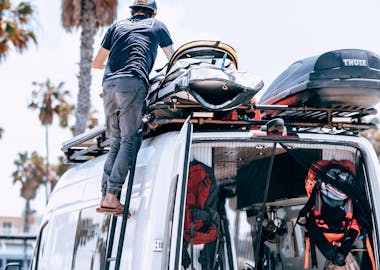
A roof rack and ladder come in handy for several reasons:

To decide between building your own roof rack or purchasing one that is professionally made, you first need to assess a few things:
For me, being located up in Canada, it was really hard to get a rack shipped up here at a somewhat affordable rate and in an amount of time that would let me leave on my desired departure date. That’s why I opted to build my own rack on my first van.
Here’s a quick story.
How NOT to use your rack and ladder!
On my first van, the rack and ladder were originally built and installed and used for one year without any powder coating and just bare aluminum.
Then when I returned after 1 year, I had to remove the rack and ladder at the powder coat facility (because I didn’t have a trailer big enough to transport it). With the help of my dad, we took it off in their parking lot and used their forklift.
Because I had been using it for a year, the rack and ladder had to be sandblasted before applying the powder coat. Then once it was complete, we had to drive the van back to their facility and install it again in their parking lot!
So, on my current van, I am looking at an alternative solution rather than DIYing the rack.
Suggestion: As it was a ton of work and took over a year and a half, even with the help of my dad, I would investigate a pre-built rack in the future.
View this post on Instagram
There are quite a few companies that sell good-quality roof racks. Here’s a list of a few of them:
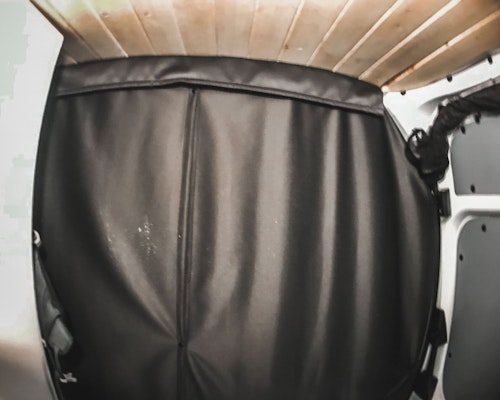
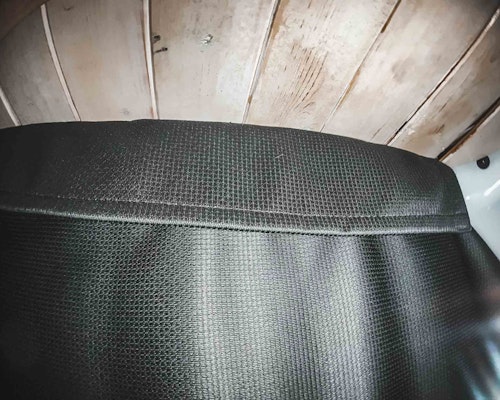
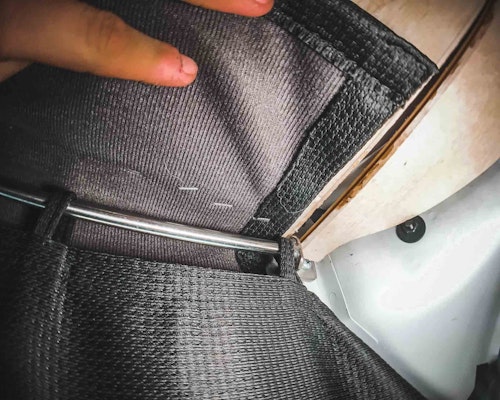
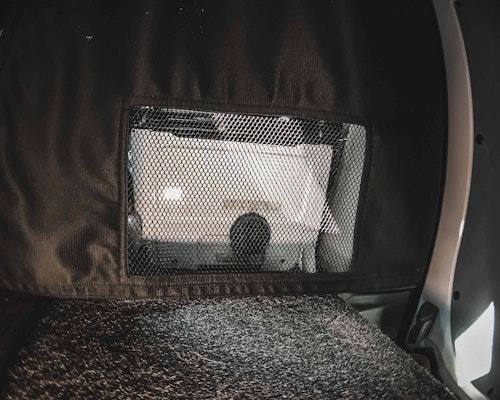
To separate the front cab area from the living area, I purchased a black curtain from Ikea along with a custom roller track system. It did a decent job, but it wasn’t long before the roller track started to fall apart. The curtain also wasn’t a custom fit for my van which meant that it a lot of light leaked in around the sides.
I decided to upgrade to a professionally made blackout curtain, thanks to the team at ADF! This curtain did a great job at keeping the heat from the Espar Heater in the back of the van and limited the heat loss through the front cab windows.

Choosing to purchase professionally made components for your DIY van conversion can be a hard thing to do. I totally get it! Being able to look around your home-on-wheels and see all the things you’ve built with your own two hands will certainly fill you with pride.
After building out 2 vans and living on the road for several years, the items I’ve listed in this article are simply the ones that I personally would never choose to DIY again.
Here’s a quick summary:
Hope you enjoyed this, and best of luck with your next big adventure!
)
Learn what materials the professional van builders are using and why you should consider them for your DIY Van Conversion — Heads up: You won’t find these at your traditional hardware store.
)
Whether you want to incorporate all the comforts of home into the van, or you’re gearing up for some adventurous offroading, you may find yourself with a long wishlist of upgrades for your van.
)
It’s natural to become hyper-aware of all the systems you have on the go in your new home-on-wheels.