
Sign up for The Wanderful newletter
Join our growing community of people looking to live the simple life!
Let’s build your van now
Join our growing community of people looking to live the Simple Life


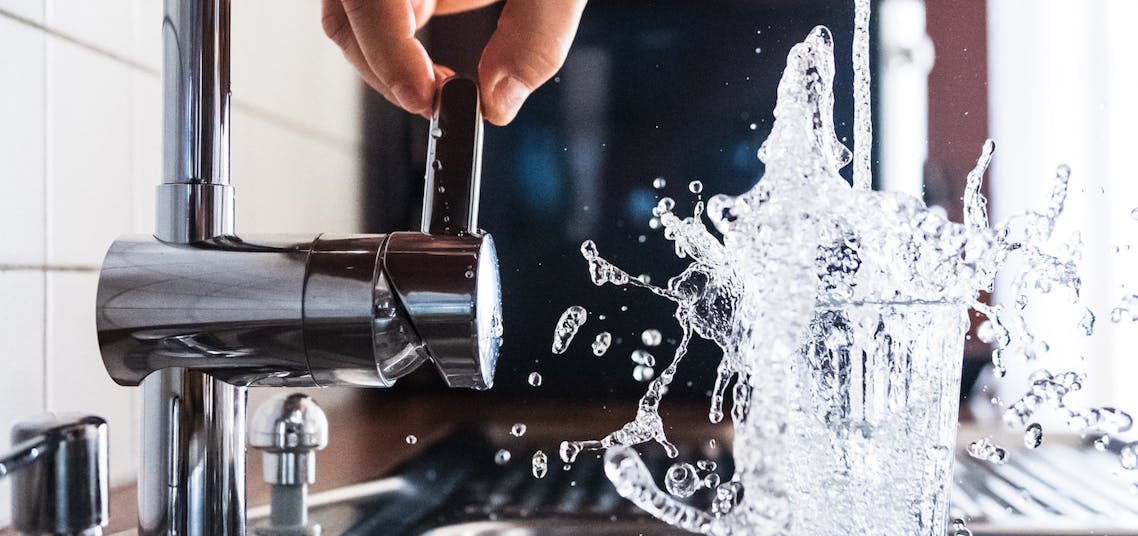)
If you plan on spending a lengthy amount of time on the road, plumbing is an area you should certainly take the time to map out.
Having a great water system in your van is a big step to making your home-on-wheels just that; a home.
Before I dive into some really important plumbing and water system tips, I thoughts I’d give a brief summary of some of the key components of my van’s plumbing needs.
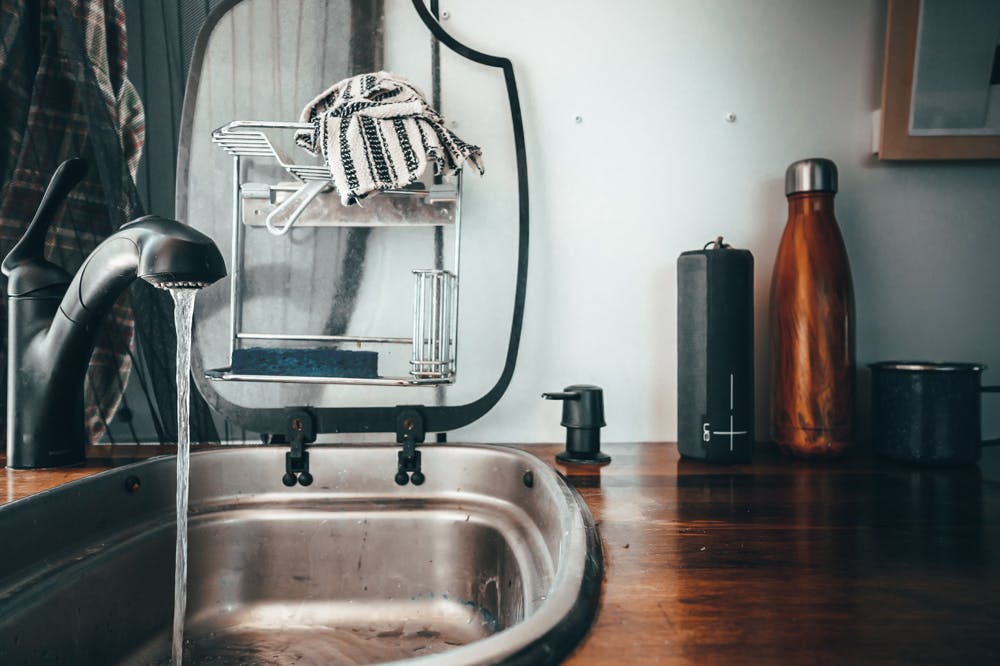
I chose the SpinFlow Kitchen Center which I really like because of the size and it’s the ability to withstand the constant banging and jarring movements in the van. It’s shallow enough that a small amount of water can fill it sufficiently for washing dishes.
After a lot of research, having a flush toilet seemed to be a great option for my van. I went with the Dometic RV Toilet and I’ve been happy with that decision!

Because space is so limited in the van, I merged the toilet and shower area together. The shower isn’t large but it does the trick! And no, water doesn’t get all over the van.

Whether you are opting into all 3 of these major components, or only a couple of them, a good plumbing and water system needs to be thought through.
If you live on the road full time, or at least for weeks/months at a time, you’re going to want hot water occasionally. Whether it’s for doing dishes or enjoying a nice hot shower at the end of the day, a hot water tank will come in very handy.
Since I installed a relatively large solar system on my van, I wanted to take full advantage of all the power being made during the day and decided that I could get away with using a point of use 12 gallon 110v hot water tank.
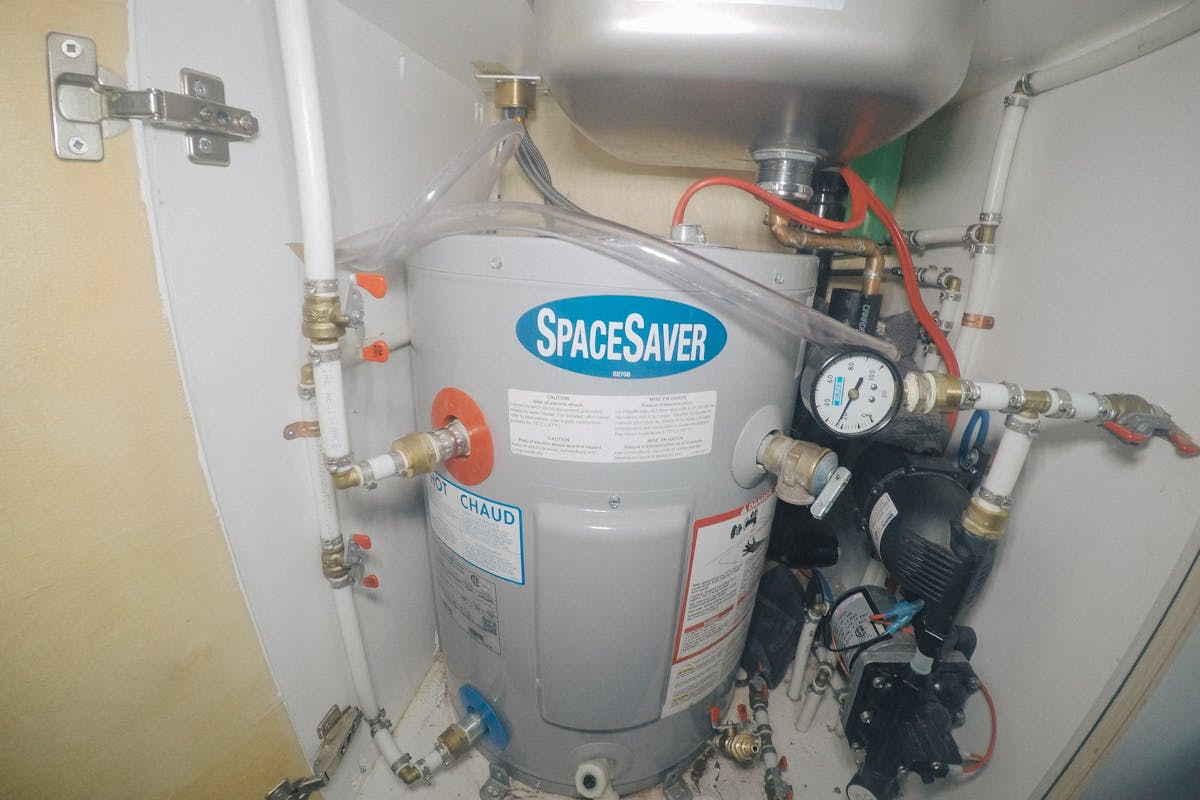
The system I used is designed in such a way that while the van is driving and the house batteries are fully charged, it will dump excess power into creating hot water. With the amount of driving I do, I typically always have hot or at least very warm water.
Also, the charge controller that I used on my solar setup has an AUX load option which I have the hot water connected to, using a solid-state relay, so as my house batteries exit the bulk charging state and enter into the absorb charging state, the relay will begin to pulse, sending excess power to the hot water tank. Then, after the absorb charging state has passed and the charge controller enters the float stage, even more excess power is sent to the hot water tank.
So with my system, between bright sunny days and ample driving, I always seem to have enough hot water to take a shower and keep the dishes clean.

When planning out your water system in the van, there are many things you need to consider in order to conserve water.
One thing that is often overlooked is the flow rate of the entire system, starting with the pump. Your system will only be able to create so much pressure, which is then impeded further by the water filters being used. So when selecting filters, make sure you understand what their flow rates are and that your pump is matched accordingly.
In other words, you want to make sure you have a strong enough pump the can force the water through the filters.
I went with the 12v ShurFlo 3GPM Water Pump. This unit seems to be a very popular option with the conversion community, and so far it’s been great. I opted to include the small screen filter to protect the pump from any sediment passing through.
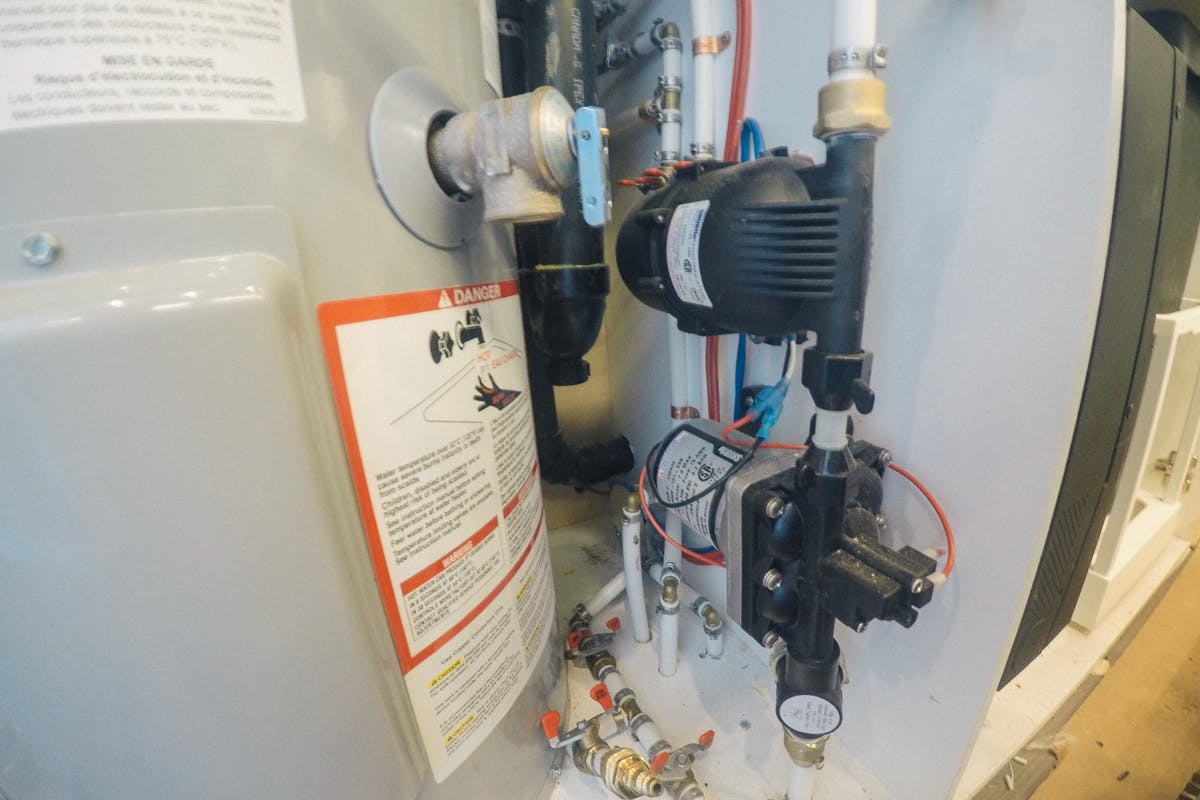
I also added an accumulator pump for the Shurflo pump to provide more instantaneous water pressure when you go to use the tap.
In terms of your shower, it’s safe to assume you won’t be having nice long hot showers with seemingly endless amounts of water like you do at home. You’ll want to get a low-flow showerhead to make sure you don’t run through a large amount of water in a short amount of time.
In the van, every drop of water matters, so understanding the limitations and how your entire system will function will only serve to benefit you down the road.

Where I am from, everything is FLAT. So worrying about the tank clearance under the vehicle was something I completed overlooked.
Once I entered my first steep entrance in California, I ripped apart half the plumbing under the van as it bottomed out.
Let me tell you… The noise it made gave me a horrible feeling in my stomach.
So, when mounting your tanks in the back, especially as they are located behind the rear axles, make sure you push everything as close to the front of the van as possible.
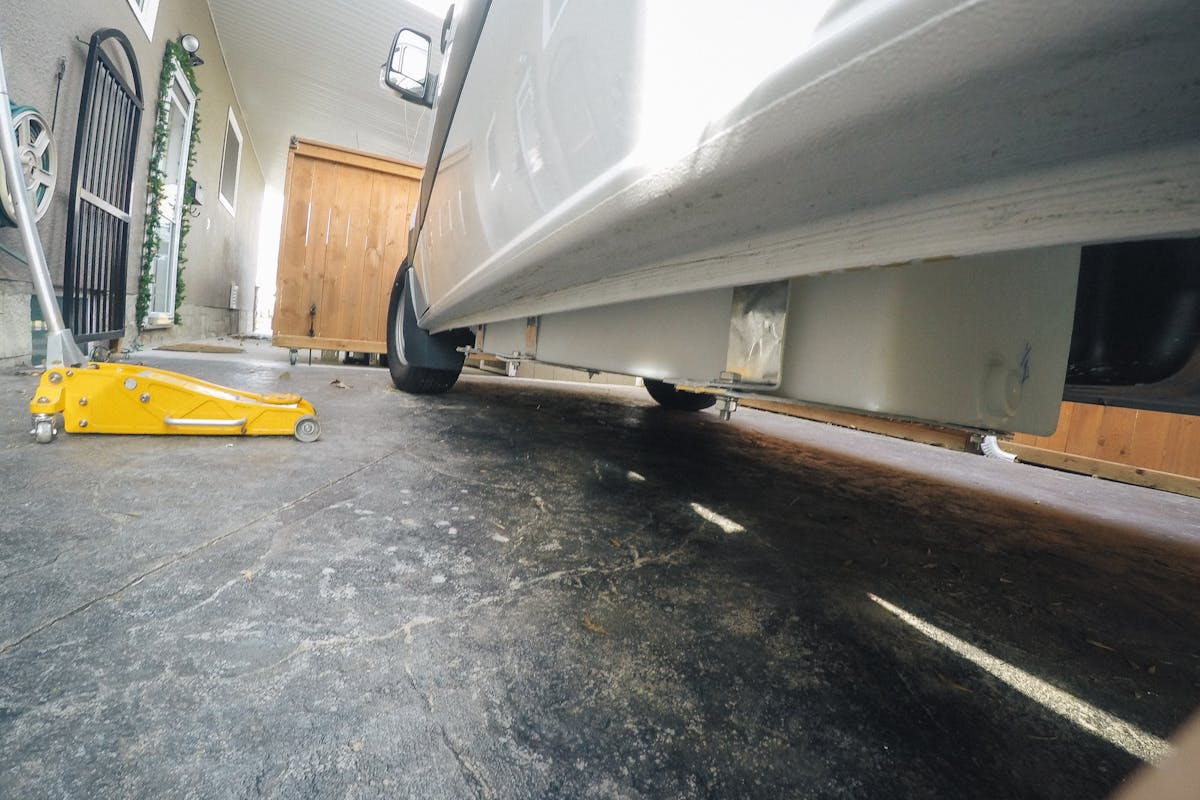
In my build, I had almost a full 5 inches that everything could have been moved forward to, but because I hadn’t thought of it, I didn’t take the time to do it.
What also helped was that I had Van Compass install the 2″ Lift System in the van. This, by the way, has helped greatly with ground clearance and the overall ride of the van.
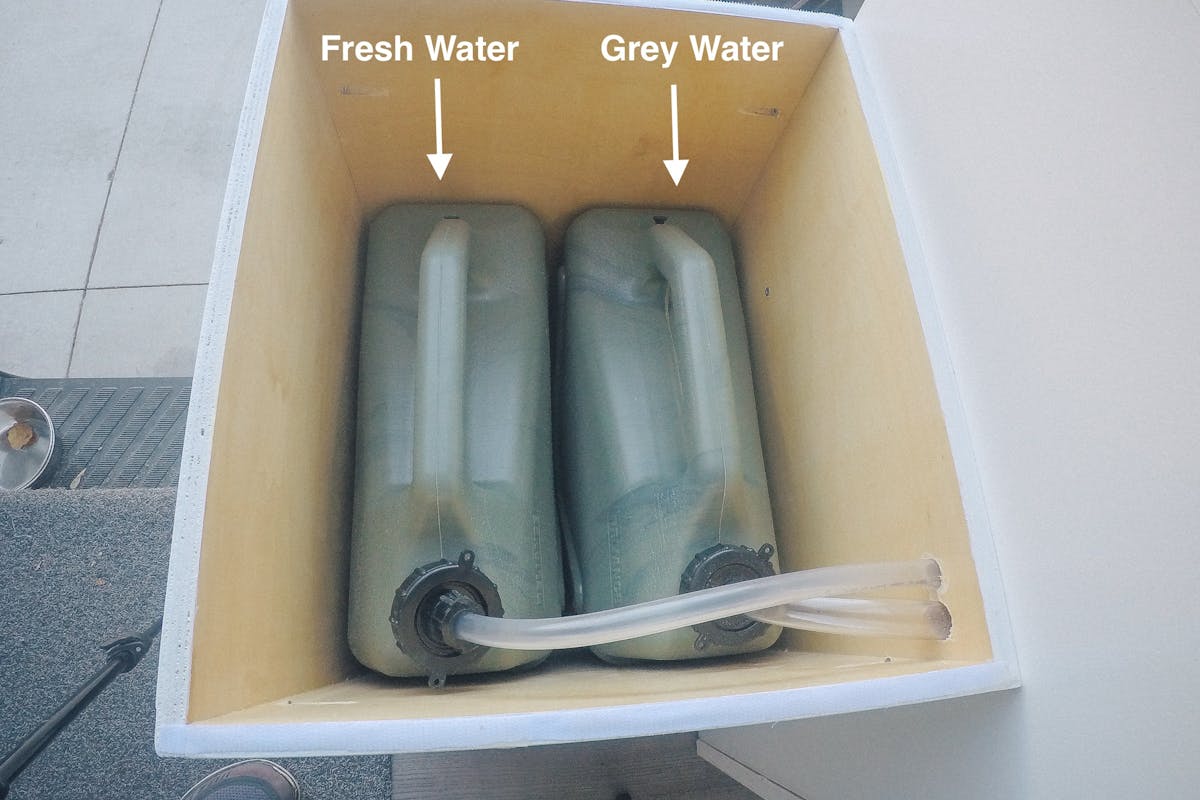
With my build, I had initially decided to keep all of the water tanks under the vehicle. While I still don’t think I would change that, one thing I decided after the fact was to also install a locaiton for a smaller fresh water and grewater tank for the winter months.
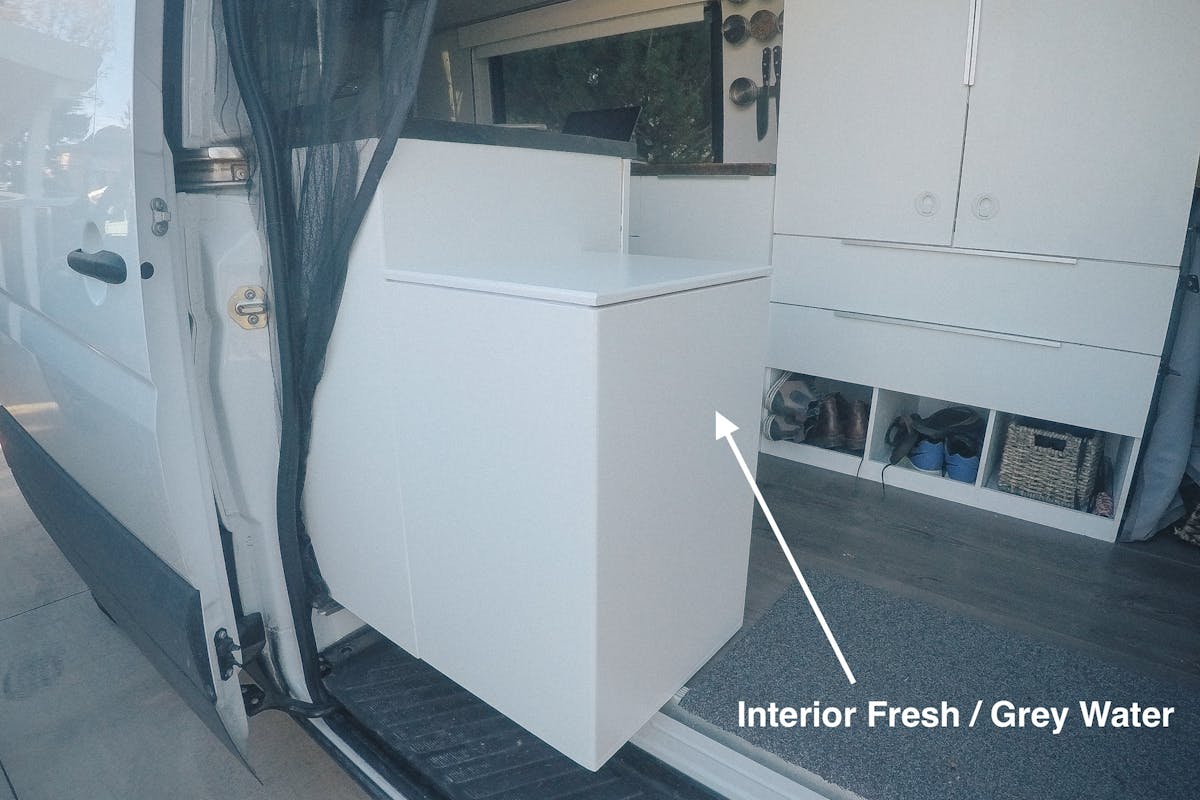
My original plan was to install some sort of heating pad under the tanks, outside the van, for the winter months. But instead, I decided to toss in 2-gallon tanks inside the van which can be easily removed for dumping and filling.
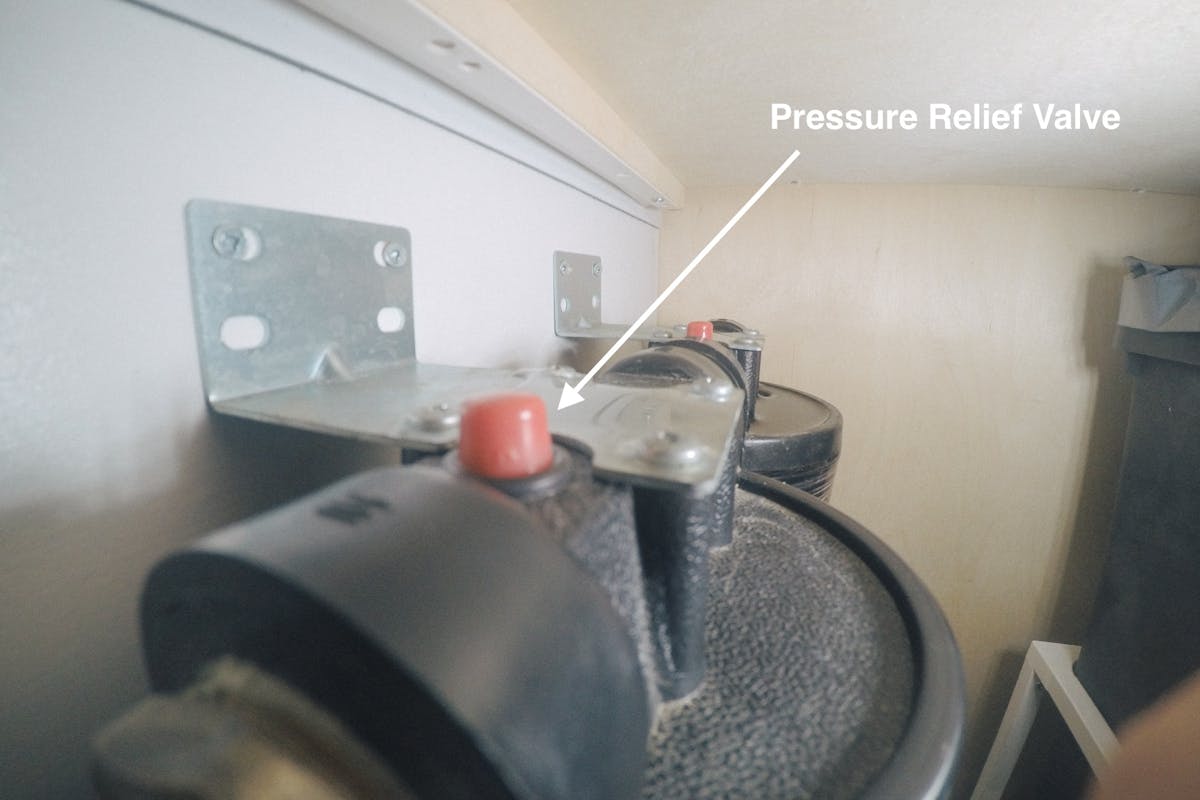
My water pump frequently develops an air lock. This main happens when the freshwater tank is less than 50% full and the intake pulls a bit of air as the van drives down the road.
At first, it would take me forever to fix the problem, but I have since found the simpless solution. All you need to do is press the pressure relief valve on the water filter canisters which will allow the air to purge from the system. The pump will start wo rowk properly again.
This happens to me on a pretty regular basis but it only takes about 2 seconds to fix it, using this method.
A handy feature on my van, which I installed before the water pump, was an air blow-out line.
This lets me quickly hook up an air compressor and blow out all the lines in the vehicle, making winterizing the van a super simple process. This is something I highly recommend doing if you plan on taking your van into colder climates.
The option of just using a gravity cleanout system will work, in theory, but you can never be 100% sure that you’ve removed all of the water from the system.
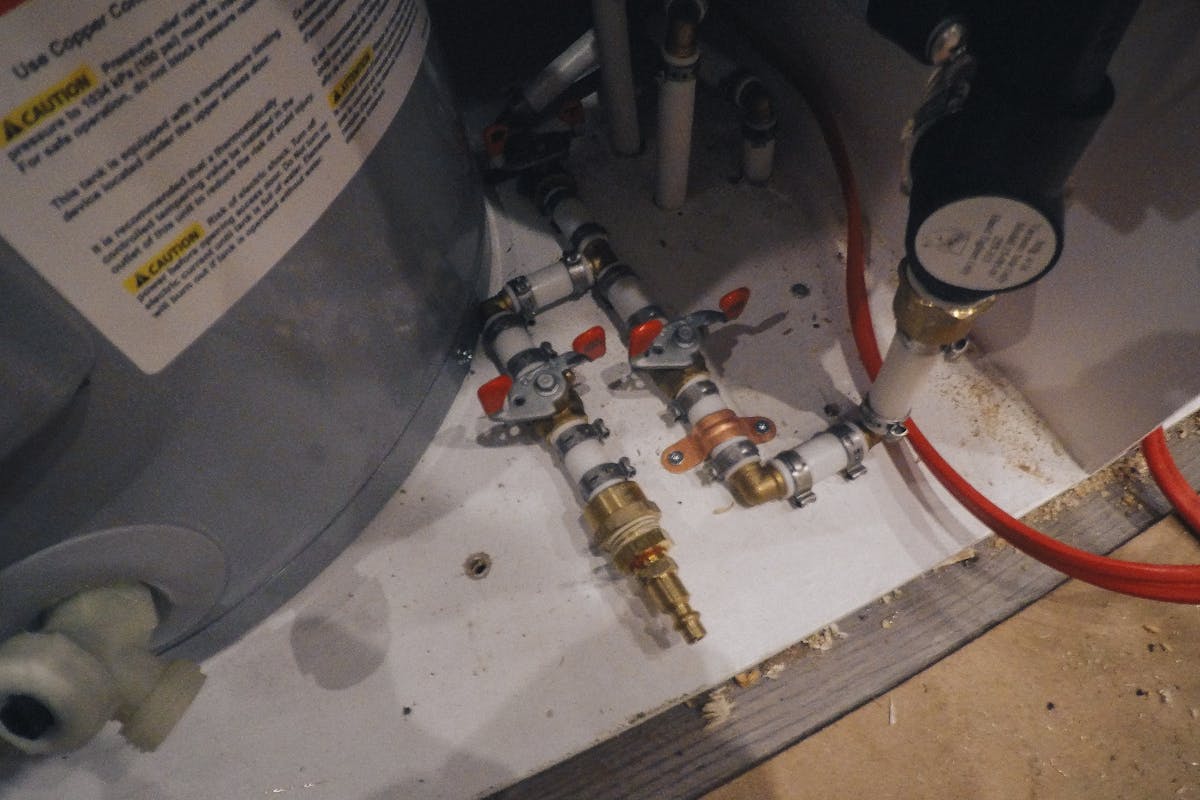
One thing to note about using compressed air to blow out your system is that you never want to blast 100 plus PSI. If you do, you will run the risk of damaging seals in the pump and toilet, among other areas of the plumbing. I have a valve right after my air hook up that I can use to regulate the amount of air I am pushing through the system.
In all my travels, to date, I have not once used the RV water hookup option I installed on the van.
That being said, it didn’t take much time to install, and having the option to hook up to an RV Water style connection or city water is nice, so I would probably install it again on future vans.
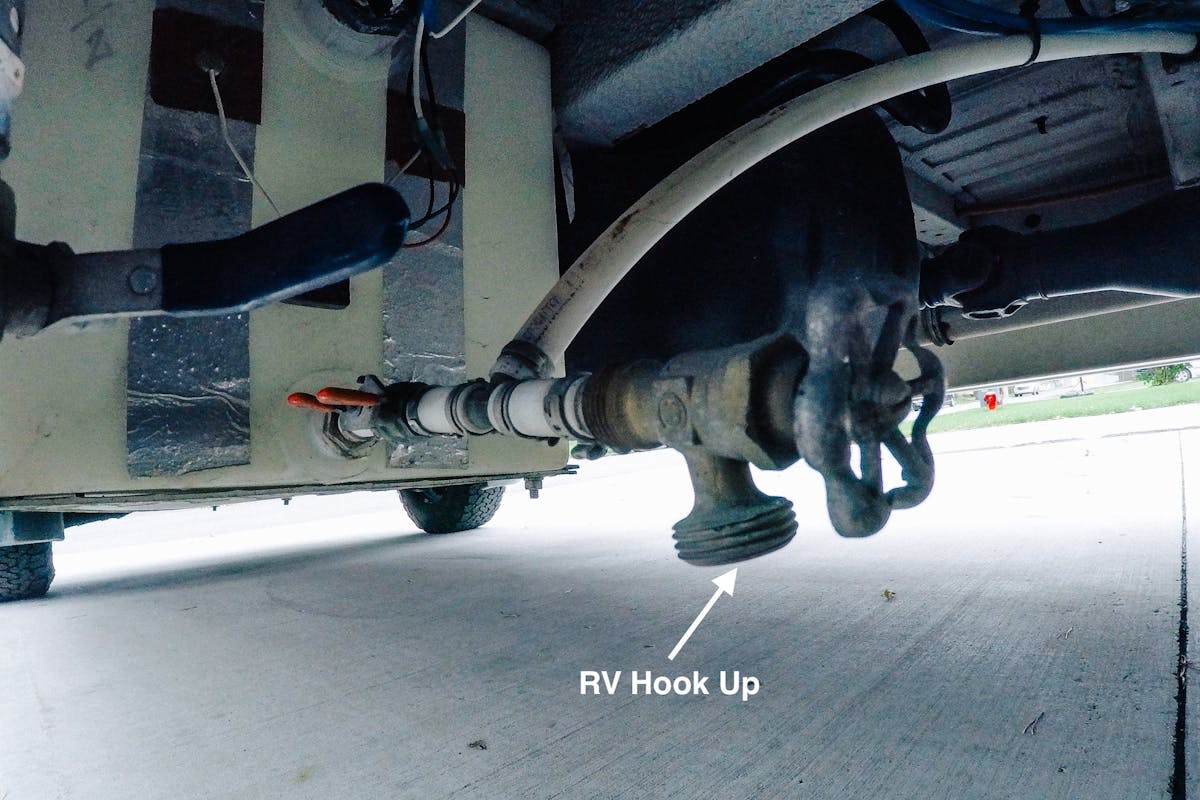
During my van build process, one thing that had me second guessing myself was the tank locations and the mounting of the tanks.
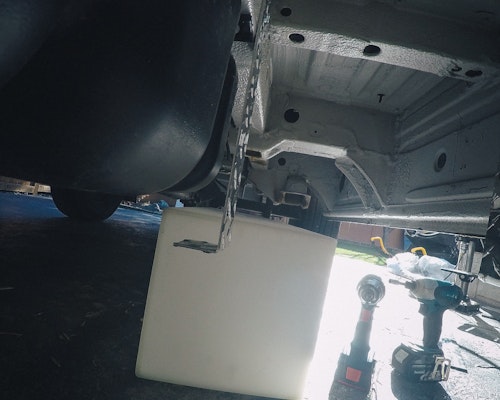
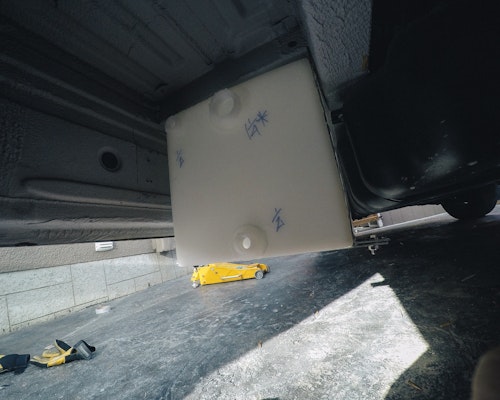
Once I had figured out the size and location of the tanks, I still had to figure out a way to fasten them in place. The easiest solution was to have some metal brackets bent and then I just used self-tapping screws to mount them in place.
This method worked for every tank except the water tank, which as I mentioned above, had bottomed out. For this tank, I had a steel bracket made that fastens on one side of the hitch and the other side to the spare time mount. This bracket holds the tank in place but also provides the needed protection if the van were to bottom out again.
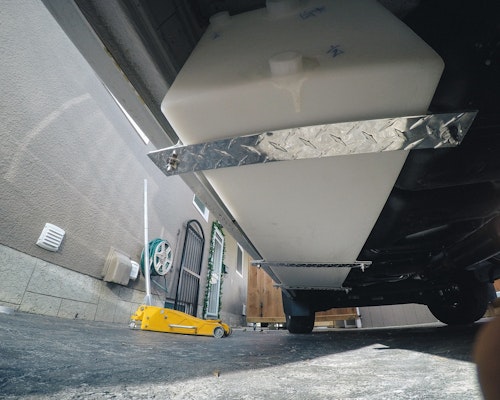
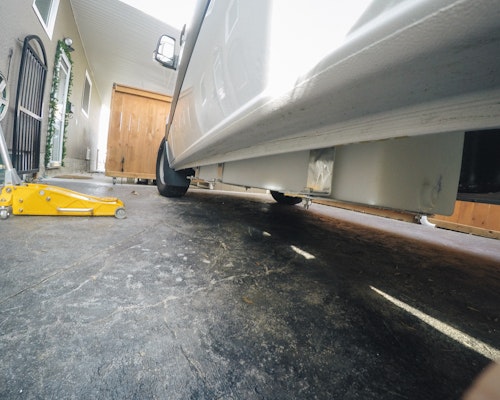
I know from experience that learning how to plumb your camper van can be a stressful time, full of second-guessing. I can assure you that this is a DIY project you can tackle with the right tools, materials, and research!
Hopefully these tips come in handy for you during your plumbing / water system installation!
)
It’s no secret that moving into a tiny home means you will need to downsize (understatement of the year… I know).
)
Thinking of building a bathroom in your self-converted van? Read this first!
)
Grabbing some last-minute items before you hit the road? These are some of my most-used items in the van.