
Sign up for The Wanderful newletter
Join our growing community of people looking to live the simple life!
Let’s build your van now
Join our growing community of people looking to live the Simple Life


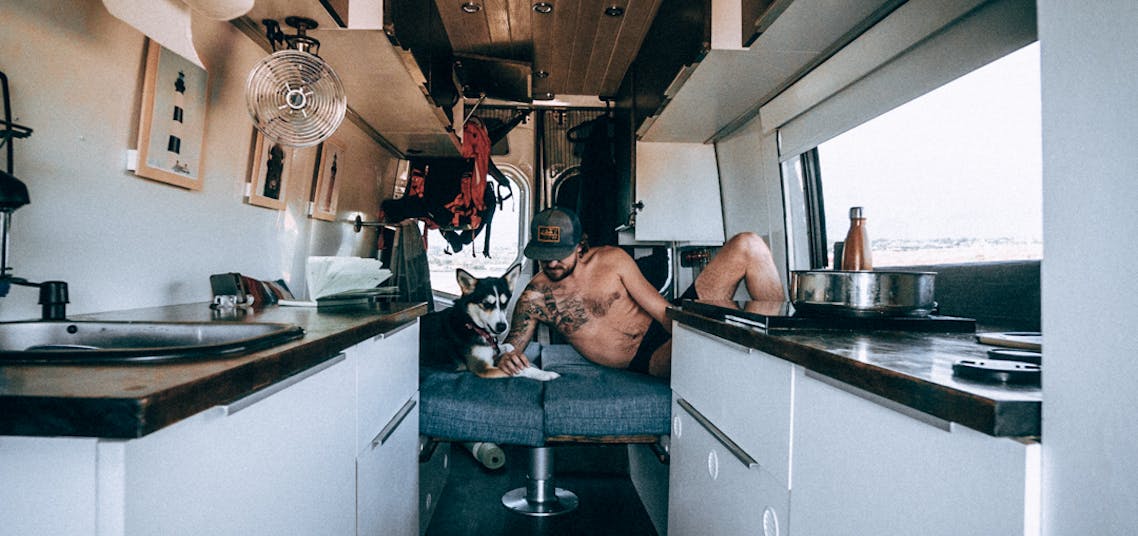)
In fact, this is often why a lot of people choose this type of lifestyle.
But even bare necessities need to be organized and stored. Having cabinets and storage areas in the van means everything has a designated spot. Clean, organized, and accessible. Just the way I like it.
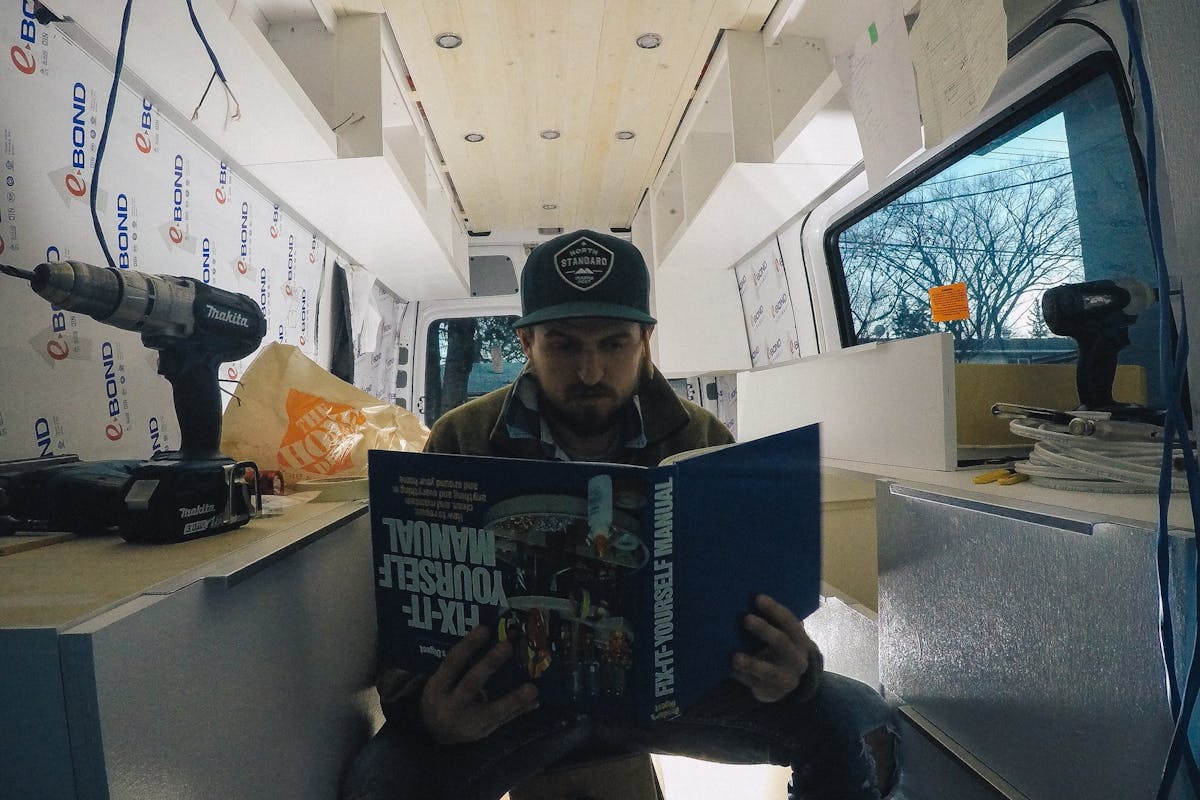
Installing cabinets was no easy feat. In fact, this project was the most time-consuming aspect of my entire van build.
But first… Coffee.
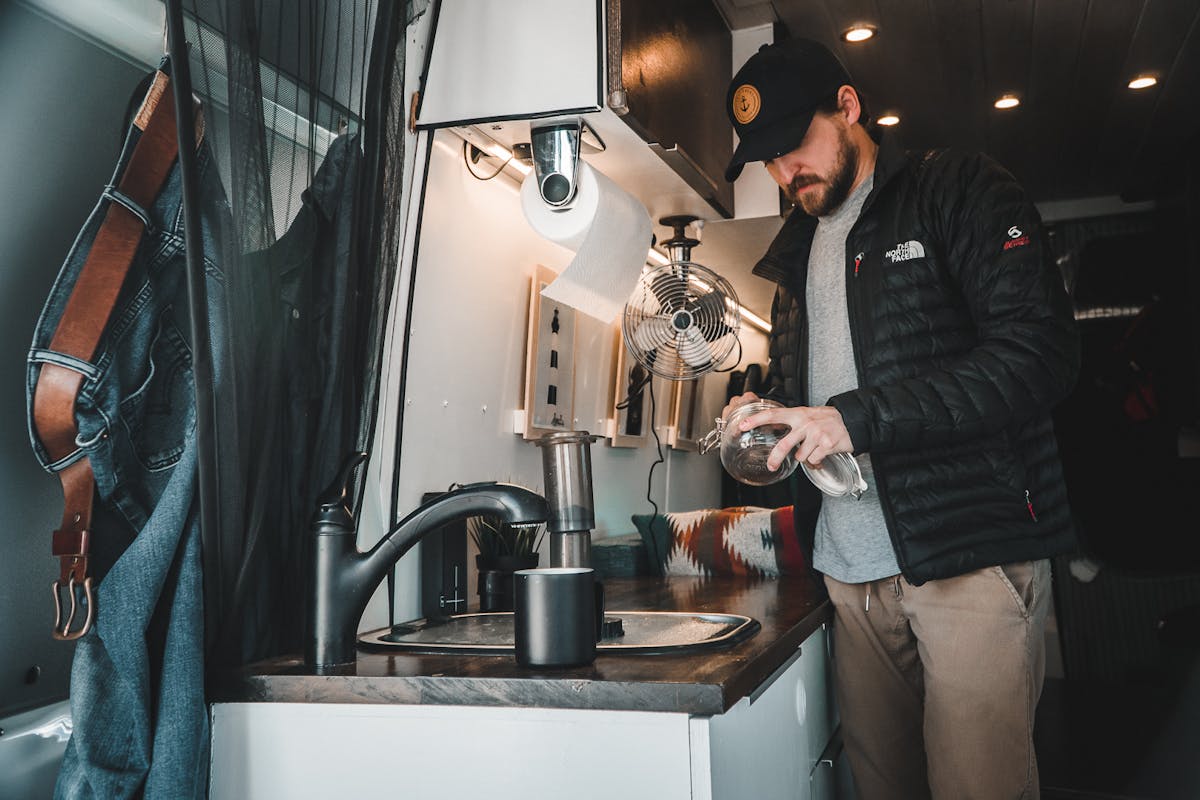
Much like other aspects of the van build, preparation for your cabinetry project is key.
At a high level, the first steps you should take before tackling this DIY project are to:
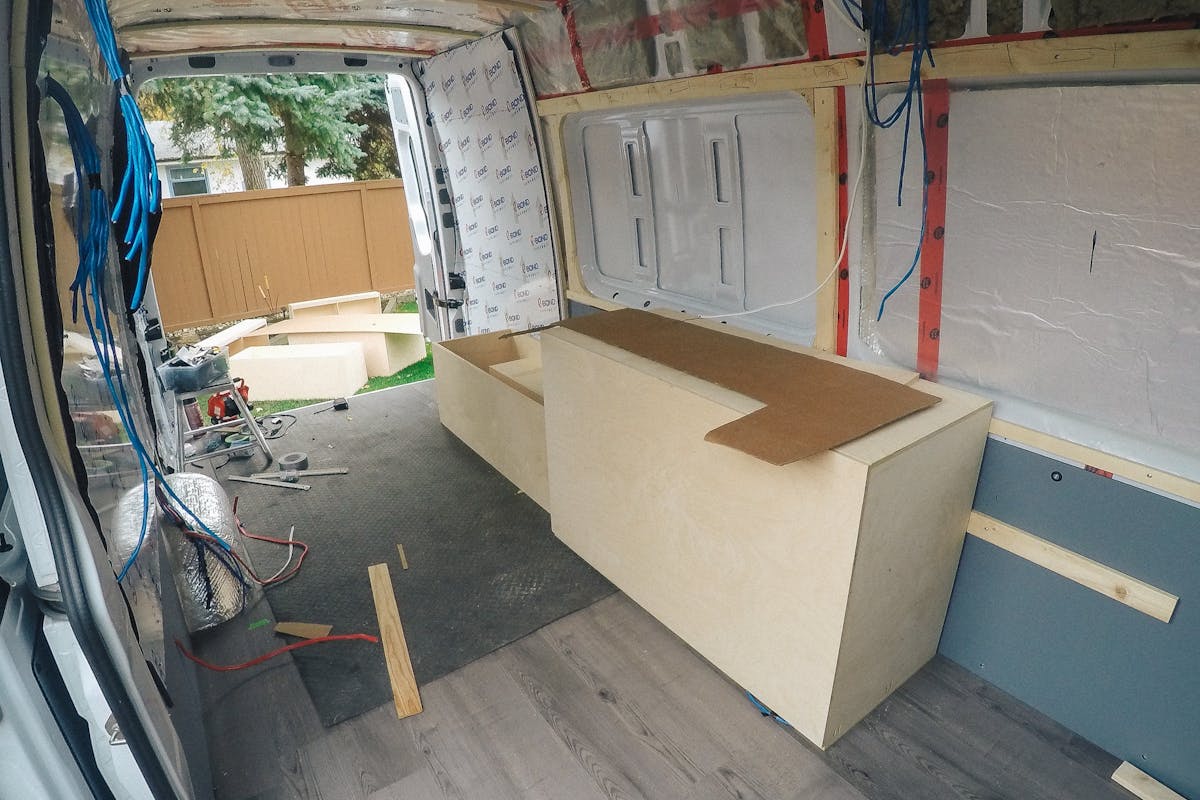
The first sections I decided to tackle were the benches and my bed. These are located in the back of the van.
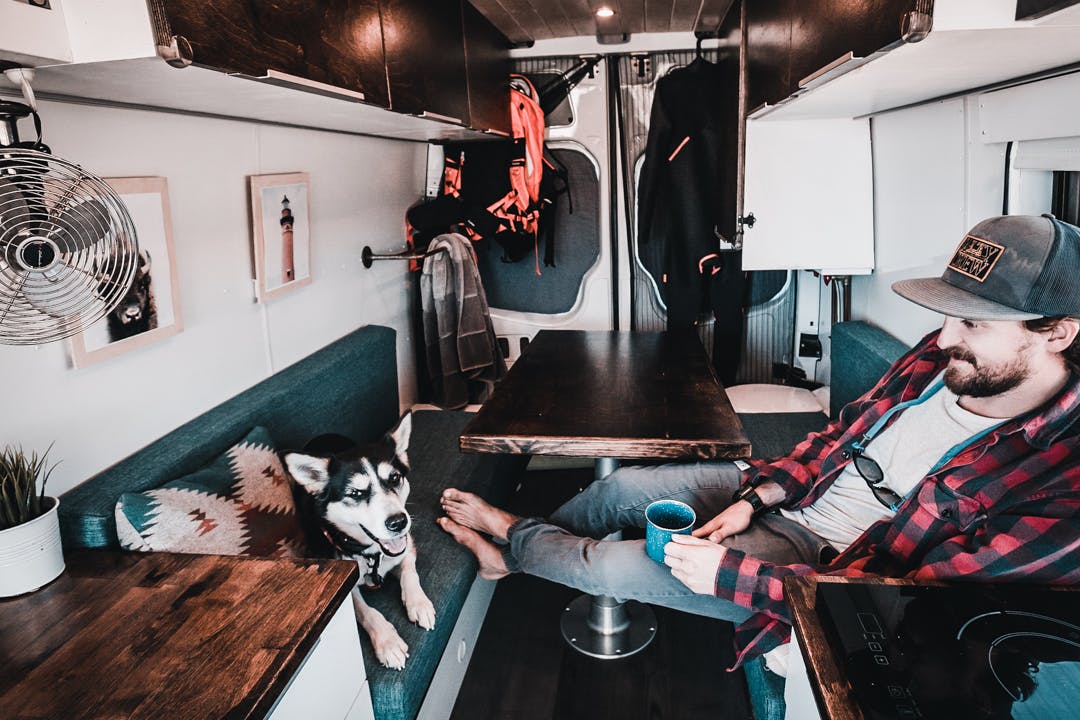
To me, this seemed like the simplest part of the cabinetry work and a good place for me to fine-tune my new craft.
I used 3/4 Plywood for the benches because they would always be bearing weight in both bench mode and bed mode. I’m sure 1/2 would have been fine but the 3/4 just felt more sturdy.
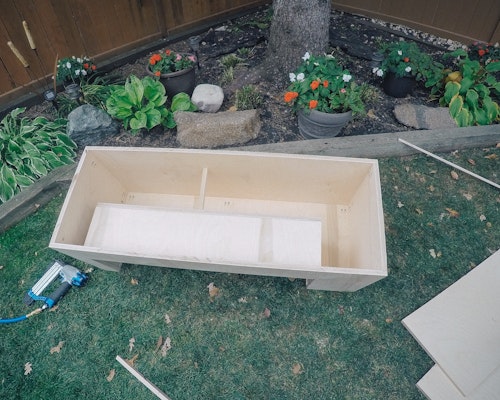
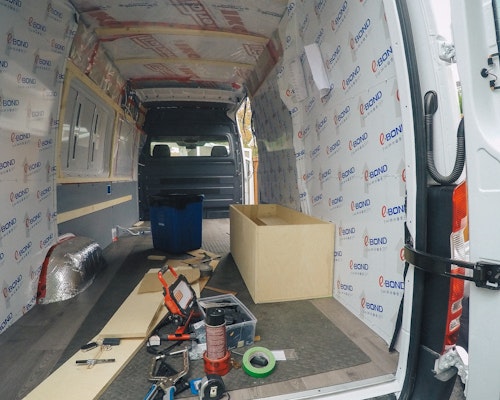
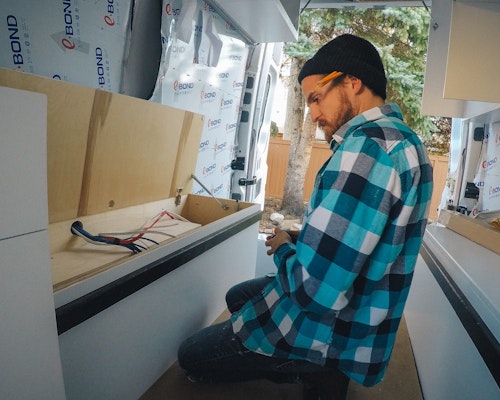
Building the benches was fairly straight forward and the only thing I needed to take into account was the wheel well.

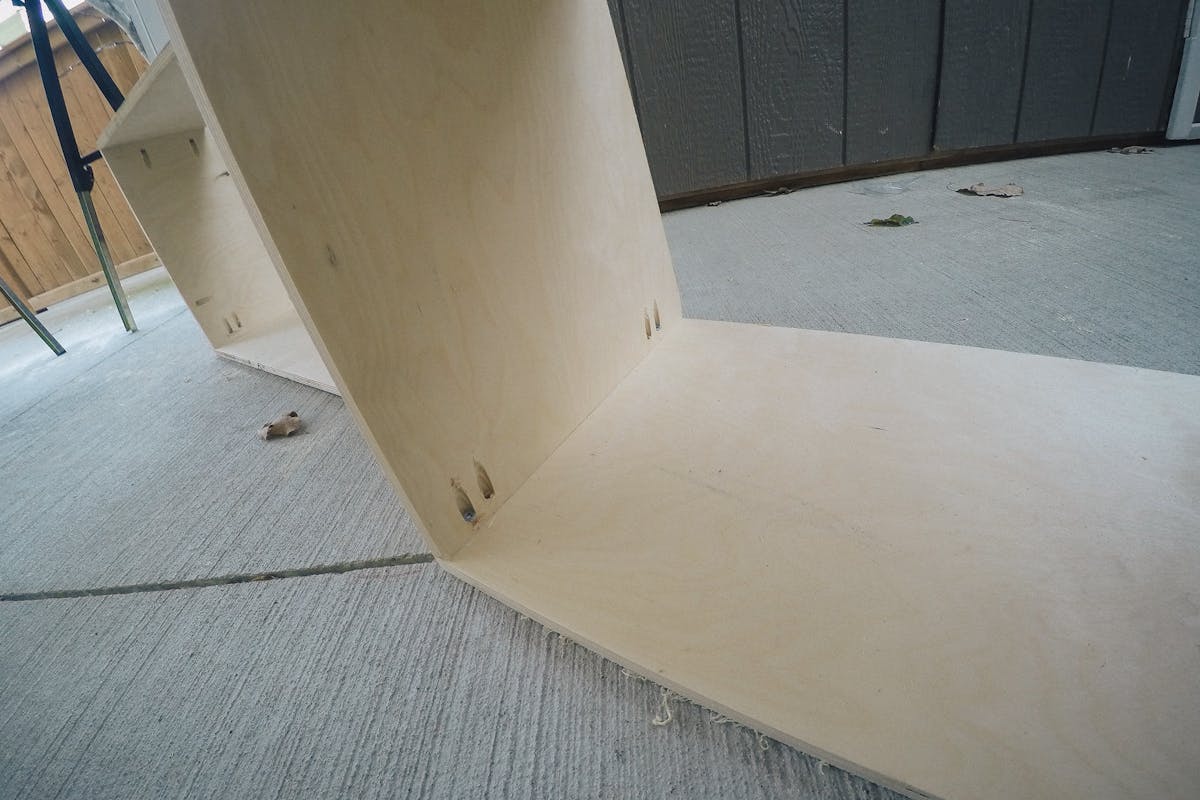
Tip: One of the hardest parts about building the cabinets is just finding the best technique. After doing a ton of research on cabinet building, I found that a very common technique for creating strong cabinets and drawers was to use pocket screws. Pocket Screwing using a Kreg Jig was a huge timesaver and made it possible for a DIYer like me, with zero cabinet experience, to make solid cabinets in the van.
The benches and dining table also converted into my bed each night. Thanks to this table pedestal, I’m able to position it at several different heights.
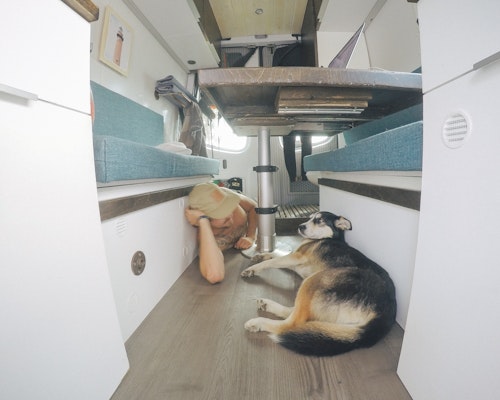
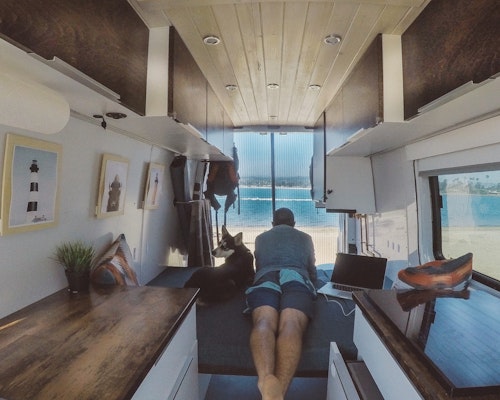
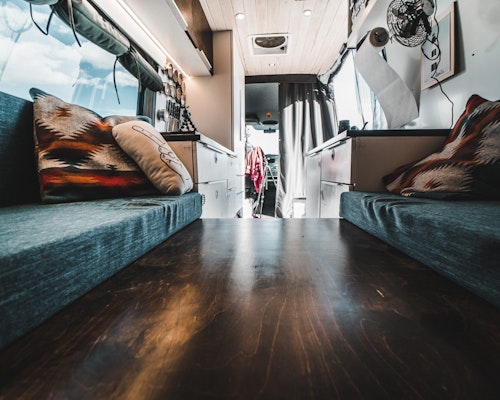
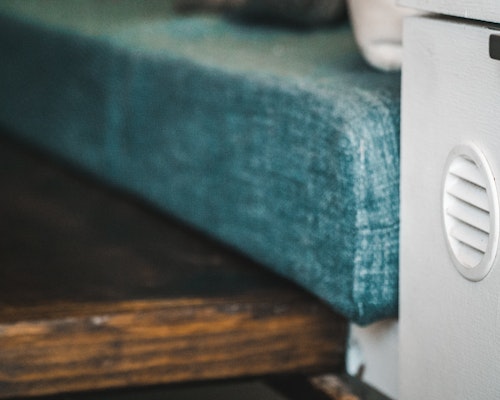


You can see me putting my bed together in my full van tour.
After I built the bench boxes, the next easiest pieces to build were the kitchen counter pieces. These pieces are made up of 2 boxes that are identical in size, but with different door and drawer configurations.
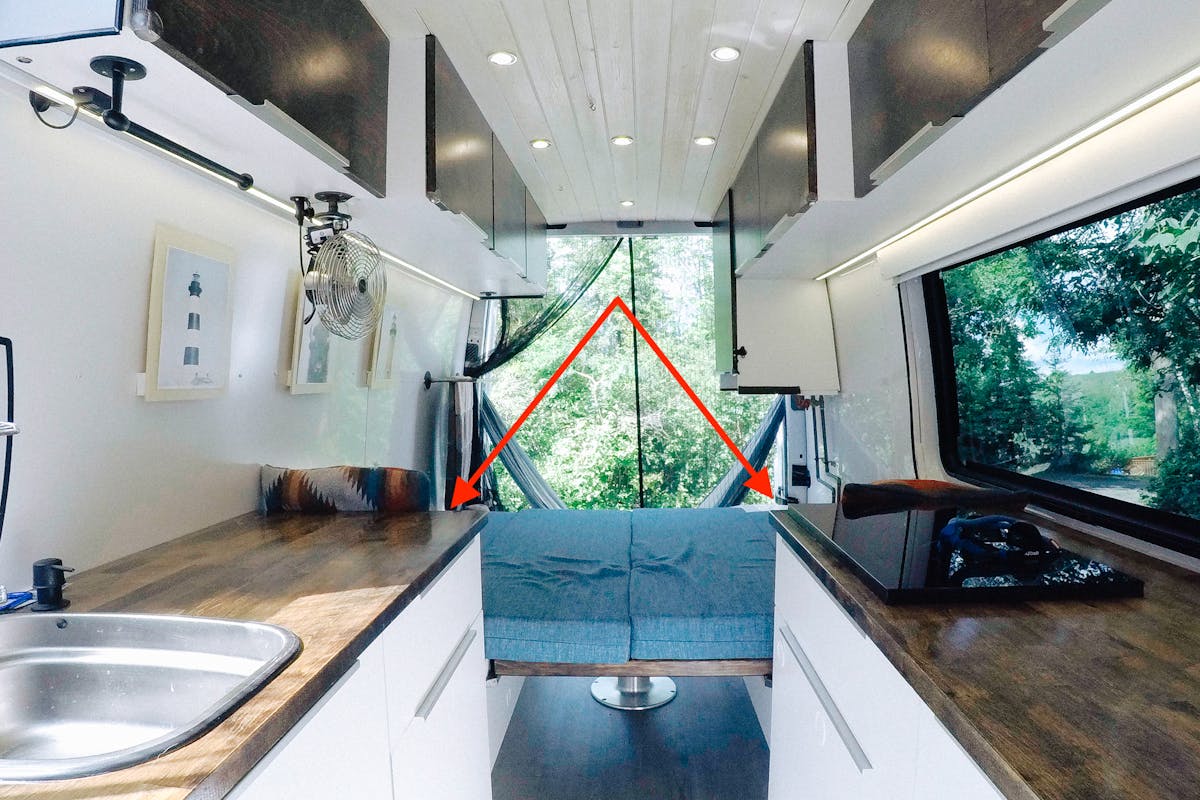
The unit on the driver’s side of the van contains 3 slide-out drawers on the right-hand side of the unit and 2 drawers on the left.
Inside the drawers on the right is where I store basic kitchen items. The left has a large slide-out drawer to hold the fridge and a smaller drawer above it for the kitchen utensils and cutlery.
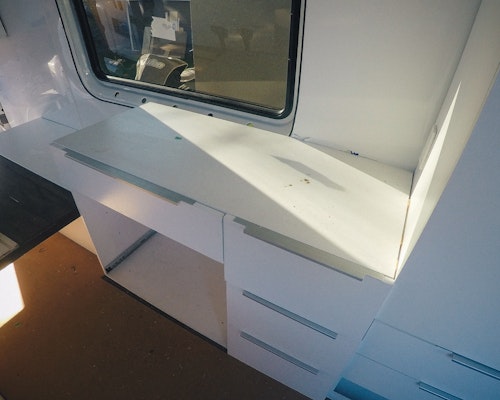
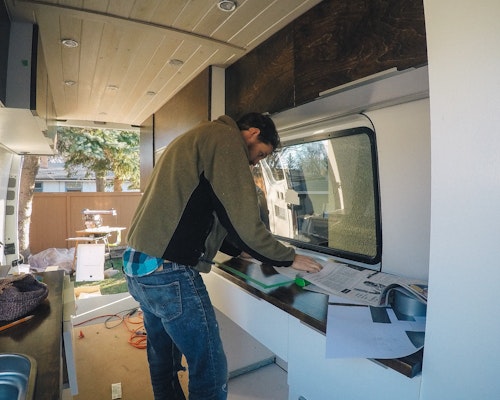
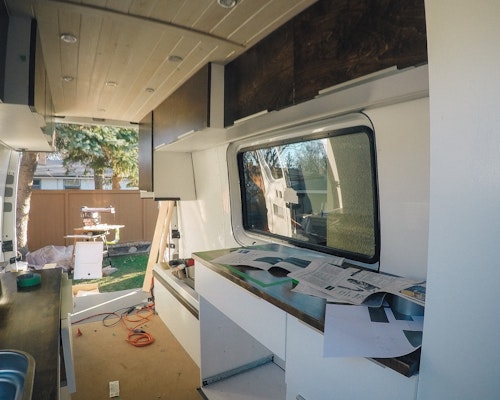
The only thing I had to do differently on the fridge drawer was to install a heavy-duty 20inch, 200lb drawer slide so it would withstand the weight of the fridge and contents.

The unit I made for the passenger side is the same size as the unit on the Driver side. The only difference is the drawer and door configuration, as I had to accommodate the sink, hot water tank, and garbage slide-out.
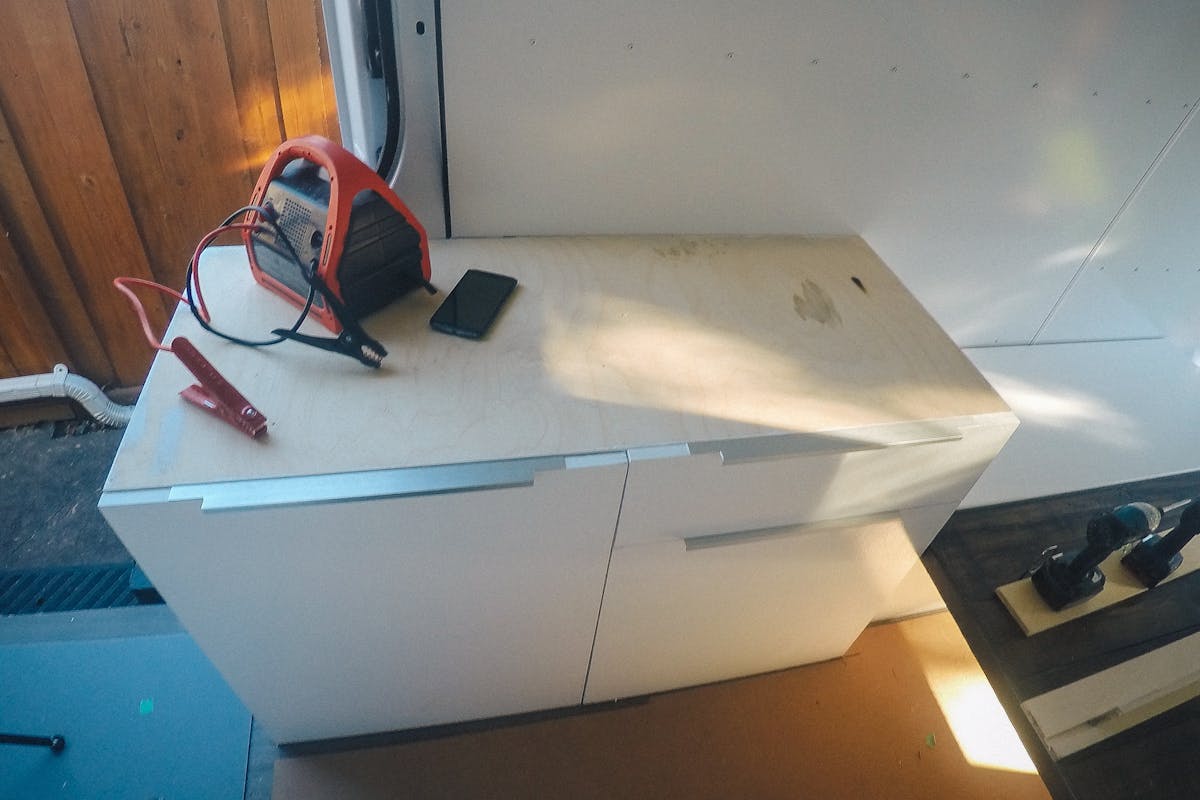
One thing to note on building the bottom storage units is that I didn’t bother trying to accommodate the curvature of the van and made the backs for the boxes square. In the Sprinter van, the major curving of the van occurs closer to the ceiling, so it didn’t seem to affect the installation and mounting of the bottom cabinets.
Mounting the lower cabinets was pretty straight forward. When I framed up the inside of the van, I made sure I had enough strapping in behind the ACP walls that I could easily screw the cabinets into the strapping and securely fasten them to the van.
Tip: When mounting the cabinets, you need to keep a large square handy. I originally neglected to use a square and as a result, when I would fasten the cabinet and screw all the separate pieces together, everything was pulled out of square and none of the drawers worked properly.

After the lower cabinets were completed, it was time to install the countertops.
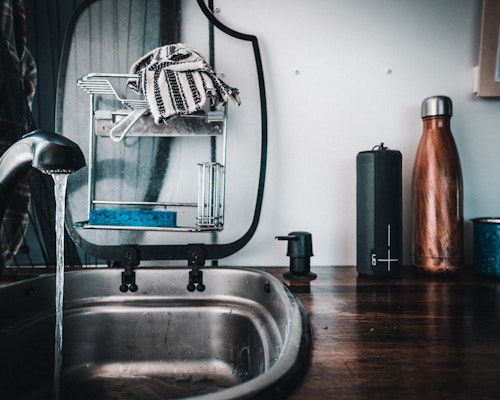
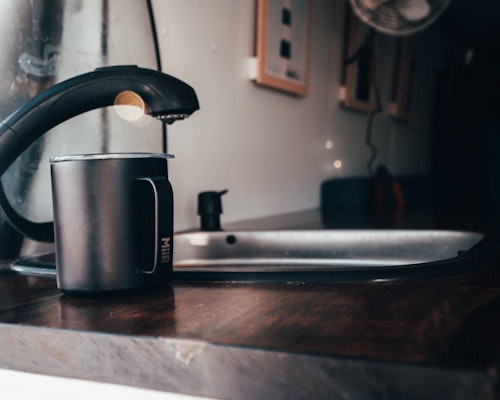
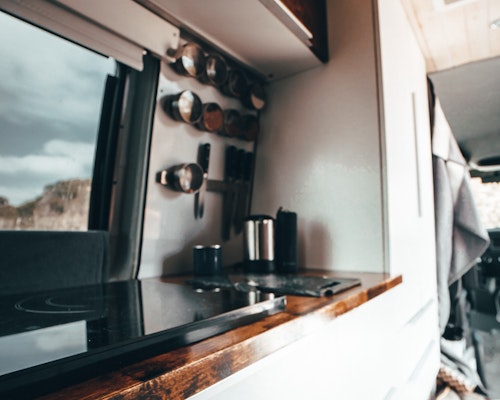
Here’s how I got the look I was aiming for:
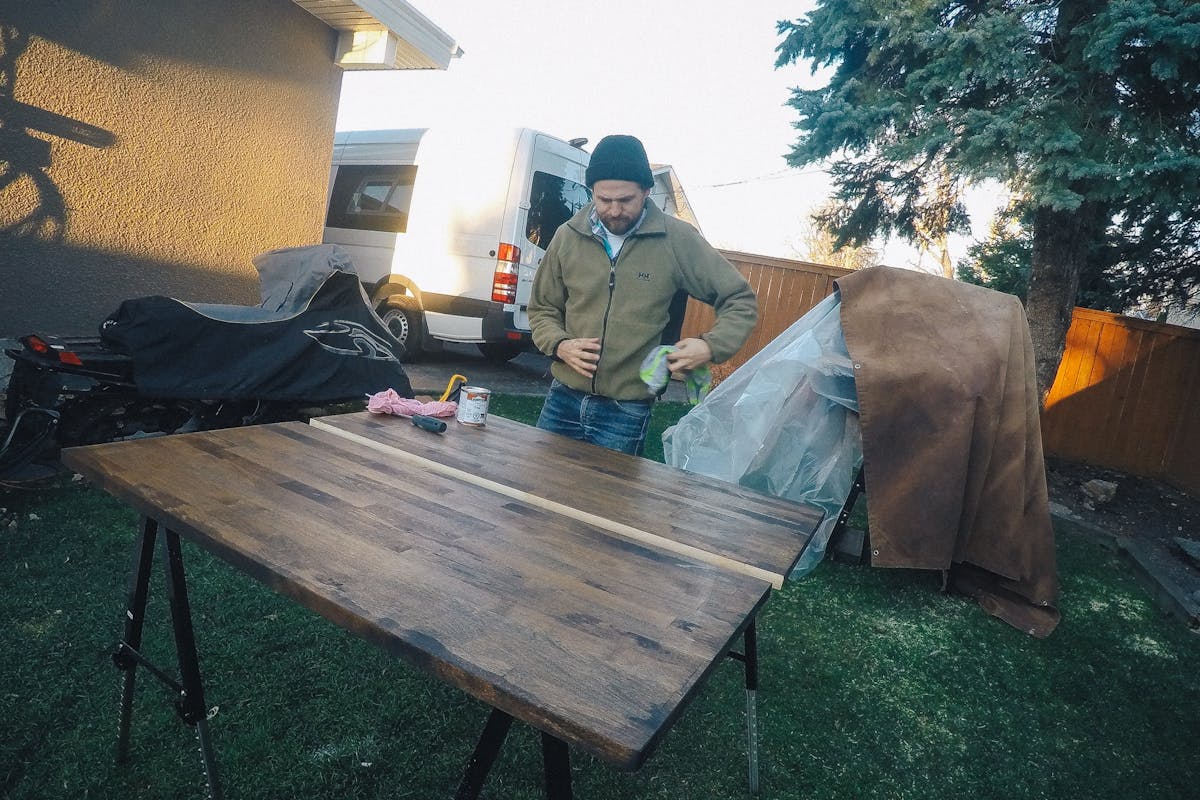
You’ve put in so much work to make your countertops look amazing. Now it’s time to cut into them…
Before I started cutting out the openings for the sink and cooktop, I made templates out of paper that I could use to trace onto the counter and use it as a map for my cuts.
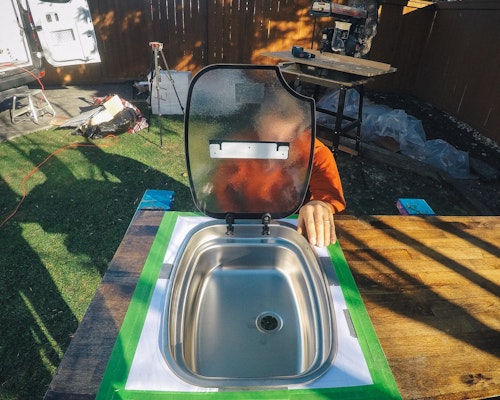
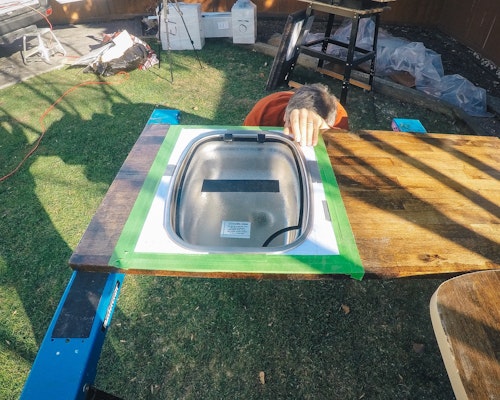
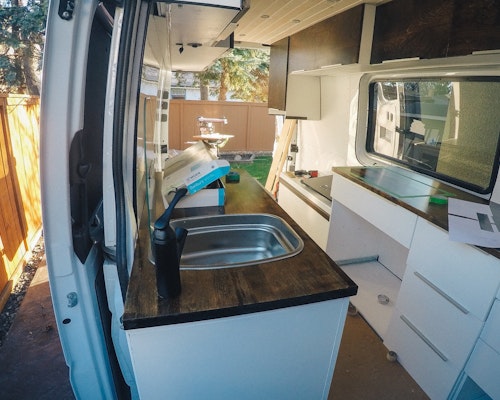
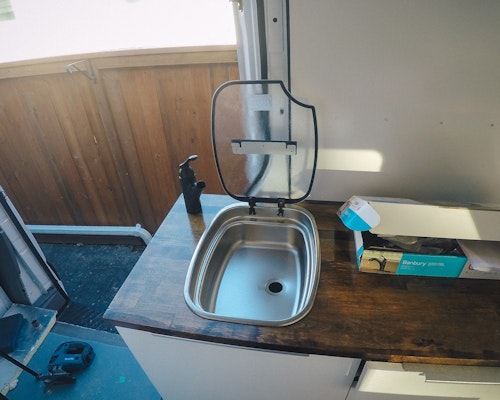


Once the openings were all cut, I placed the counters onto the cabinets and screwed from the bottom up to secure the counter in place. I chose not to glue down the counter in case I ever needed to take it apart for whatever reason.
The upper cabinets were a bit more challenging than the lower cabinets. I found the hardest part about the upper cabinets was finding the right angle at the top to follow the curve of the van.
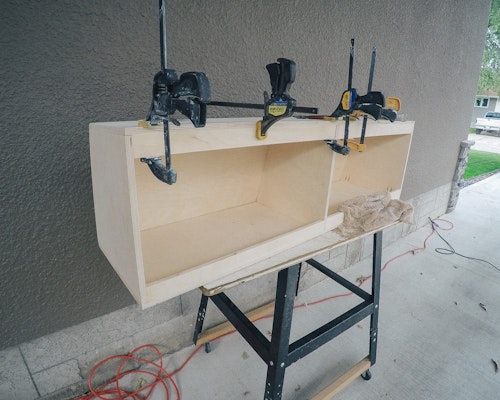
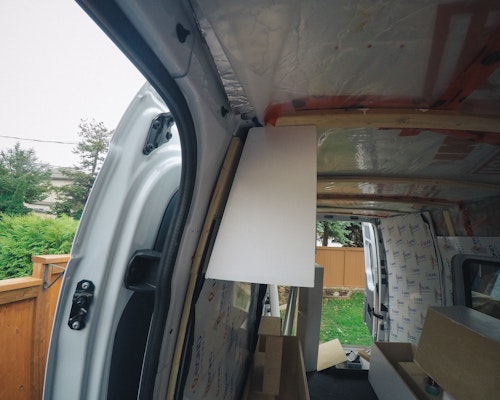
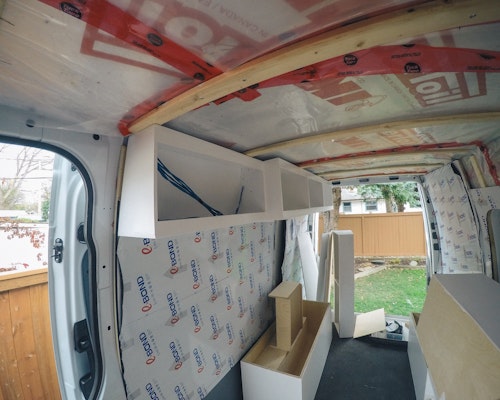
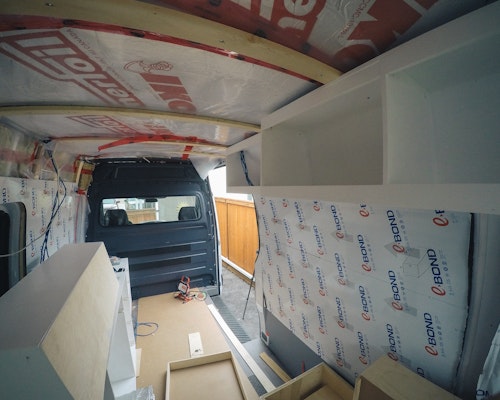


Finding the right angle to use required a lot of patience and numerous cardboard templates.
The method I found worked best for me was to do my best to eyeball the rough angle I needed and to cut that shape out of cardboard.
After I had the rough shape in cardboard, I taped a black sharpie marker to the edge of a 6-inch stick. Using one hand to hold the cardboard in place and the other to use the stick to trace the outline of the wall onto my template piece. Then I created a new template out of this new information.
You’re going to find that the angle doesn’t work perfectly in every position, but I just used the same angle throughout the upper cabinets to save time.
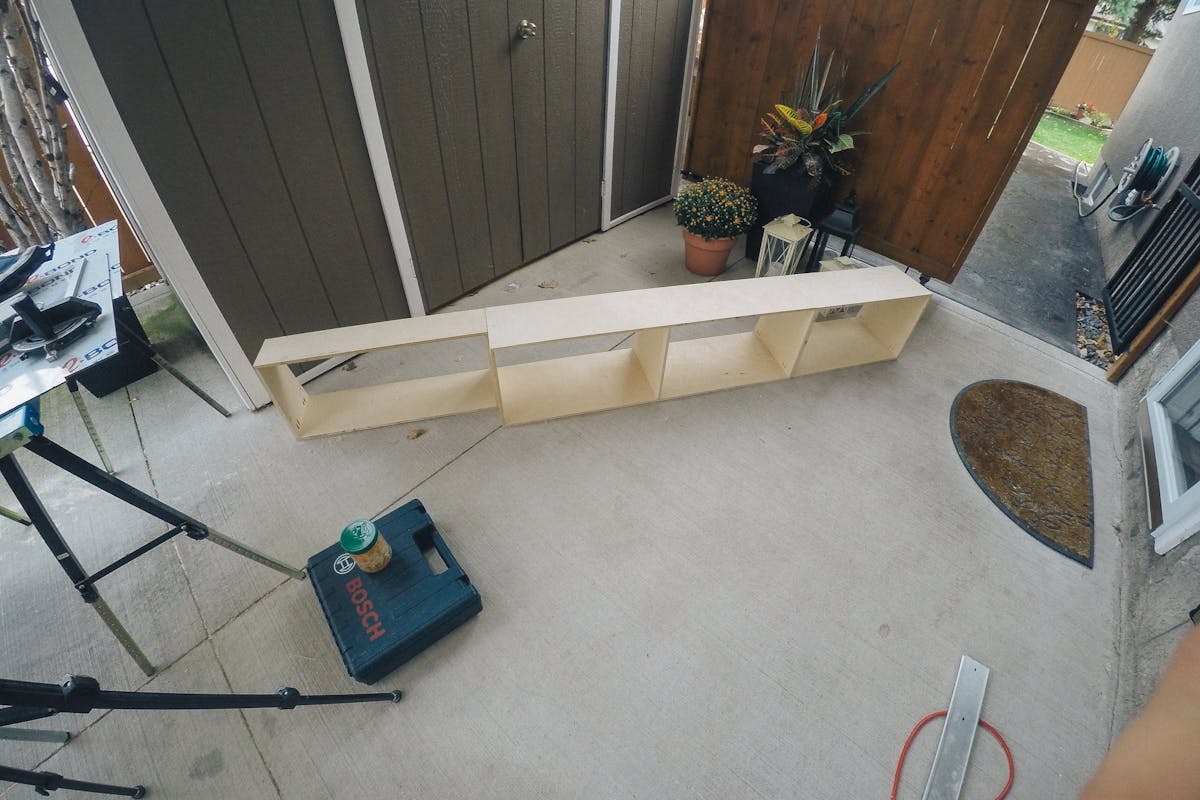
After building the upper cabinets, it was time to get them mounted in place. Before mounting them inside the van, I fastened them together outside the van as 1 unit for each side and then brought them into the van.
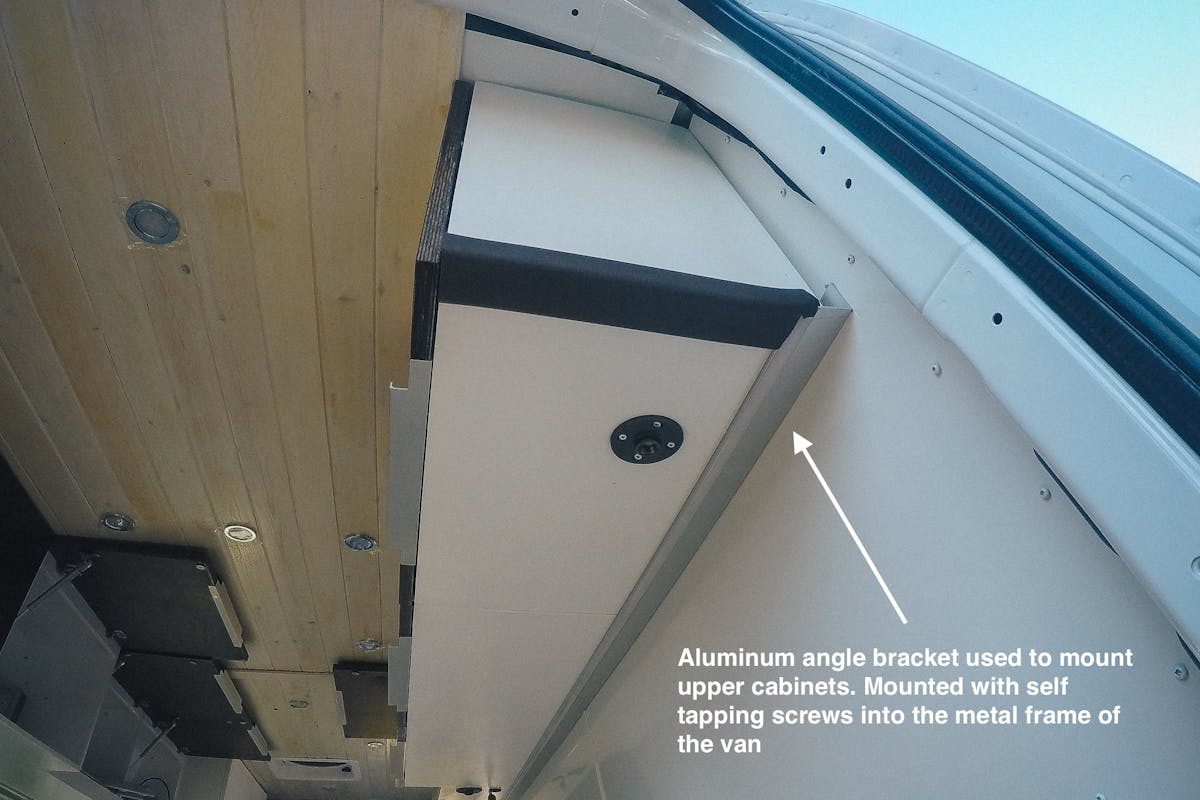
From the bottom edge of the upper cabinets, I purchased an 8ft section of angle aluminum from Home Deport, and using larger self-tapping screws I fastened the angle piece through the wood strapping into the metal bracing of the van.
Bringing the cabinets into the van was a 2 person job. As one person held the large 8+ft cabinet in place, the other would fasten the cabinets through the top from inside the cabinet into the wood strapping that was installed across the ceiling of the van.
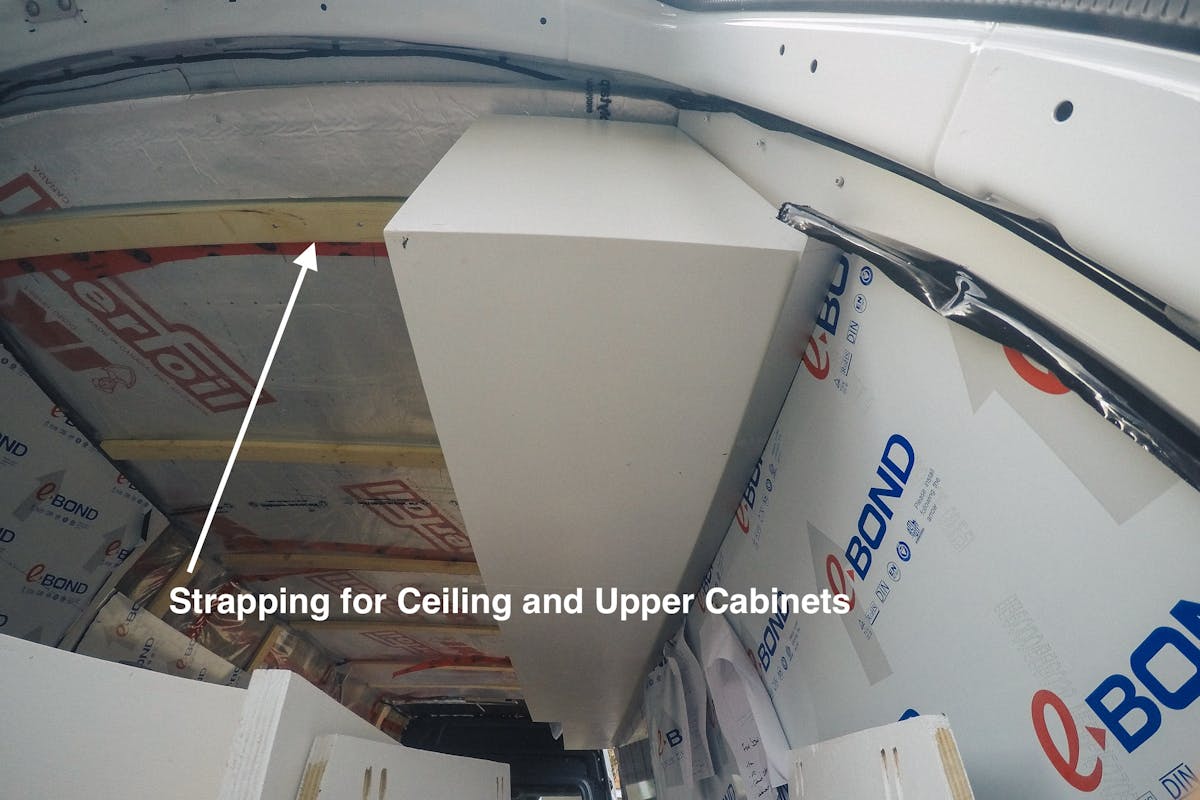
As you can see in this image, the side profile of the upper cabinets angle is not perfect… But it’s close enough and with a quick faceplate to tidy things up, I think it looks perfect.
Now that the majority of cabinets were built and installed, it was time to build the biggest piece of furniture in the van, the wardrobe unit.
The unit I chose was much bigger than many people would prefer in their van. But since I live in a variety of climates, it’s nice having the space for the different types of clothing I need.

The bottom section of the unit consists of 2 drawers and shoe storage. I use the top drawer for clothing and second for general storage. Shoe storage also includes space for things like dog leashes, etc.

For the top section of the unit, I built this unit as a very basic hanging closet. The unit was fairly easy to build and then the only difficult part was templating the side panels so they followed the curve of the van.
It’s important that the unit snugs up nice and close to the wall otherwise when it comes time to fasten it in place, you will have issues.

Finally, the last cabinet that needed to be built is was for my shower. When people step into my van, this seems to be the area they are most surprised by.
When it came to planning the bathroom, I wanted to have an indoor shower and toilet without taking up too much space in the van. I think I was able to achieve that with this design.

Due to pure lack of knowledge when it came to cabinet making, I didn’t even think of installing a toe kick under the cabinets. A toe kick is a piece of wood that raises the cabinets off the ground a few inches. This allows you to stand at the counter without hitting your toes on the cabinet door.
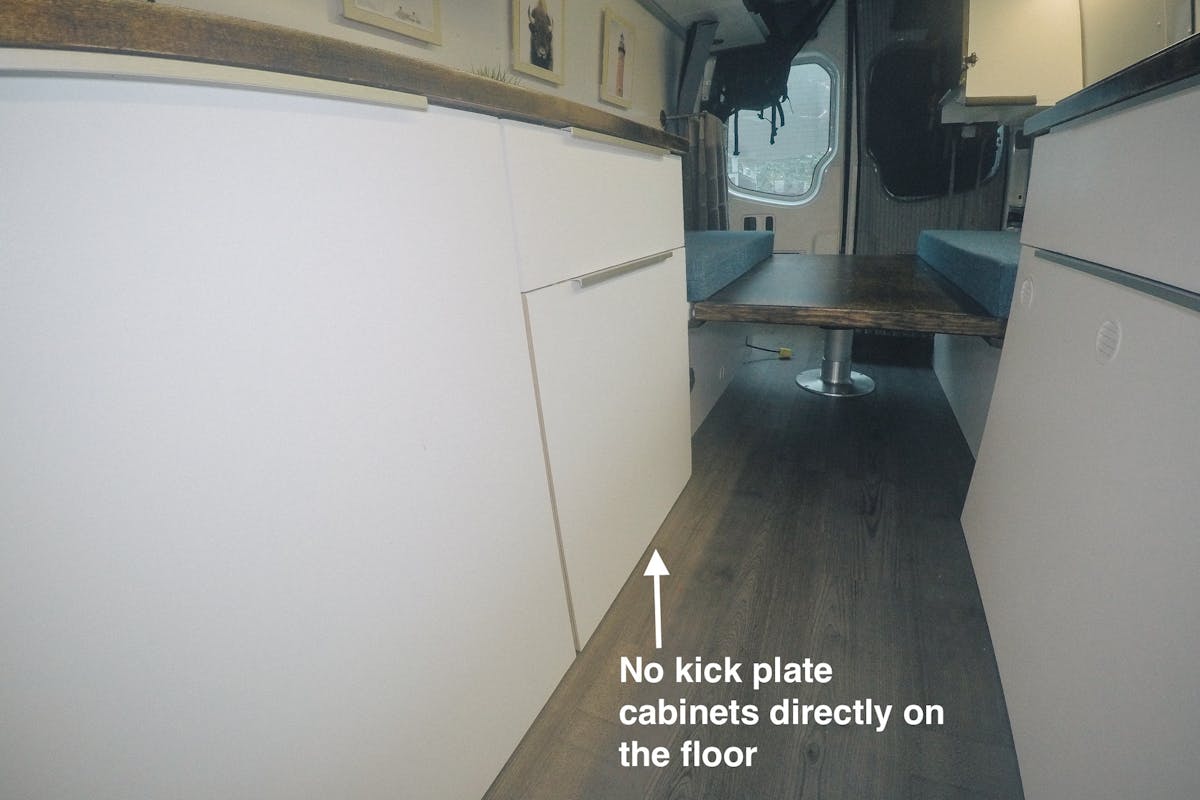
Toe/kick plates also make it so the cabinet doors don’t hit the ground as they swing open and closed. I had to shim the cabinets a bit to avoid this from happening.
This was the first time I had ever built anything with drawers. One thing I would recommend is to make your drawer openings rounded to the nearest 1/2 inch as it will make creating the drawers easier.
Every drawer slider you purchase will have a required clearance in order to make it work properly. So if the opening is 28 inches and the drawer slider requires 1/4 inch of clearance, that means your drawer needs to be made at 27.5 inches (1/4 inch for each side of the unit).
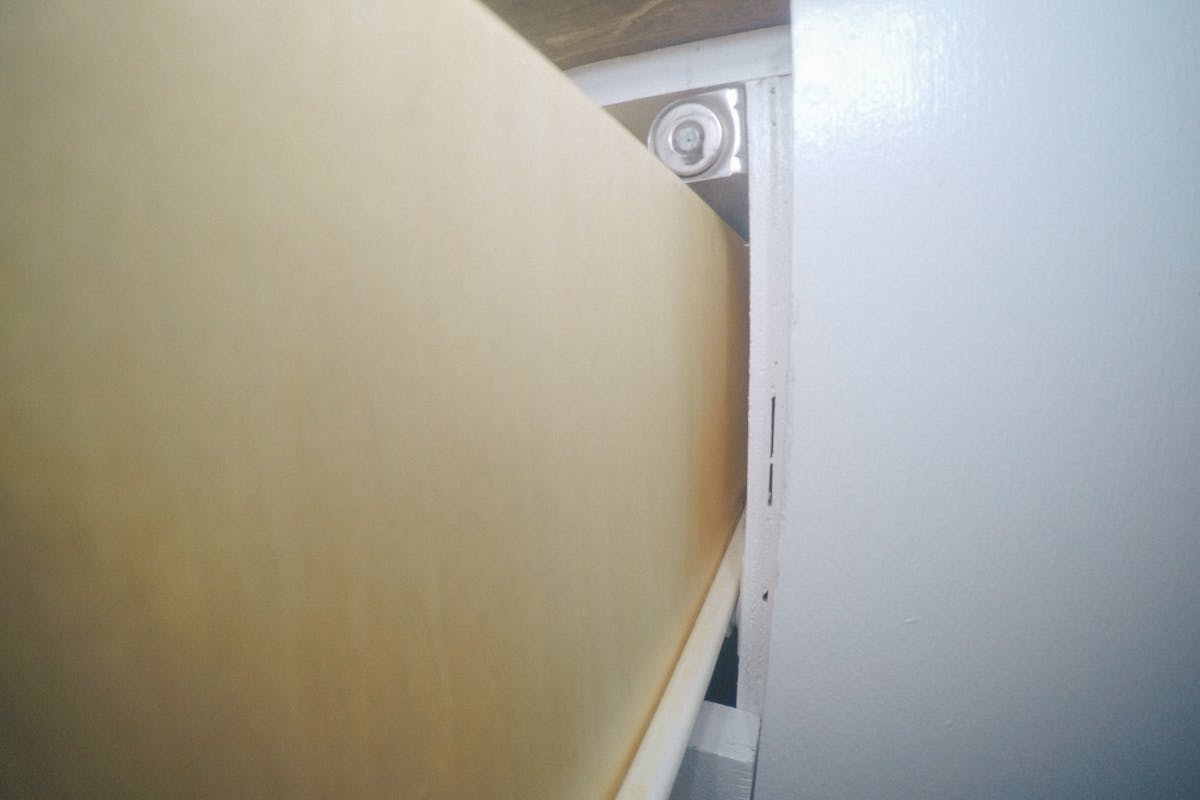
Something I decided to do, which I’m very happy about, was to install deeper cabinet units over the bed/sitting area. The cabinets over the sink and cooktop are shallower, allowing more headspace when moving around the van.
One thing I would do differently is to actually make the deeper cabinets even deeper.
After I had completed “phase 1” of my van, I ended up purchasing some additional electronic items:
Luckily with my cabinet design, I was able to sneak in some additional wires and not have them obvious in the interior of the van.
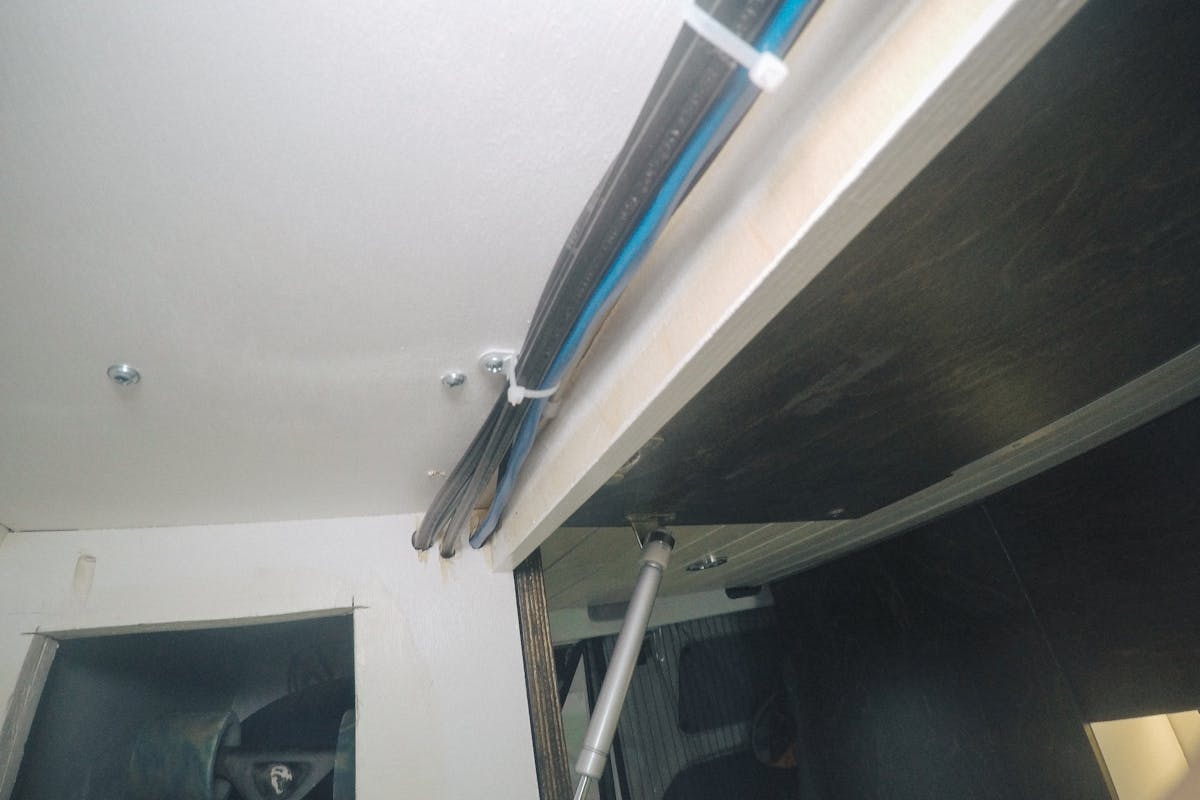
After about 2.5 weeks, my van really took shape thanks to my new cabinet and storage areas.
Hopefully this article has inspired you to start this challenging but rewarding DIY project!
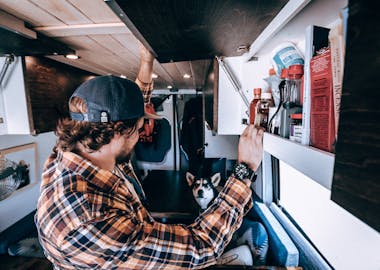)
Building custom cabinets for my van was the lengthiest part of my entire van conversion.
)
So what is Lizard Skin and why am I using it?
)
Installing a diesel heater on your own can feel intimidating. Especially when you first open the box of the Espar D2 Heater.