
Sign up for The Wanderful newletter
Join our growing community of people looking to live the simple life!
Let’s build your van now
Join our growing community of people looking to live the Simple Life


)
There’s a definite draw to older Sprinters for those of us looking to have a DIY Van Conversion. For one, the T1N Sprinter models have a really positive and rightly-earned reputation for lasting into the hundreds of thousands of miles, when well maintained. Some even boast getting their van to half a million or more miles.
But, with that comes the main drawback. T1N’s stopped being produced in 2006. So at the newest – you’re getting a 15-year-old vehicle.
One of the not-so-great qualities of the metal box build is the rust.
I have now had 2 Sprinter vans in my life; a 2006 and a 2005. Ironically, the 2005 Sprinter Van had the best body, whereas the 2006 needed some care.
I’ve seen a ton of rust issues on used Sprinters and come across a lot of people that act like it’s not a big deal. I’m here to tell you; rust is a big deal. In other cases, a lot of people will avoid older vans all-together, which is an overreaction.
If you’re looking to get high miles out of your van, you should be trying to get the same out of the body – and it’s pretty simple to do so. If you’re buying a van with a really solid engine but also with a little bit of rust, you can generally get a good deal on one of these older Sprinters.
Let’s start with the roof.
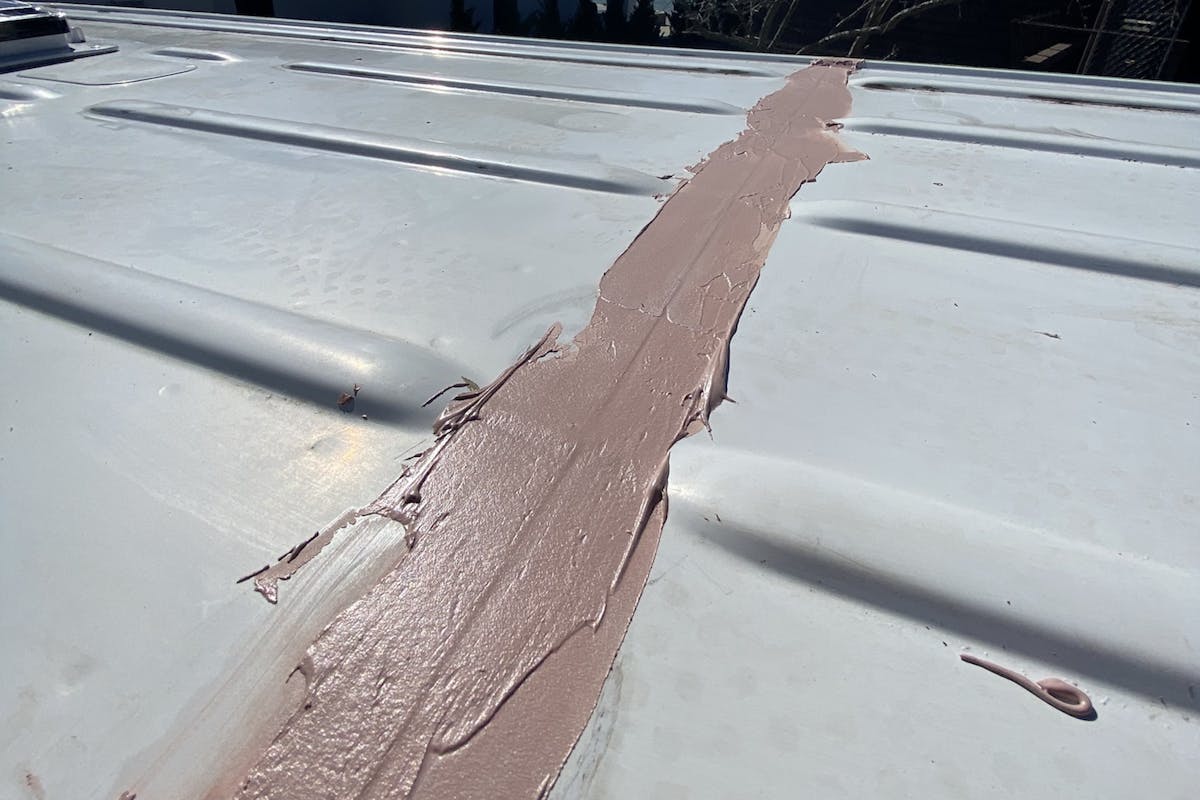
When I got my first Sprinter, I failed to climb up on the roof. What met me there was not a pretty sight. Rust was everywhere to the point where rainwater would sometimes come through a few spots.
So, here’s what I did about it.
1. Grind down all the rust to bare metal
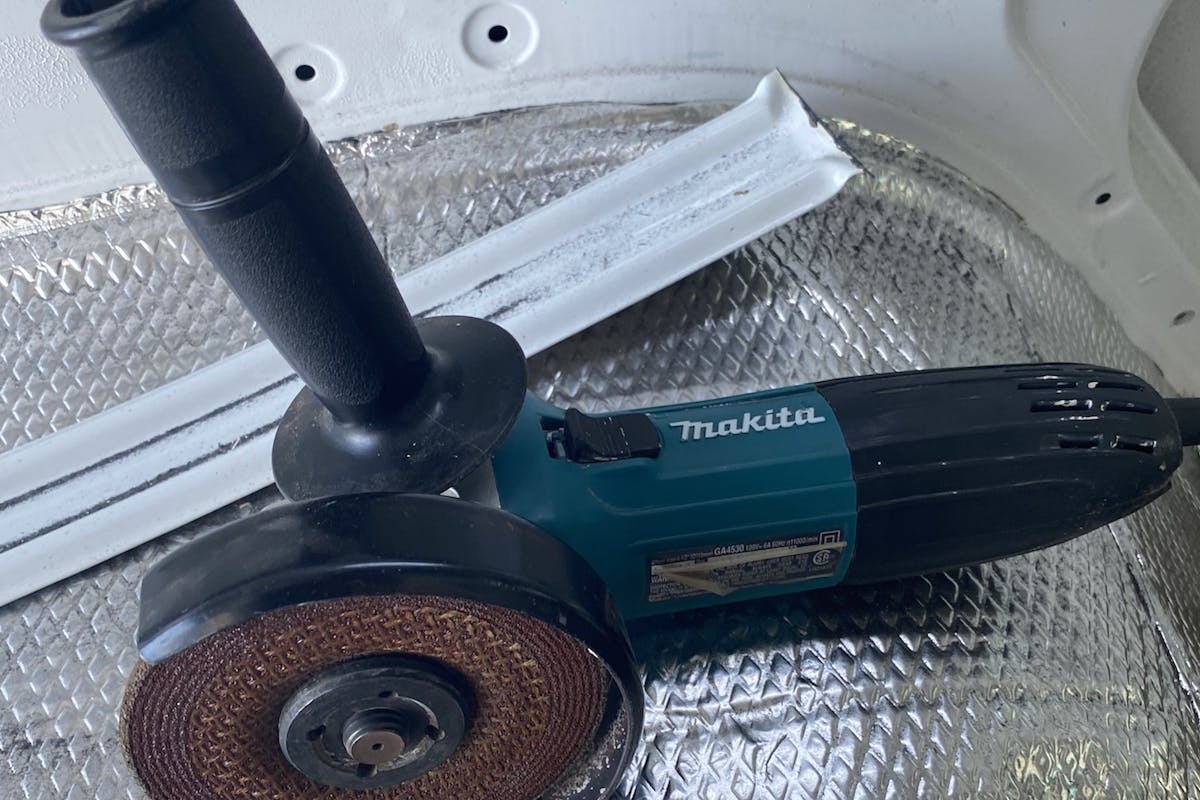
Warning: This will make the problem worse before better. You will be creating bigger holes in the roof and less structural integrity up there. Grinding will also make the biggest difference when you…
2. Prime it!
After griding, you have to seal it. I chose a primer that bonds to any remaining traces of rust and transforms it into a non-rusting, paintable surface.
3. Epoxy the rough spots and holes
I used Bondo and it worked great. You just have to do a little at a time so it doesn’t harden up on you. I sanded over the Bondo to smooth it out and it was super clean.
4. Paint
Some people will prime and leave it be on the roof. As I knew I wanted a roof rack to hang out on, I didn’t want it looking ugly up there. I painted it with a rubberized white paint that’s meant for RV and schoolbus roofs. This paint looks great! It’s texturized, which hides blemishes, and the rubberized aspect of it, along with the fact that it’s white, will keep your roof from getting overly hot in summer.
When shopping for your used van, you might want to consider bringing a knife or screwdriver with you and poke around under the van – literally.
Taking a sharp object and poking it through the rubber underseal in places like the wheel wells and near the walls can show you the integrity of the body.
If you poke under the rubber and feel crunching rather than the metal scratching feeling, it might be rust and could be a reason to stay away if it’s severe enough.
From the inside of the van, you can check near the area where the wheel well attaches to the floor. This is also a good indicator to see how bad the rust is. You can see if the exhaust and other components are rusty
Locating the emergency brake cable (or seeing if the emergency brake works and has tension or doesn’t and is loose) is an indicator of the rust life of the van. If the Emergency Brake cable is broken, it means it rusts straight through (or contrarily, is brand new and has been obviously replaced) and gives you a hint of what shape the rest of the van is probably in.
If you’re comfortable with bodywork, here are some steps to take:
This is anywhere water is likely to accumulate. Specifically, in the area around your windows and doors. Lots of people will get a small leak when it rains because water creeps through rusty spots above where the windshield meets the body.
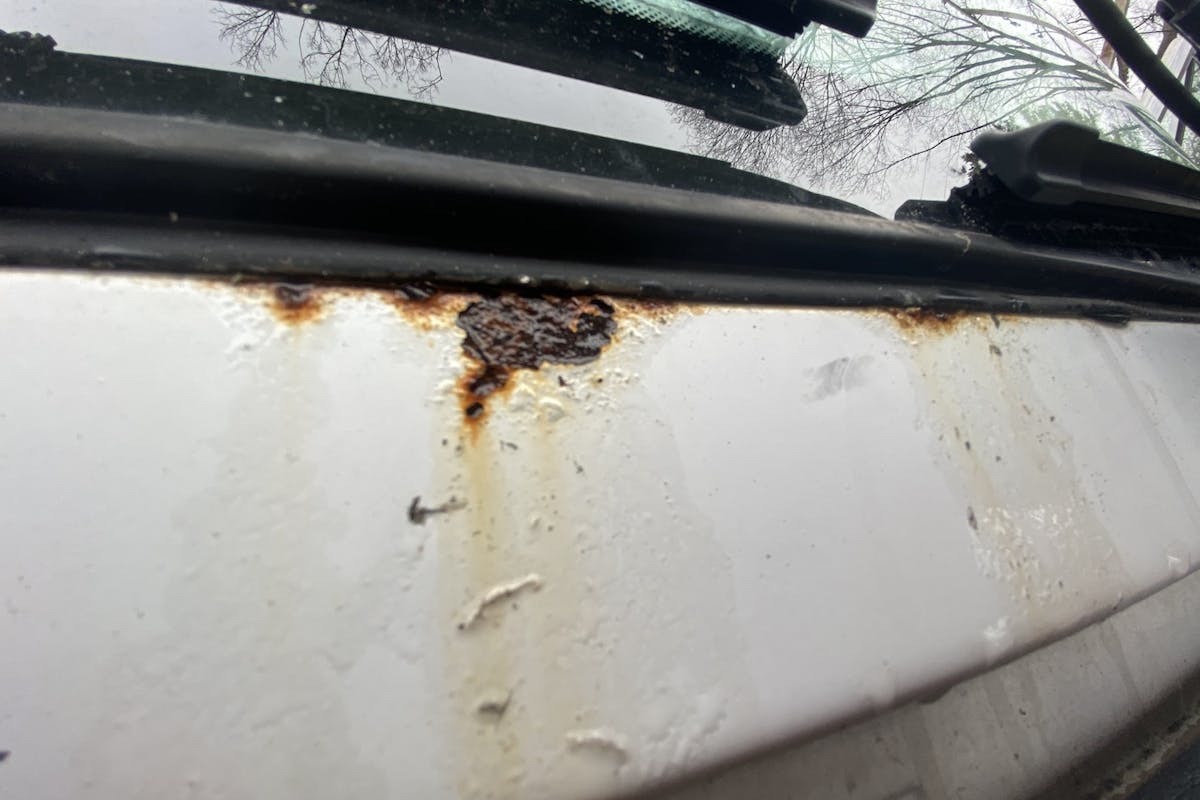
Other areas to worry about are the seam near the back door and windows and on the panels. Thee are all areas where rust might start and you can check frequently to treat and seal so it doesn’t spread.
This is just where the bush scrapes the side of your van and rocks kick up and hit your hood. Sprinters have a large surface area to gather little dings and scratches. Gone unchecked, it’s likely your vehicle will be a rusty tin can in 15 years.
If you’re diligent and even just keep a little bottle of clear coat body paint to seal these little trace amounts of damage, it will prevent rust and keep your body in tip-top shape, increasing the life and eventual resale value of your vehicle.
Rust treatment is an ongoing process and one that I encourage you to stay on top of.
The main thing to keep in mind when shopping for your van is that if you can see rust, assume there is more you can’t see. That’s not to say you should run away from the deal (although there are cases where you should!), but it’s something you should certainly investigate further and take into consideration when budgeting (both time and money) for your van conversion.
)
When I started living in my van full-time, I was so stoked to hit the road that all I had was a platform for my bed and some minimal storage.
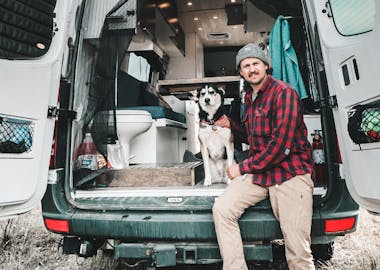)
Thinking of building a bathroom in your self-converted van? Read this first!
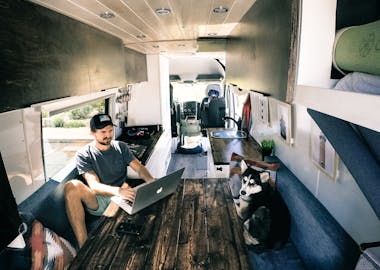)
Whether you’re planning a long road trip or you’re looking to be a full time digital nomad, you may be wondering how to get internet while on the road.