
Sign up for The Wanderful newletter
Join our growing community of people looking to live the simple life!
Let’s build your van now
Join our growing community of people looking to live the Simple Life


)
You’ll quickly realize that the installation instructions were written with a professional mechanic in mind…
With that said, the installation of your Espar Heater can be a great DIY project to tackle. By completing the install yourself, you could save yourself $1000-$2000 and use that money in other areas of the van.
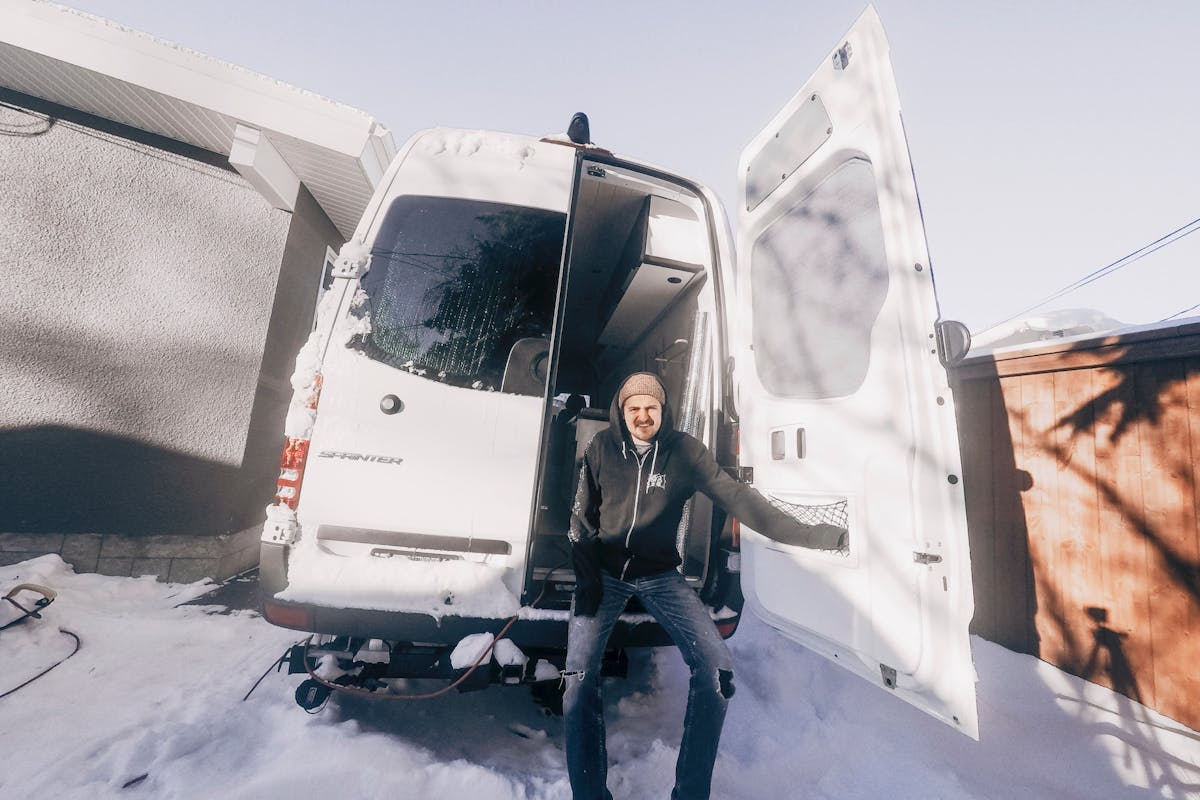
In this article, I’ll break down the steps I took to install the Espar D2 Heater in my 2016 Sprinter Van.
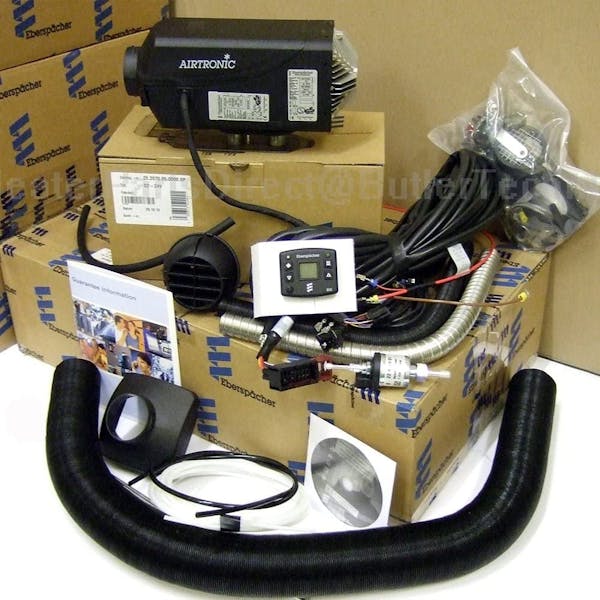
The Espar Heater has a few main components, and once you understand how they work at a higher level, it’s easier to visualize how the installation will actually take place:
To install the Espar Heater, you’ll need to install a secondary fuel pump in your diesel tank that will pump the diesel from the tank to the actual heating unit.
This is the cold air from the outside of the van that is pushed through the heater and then pushed into the van as warm air.
This is where the warm air from the heater unit exits the heater and enters the van.
This is the exhaust after the combustion has taken place to create the heat and this is exited outside of the van just like a muffler on a car.
I installed an Espar D2 Heater in my 2016 Sprinter. The installation would be the same for the 2008-2016 models. It would actually be the same process for 2007 and earlier models as well, except that you would need to drop the fuel tank and install the fuel pickup that the Espar D2 or D4 heaters come with.

The first step is to figure out where your heater is going to go. Most people, myself included, install their Espar Heater under the passenger seat.
It’s crucial to know where your heater is going to go, first, because you’ll need to measure all wires, ductwork, and fuel lines to make sure you have enough material.
To take your passenger seat off, you’ll need to remove 4 bolt from the base as well as the seat belt bolt in the seat.
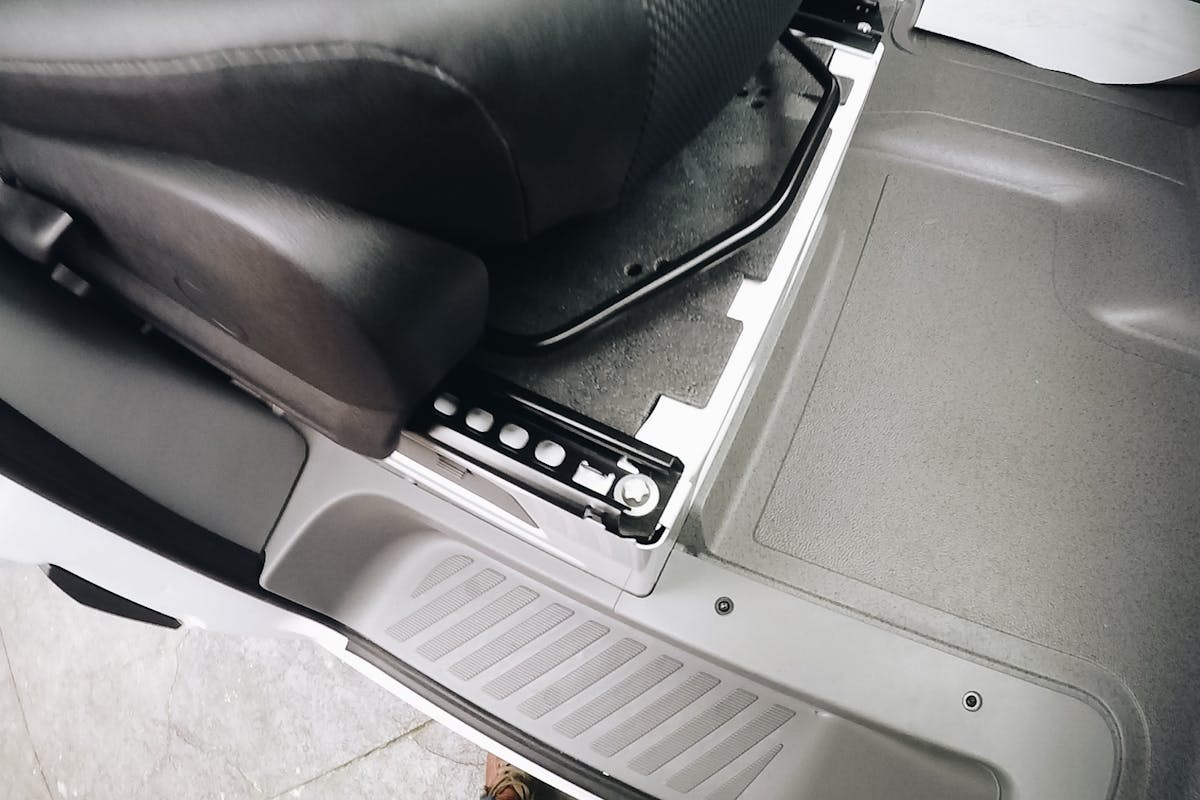
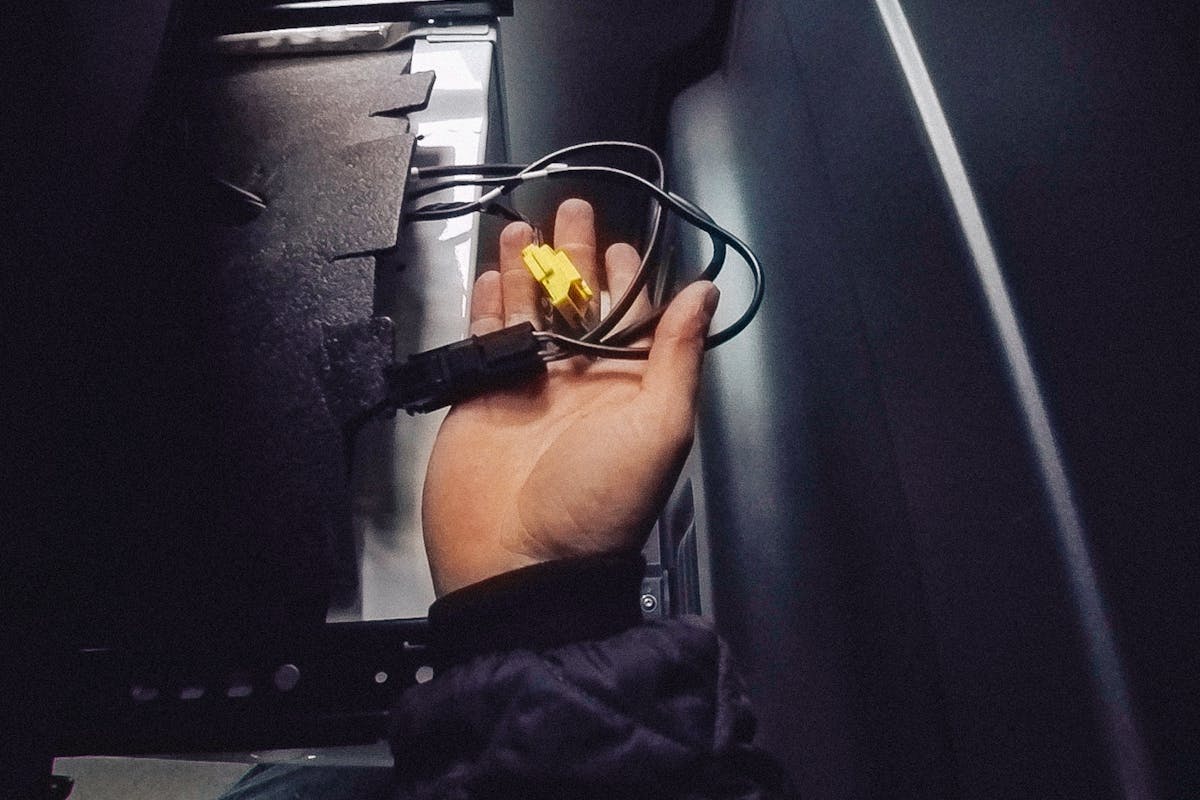
Once all of these bolts are removed, the seat comes off fairly easy, but don’t forget about the wires under the seat for the airbags. Heated seats will also need to be disconnected before you can fully remove the seat.
I read somewhere that when you have the airbag wires disconnected, you should avoid starting the vehicle as it may cause a ‘check engine’ light to show up on the dash which would require taking it into the dealer to have it reset. I personally didn’t feel like testing out this theory…
Pro Tip: Store your seat in a spot where you won’t be tempted to sit on it and accidentally crack the plastic around the bottom… Just trust me on that one.
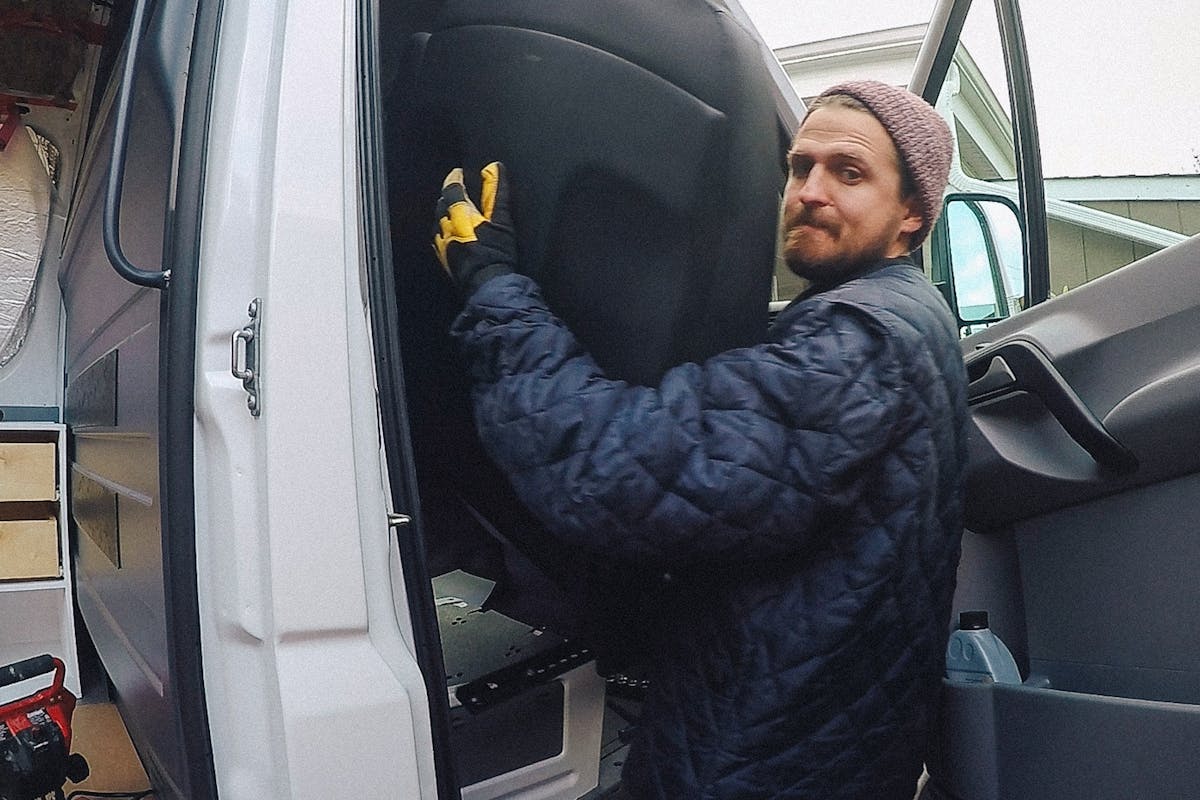
Once the seat is removed, you’ll get a much better idea of how the heater is going to be positioned inside.
Personally, the hardest part of the entire heater install was just mapping out all the fittings and adapters needed to install the fuel pump for the Espar.
The easiest thing to do is just crawl under the van and see what’s going on and how much slack you have in the existing hoses.
Newer model Sprinter vans will have an area for the second pickup, so you just need to tap into that.
My install was a bit different because my van had the winter package. This meant that it came with a factory D2 already installed. I needed to splice into the other D2 fuel pump. The factory D2 units come with a bunch of factory settings that you can’t override, making them impossible to use as a cabin heater in a DIY van project. Hence why I needed to install the second heater… Stupid, I know.
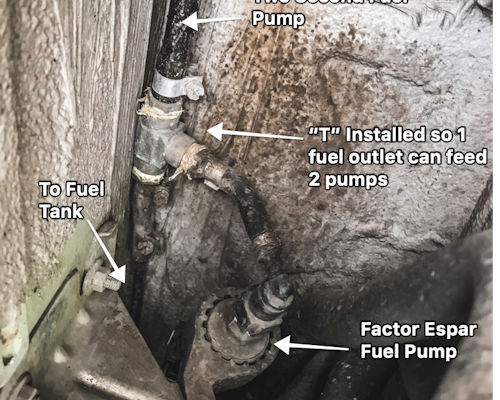
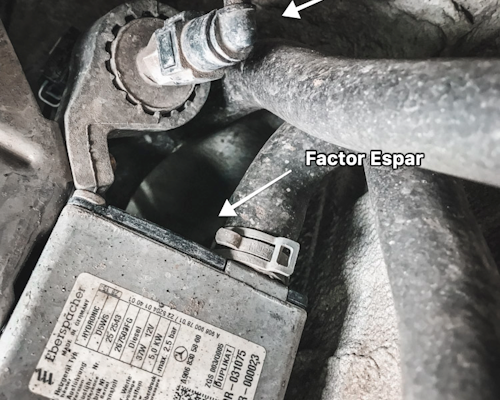
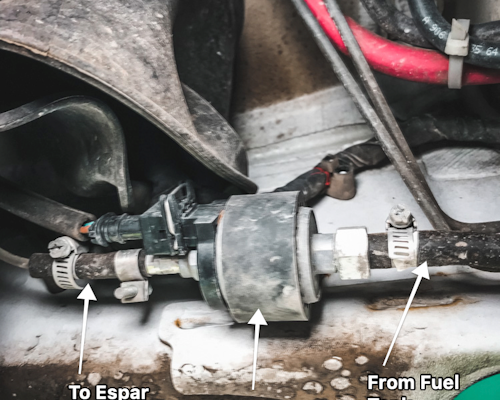
Now that the fuel pump is installed, it’s time to start mounting the heater under the passenger seat. To mount the heater, I used a block of extra plywood from the van cabinets to make a base. The base was used to fasten the Espar mounting bracket.
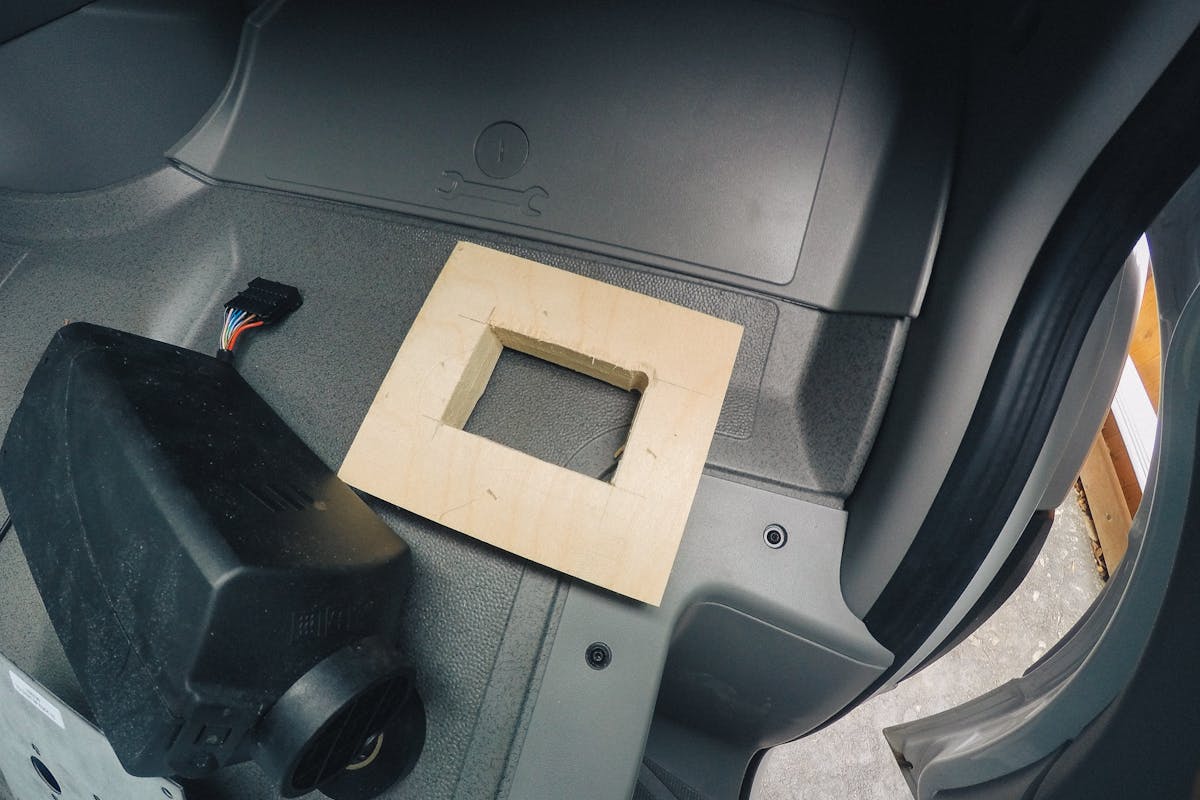
1. Map out the area so you know where the block is going to be placed.
2. Follow the template provided and drill 3 holes:
To drill the 2 larger holes, I used a hole saw and for the fuel line hole, I used a regular drill bit.
3. File down sharp edges on the holes.
4. Place heat-resistant muffler putty on the wood.
5. I also folded up some aluminum foil and lined the inside of the wood just to reflect some heat back. Probably overkill, but it was easy enough.
6. Attach the intake, exhaust, and fuel line to the heater before mounting it in place.
7. After the lines have been clamped in place, feed them down through the holes in the floor to the underside of the van.
Make sure to have the heater orientation correct (Silver exhaust hose towards the back, black intake exhaust hose to face the front). With the Espar Heater, the hot air will blow out from the exhaust side of the heater so just double check that you have done this correctly.
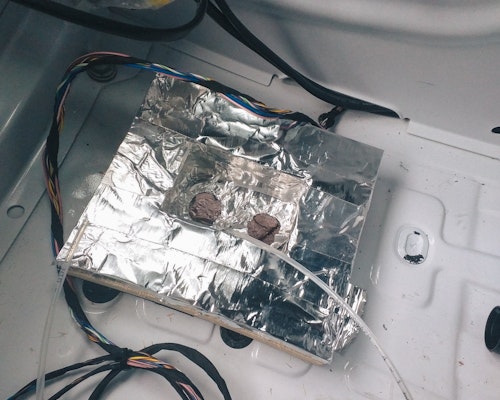
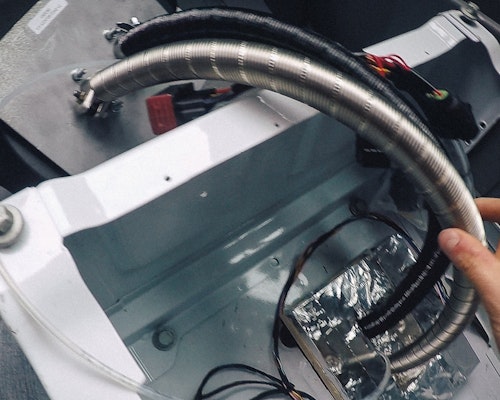
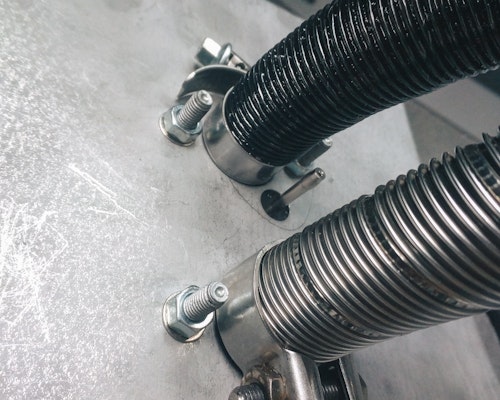
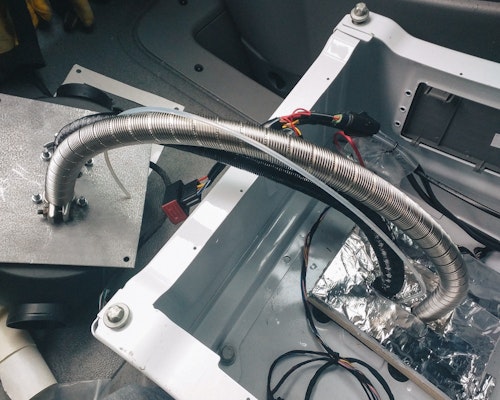
Once you’ve mounted the heater in place on the block of wood under the seat, you can start to run all of the control wires from the thermostat and fuel pump.
In my van, I have the house batteries as a 12v fuse panel located in the rear passenger bench seat so I need to run the control wiring to that point.
I found it was easiest to remove the sliding doorstep and run the wires under that area to the back of the van.
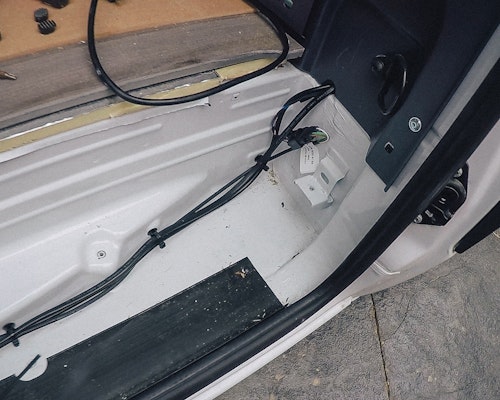
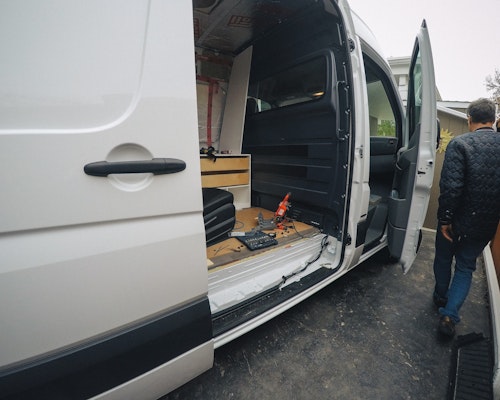
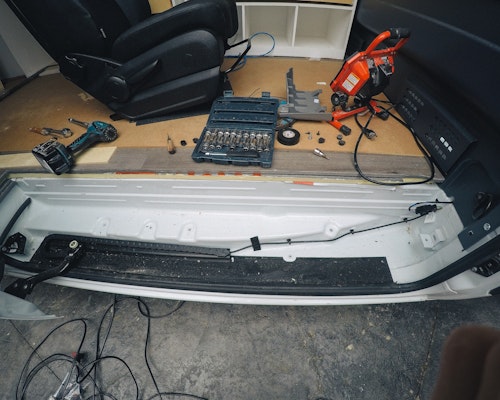
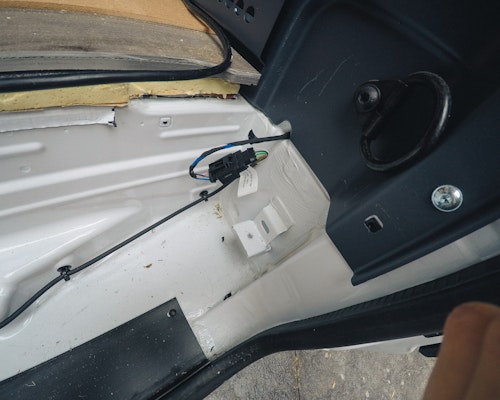


Once you have all the wires run and the little Espar Control panel mounted to wherever you plan to have the control mounted, you can quickly hook up power to the unit and make sure that it has power going to it.
Once you have the power wires connected and you plug in the control panel/thermostat, the lights should turn on.

The next step is to drill the hole in the bottom of the chair to allow somewhere for the hot air to enter the van.
1. With the heater mounted in place, measure, as accurately as possible, where the center of your hole needs to be in the chair.
Keep in mind, the large flexible hose the comes with the kit is used to connect the two pieces together so you have a little room for error here.
2. Drill the hole in the base of the passenger seat using a hole saw.
3. Mount the nice vent cover provided with the kit.
4. Cut an appropriate length of the black flexible tubing and use the provided hose clamps to connect everything together.
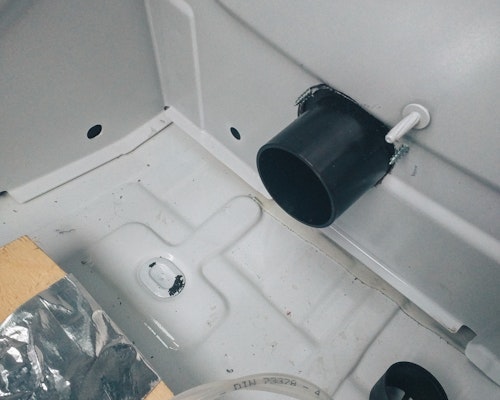
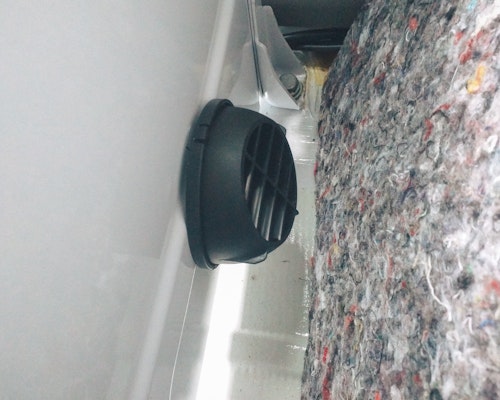
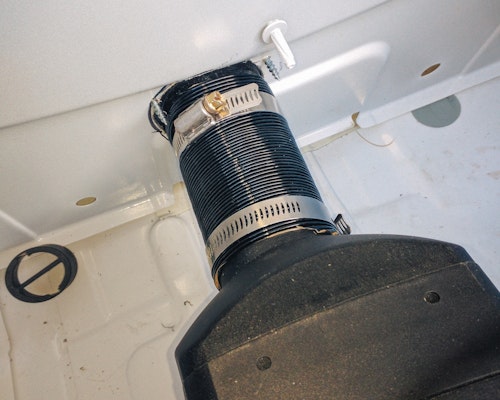
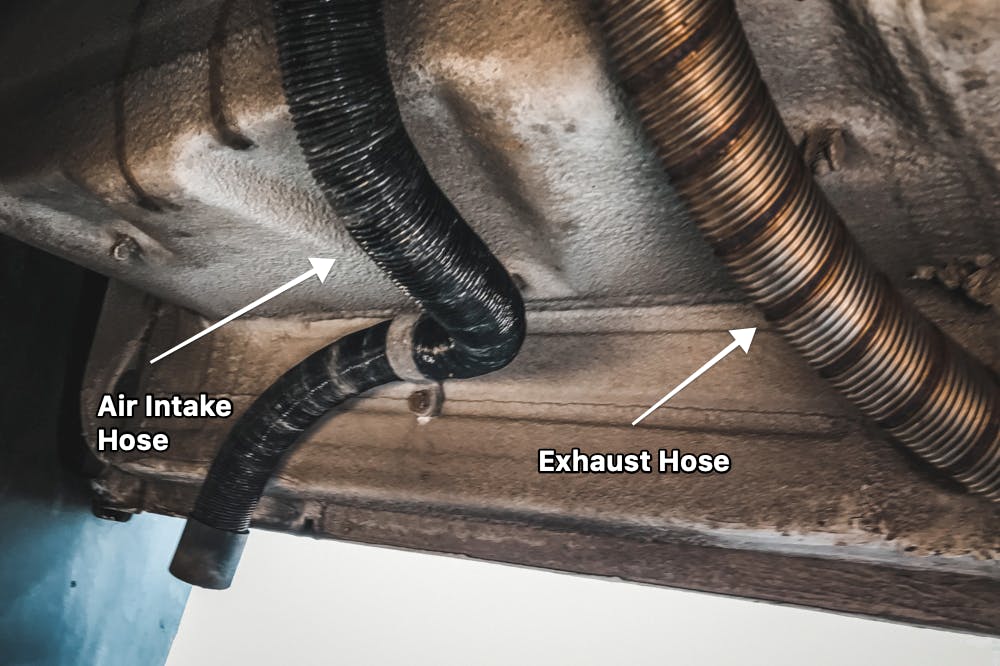
The final step before starting the heater is to properly fasten the intake and exhaust hoses under the vehicle with the provided hose clips.
When under your Sprinter, you will see at the very bottom edge of the van there is a ~1″ lip in the body. This is where I fastened the intake and exhaust hoses.
According to the Espar manual, one thing to keep in mind is that you will want to have these two hoses at least 3ft apart to avoid the intake hose sucking in the exhaust fumes and bringing them back inside the van.
If you’ve purchased my full Van Build Guide, you already know that I always like to let people in on some pro tips to keep in mind.
When weighing out your options for a heater in your van, the first thing you need to decide is whether you’re going to use propane or diesel heat. I believe the propane heaters are less expensive, but my main reason for choosing the diesel heater was because I didn’t want to have to store the propane in or outside of my van.
If you’ve chosen an Espar for your heat source, the next thing to weigh out is which model. In the Espar line up of cabin Airtronic (air) heaters, you have the D2 and the D4. I opted to go with the D2 and in the 170 van, it has been a great choice. That being said, sometimes when it’s really really cold (-30C), the heater does have a hard time getting the warm air all the way to the back of the van, which is where my bed is.
So my solution for this was to make an extension piece using the leftover black flexible hose that pushes the air more towards the back of the vehicle, which works fine for me.
The first time you attempt to start the heater, it’s probably not going to start. And you will be frustrated because the control unit will start throwing error codes.
Don’t panic.
This is not an issue with your heater. The issue is that the fuel pump hasn’t pumped fuel all the way from the tank to the heater, so it cannot ignite. All you need to do is restart the heater and try again and again until it fires up. I think I had to run the heater about 7 times before it ignited.
If you’re getting worried about the heater being faulty, you can actually crawl under the van and watch the fuel in the clear fuel line making its way to the heater.
The Espar will not work with regular diesel in the winter months. The fuel becomes too think and can freeze inside the thin fuel line on the way to the heater, making it a bit of a nightmare to sort out.
With my build, I installed the heater in the fall and since I was never driving the van, I didn’t need to put fuel in. So by default, the van was full of summer diesel which caused the fuel to thicken up and freeze inside the line.
I had to crawl under the van in the winter using a heat gun and carefully warm up the fuel line over and over to get the fuel flowing again.
A simple way to prevent this is to ensure that you have winter diesel in the vehicle and add a little bit of diesel conditioner to each tank.
If you try to run the Espar heater on less then 1/4 tank (or something very close to empty), the Espar heater will not turn on.
By design, the fuel tap in the diesel tank that is feeding the Espar fuel pump doesn’t go all the way to the bottom of the tank, so it stops you from being able to run the van out of fuel when using the heater. This is a great feature but also something you need to keep in mind.
If you try to run the heater in this setting, you will get the error ‘No Flame Detect’ because no fuel is getting to the heater.
If you’re going to use a diesel heater in your van, I highly recommend installing a CO (Carbon Monoxide) detector. If you have everything installed properly, you shouldn’t be getting any CO inside the van, but CO can be deadly so you want to protect yourself.

Hopefully, this article has helped guide you through the Espar Heater installation! I’m a big fan of this heater and it has served me well for many years on the road!
)
While many Van Lifers are looking for a less-traditional way of life, there’s one thing we can all agree on…
)
If colder temps are in your vanlife future, it’s time to think about how you plan to winterize your van.
)
Are you wondering how to convert a van but don’t know where to begin?