
Sign up for The Wanderful newletter
Join our growing community of people looking to live the simple life!
Let’s build your van now
Join our growing community of people looking to live the Simple Life


)
If you’ve been doing your research on Van Life, you know that one of the ways of making a comfortable tiny-home-on-wheels is a smart water system. But it’s not always easy to figure out what tanks you need, how big they should be, or where they should go.
In this video and article, I’m going to talk about:
Let’s jump in.
There are 3 different types of water tanks based on what type of water will be going inside of them.
This is the water that comes out of your taps and will be used for drinking, washing hands, dishes, as well as for showering (if you have one).
2. Grey Water
Greywater is for the wastewater that drains from your sink and shower.
3. Black Water
The black tank holds wastewater from the toilet. Since it contains human waste and is unsafe, it must be stored in its own tank and disposed of carefully.
The main types of water tanks you will find are made of:
Most people will choose plastic water tanks as it is the most cost-effective and easy-to-find option. I’ve never used stainless steel tanks before, and I believe they are primarily used for those that need more of a custom tank.
The benefit of using plastic water tanks is that they are very easily sourced and are available in many different shapes and sizes.
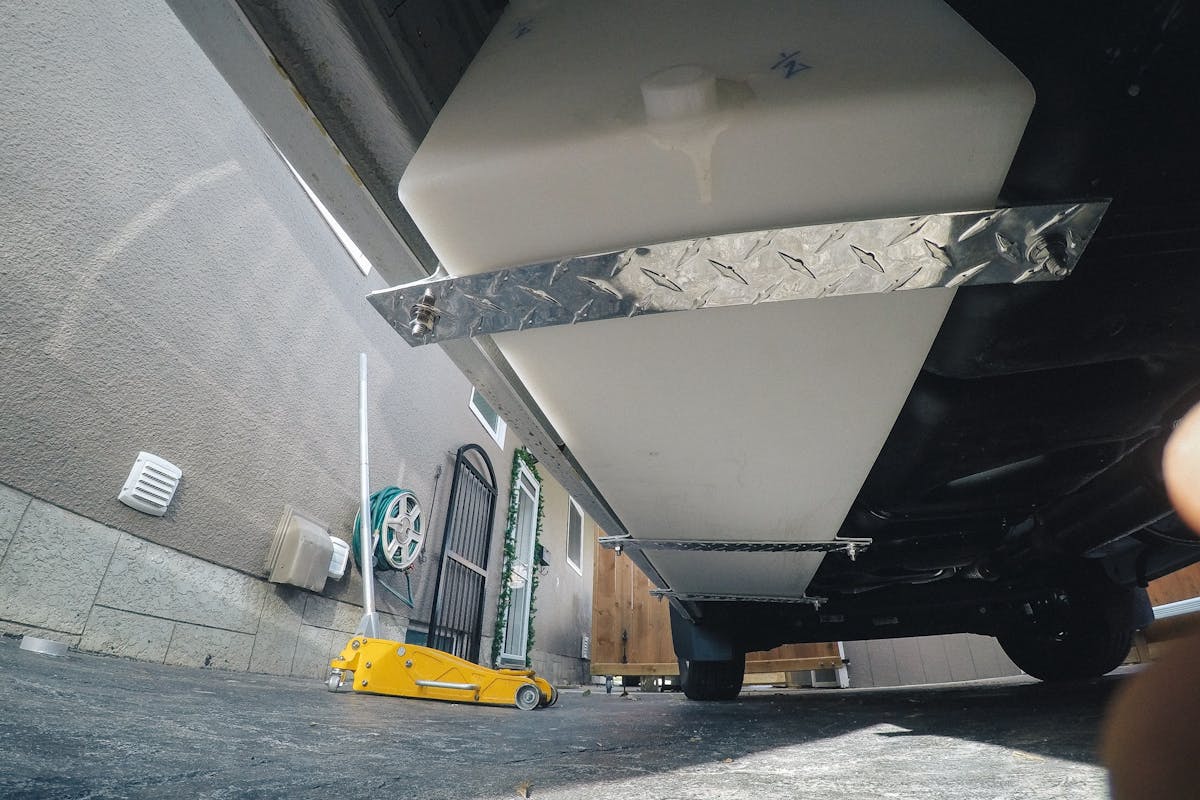
On my current van build, I’ve sourced a unique tank from NW Conversions that is designed to fit internally over the wheel well, which I’m really excited about.
NW Conversions have tanks in many different sizes (20, 21, 24, 30, and 32-gallon)
View this post on Instagram
In my first van, I bought all my water tanks from plasticwatertanks.com. They were great to deal with!
When you’re configuring it from plasticwatertanks, you have some flexibility in the types of fittings. The 3 fittings you will need are:
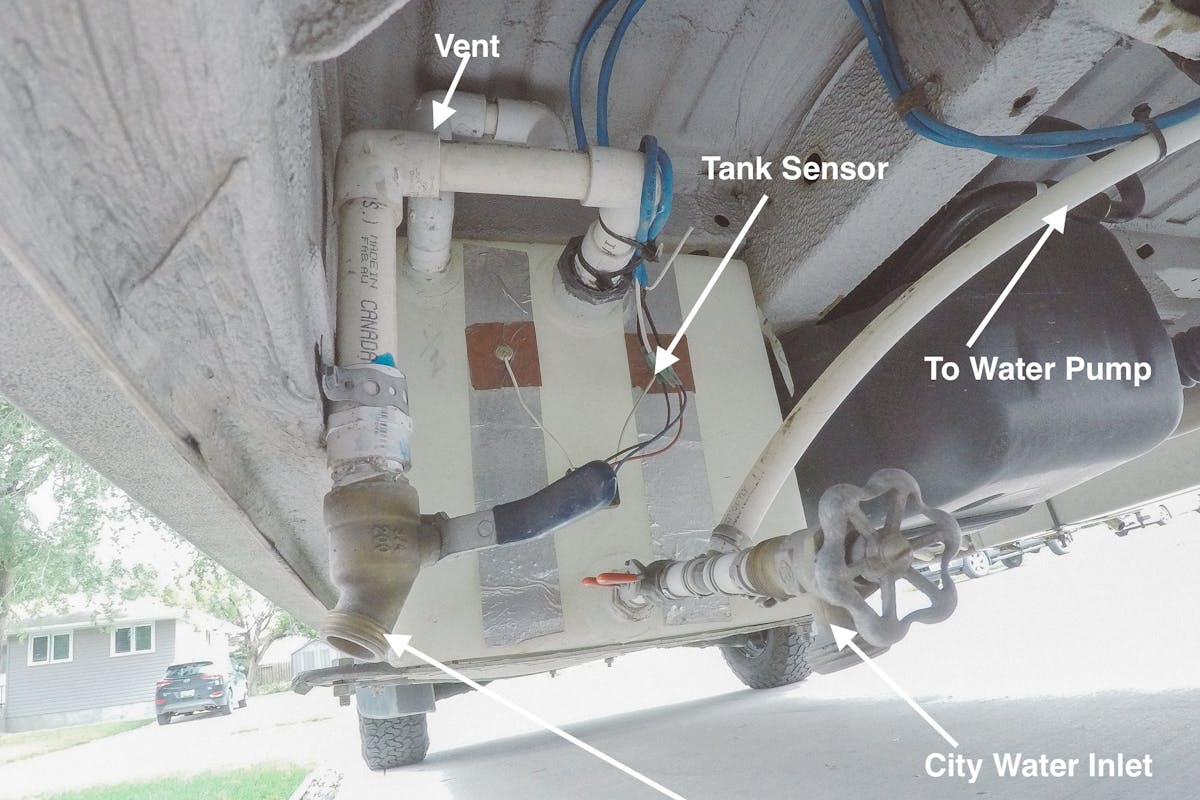
Before you purchase your water tanks, you need to figure out how big the tanks need to be.
The things to consider here are:
In order to understand your water consumption needs, you need to understand the Gallons-Per-Minute (GPM) Metric. If you’re looking at any plumbing device (water pump, faucet, etc), you’ll see a GPM rating. This rating tells you the output of that device.
So if you want to take a 2-minute shower and your showerhead lets out 2 gallons per minute, you would use 4 gallons of water for 1 shower.
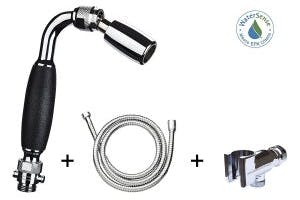
Tip: Buy a low-flow showerhead to help preserve your water
I personally use this showerhead and would definitely purchase it again for future vans.
Things to consider when sizing your freshwater tank:
The thing to keep in mind when sizing your grey water tank is that a lot of your freshwater won’t actually be going into the greywater tank. You’ll be drinking some of the water, and if you have a shower, maybe you’ll shower outside the van sometimes.
Firstly, if you don’t have a flush toilet in your van, you won’t need a black tank.
Personally, I try to pair up all my systems so that I get 2 weeks of freshwater and then 2 weeks before having to dump the grey and black water tanks.
So the main thing to consider is how often do you want to empty your blackwater tank?
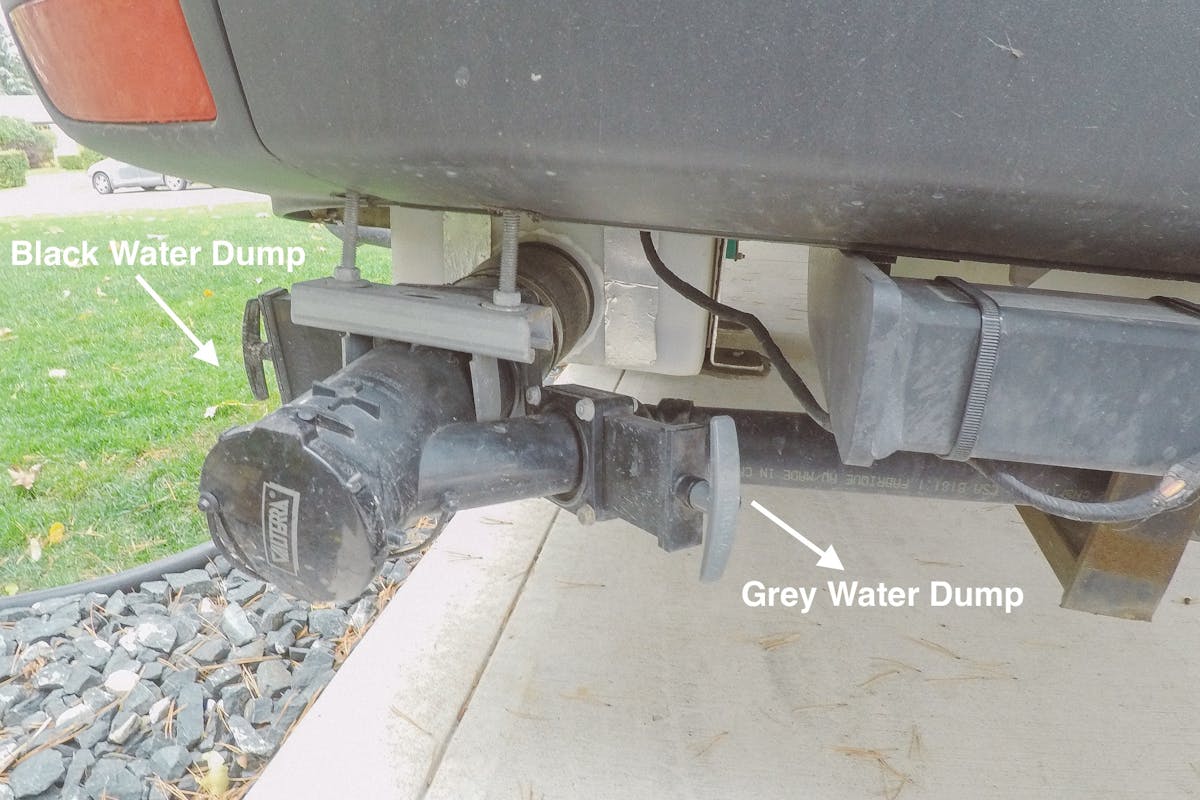
As a solo traveler with a dog, here is my exact water tank solution.

And here is my water usage on a weekly basis:
Shower: 6 gallons / week
I don’t shower every day and when I do, I do it military style (i.e. shower on to get wet, shower off to soap up, shower on to rinse off).
Drinking-Water: 10.5 gallons / week
I budget for about a gallon and a half a day of drinking water between myself and my dog.
Dishes: 4 gallons / week
Depending on how you manage your dishwashing, you may use more or less water to wash your dishes.
TOTAL WATER USAGE: ~21 Gallons / Week
FRESHWATER STORAGE CAPACITY: 38 gallons
This means that I can go usually about 2 weeks before having to refill and empty my tanks.
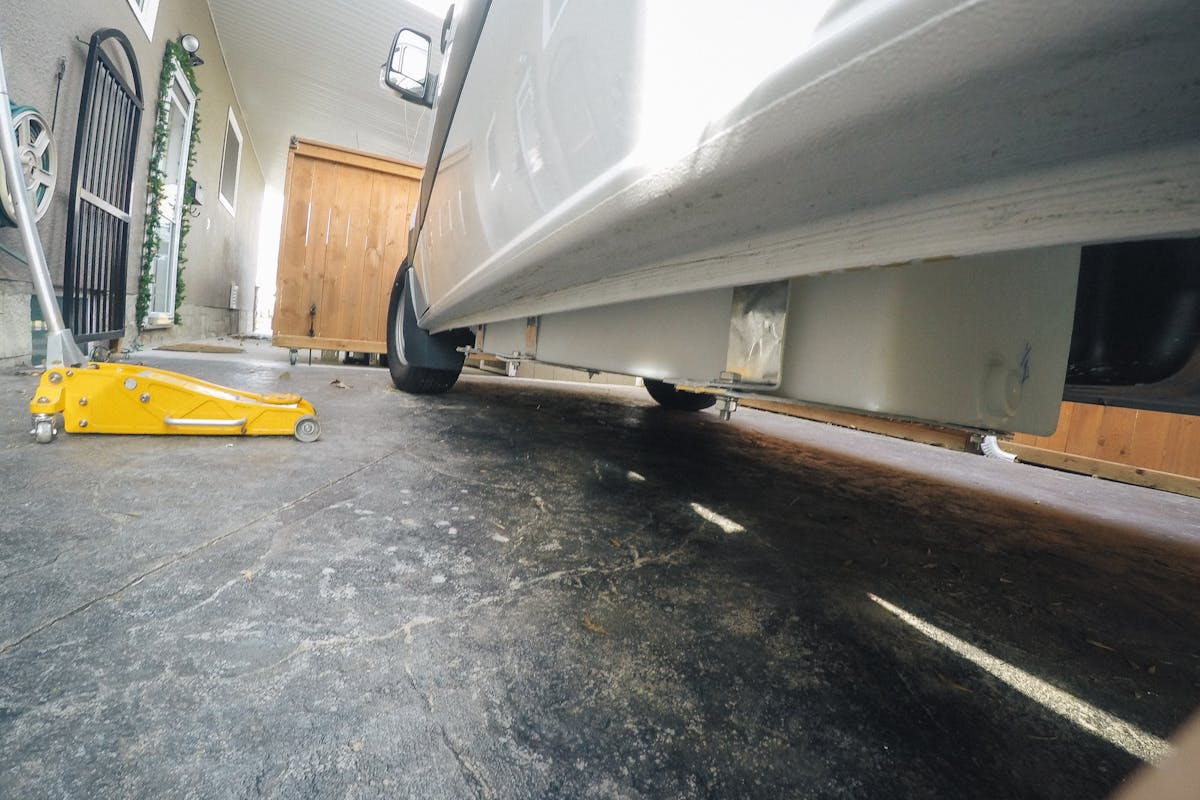
Most people will mount their tanks on the outside of their van as a way to save on precious interior space. This is exactly what I had done in my first van.
The only time this would become a problem is if you plan on doing any winter traveling. Winter climates could lead to freezing in your freshwater tank and pipes if stored underneath the vehicle. This is why I eventually added 2 additional tanks inside the van.
(And yes, I still have my grey water going to the outside of the van and will sometimes add anti-freeze to the tank.)
The last thing I’d like to cover is something that a lot of people don’t always consider… Water weighs 8.34lbs per gallon, so these water tanks can add a ton of weight and should be located in areas that help evenly distribute the weight in the van.
In my 170″ I strategically put my freshwater tank on my driver’s side between the wheel wells because my 210lb AGM batteries are stored on the passenger side of the van.
Hopefully, this article and video have helped you size and select your water tank solution for Vanlife!
)
Thinking of building a bathroom in your self-converted van? Read this first!
)
The topic of plumbing in a DIY Van Build is one of the most complex topics, and an area I get a lot of questions about.
)
Grabbing some last-minute items before you hit the road? These are some of my most-used items in the van.