
Sign up for The Wanderful newletter
Join our growing community of people looking to live the simple life!
Let’s build your van now
Join our growing community of people looking to live the Simple Life


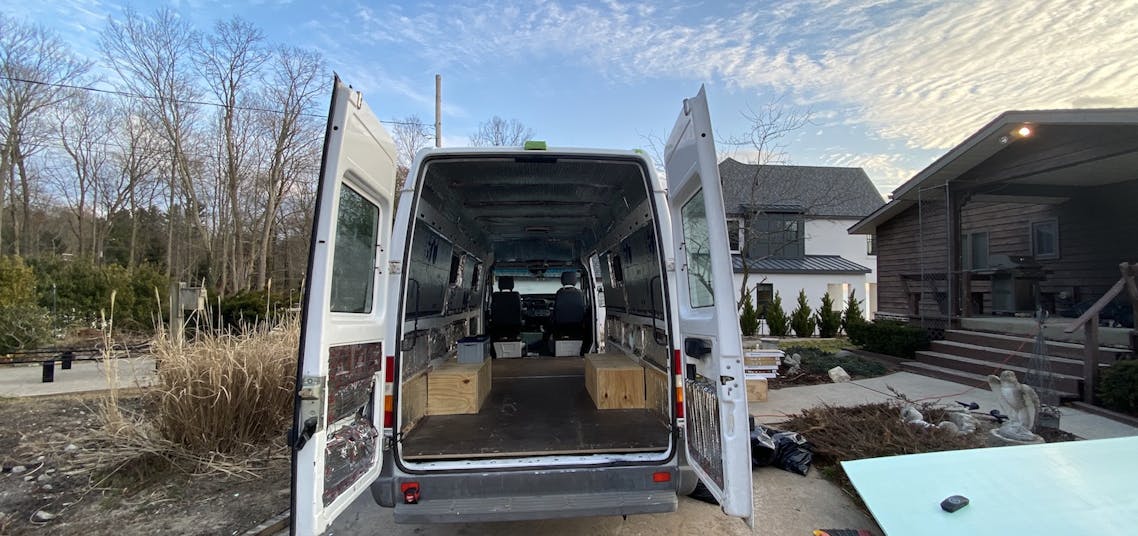)
Let me just say this:
Then you’re on the right track. The rest is (albeit important) details.
People swear by their insulation methods, but once the walls are covered up, you likely won’t be able to tell how a van is insulated. You will, however, be able to tell if there is little or no insulation at all, or if the installation was done poorly.
Let’s look at some of the more popular insulation methods in the Vanlife world, and then I will dive into my personal insulation process.
Fiberglass is the most-used insulation in houses.
It’s affordable and works well, but is generally not suitable for van builds due to its low R-Value (R-3.7) and the fact that it soaks up moisture, among other reasons.
✅Pros: Cheap, easy to find, common knowledge to install.
❌Cons: Messy, not right thickness, fiberglass, low R-Value
Wool is a natural, non-toxic material. It has a lower R-Value than foam board so it needs much more thickness.
✅Pros: Natural, higher R-Value than fiberglass or mineral wool, sounds cool to say you have.
❌Cons: Expensive, R-Value a little over half that of foam board, harder install.
Polyisocyanurate is a type of foam board insulation that’s known for its high R-Value. It is foil-faced and acts as both a vapor barrier and a radiant heat barrier.
✅Pros: Easier install, thickness easy to manage, high R-Value, moderate price.
❌Cons: A little messy to install, sometimes hard to find what you need.
Spray foam has a high R-Value and has great vapor barrier qualities. But you run the risk of warping your van. Spray foam is often used to fill gaps and cracks around other insulation types.
✅Pros: Highest R-Value/coverage.
❌Cons: Super messy, can warp sides of the van by expanding, expensive.
Reflectix is a thin wrap with a reflective coating on each side. It reflects heat and works best if there’s a small dead air space between it and whatever you’re insulating.
✅Pros: Great for windows/privacy, better than nothing, flexible, fits in small spaces, easy to install.
❌Cons: Not MUCH better than nothing, gets expensive.
In my van, I use a combination of foam board and Reflectix. I even consider the rubber sound deadening a little help for the heat in the summer as it absorbs the heat during the day to keep it cooler inside and lets it off at night when it gets cooler which helps keep the temperature consistent.
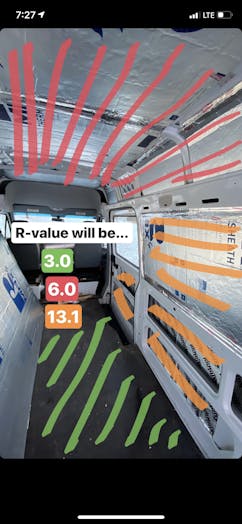
They use the same, albeit fancier, concept in some high-end ski jackets with little wrapped packets of wax that melt when heated and then give off the heat and solidify for added temperature moderation.
This combination made sense for me because of the price and R-Value, but also because of the performance vs the competition.
Wool is relatively expensive and harder to install (although some make it look pretty easy and no insulation job is “easy” or “hard” but mainly just time consuming). But I liked how the foam board is rigid so it’ll never lose its loft or fall down after shaking around in the van after a few years on the road.
I used a mix of the half, one, and two-inch foam board.
What thickness I used was simply dependent on the distance between the walls I was installing and the walls of the van.
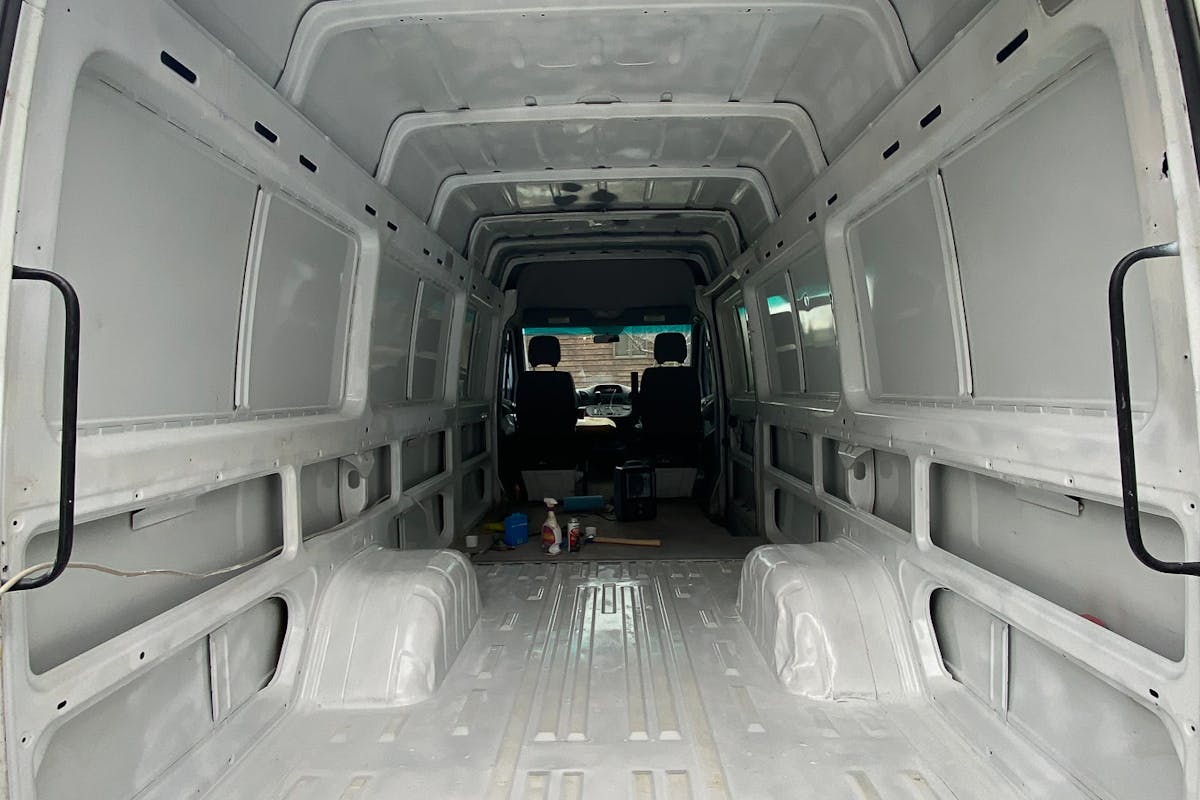
Insulating your van’s floor is probably the trickiest part because it is weight-bearing and isn’t as simple as putting it behind the walls.
If you don’t do it right you might end up with a really annoying squeak as you walk around. The best way to prevent this while walking or driving is to limit friction and movement, but also to make sure the different surfaces that will inevitably rub against each other “agree” i.e. don’t make nails on a chalkboard noise.
I chose to remove the stock floor and start the insulation install with a coat of rubberized paint. The paint would only help minimally, but still better than have a cold hard metal floor. It also helps with a little sound deadening and friction.
I then put some firring down to give the stock floor a place to rest and not compress the insulation (making noise but also defeating the point of the insulation by flattening it). Then I reinstalled the stock floor and put in the flooring (I used LifeProof flooring).
I wanted to have space between my head and the ceiling once the floors were installed so I couldn’t use 2 inches in the floor etc. I put a layer of Reflectix at the end to add a little extra insulation for those cold winter days when every degree makes a difference.
The walls were simpler. Just measure the thickness in the spot you’re insulating and cut/stack the corresponding thickness of the foam board.
A big thing here is some people try to completely “seal” the walls which is nearly impossible to do in a van and doesn’t help much because you need airflow for the inevitable moisture to dry up.
You don’t want it drafty, but it’s okay if it has just enough room to breathe. Because of this, I just taped the front face of the foam board to the supports I would screw the walls into, creating a flush wall surface throughout the van and leaving air between the insulation and wall to work as an insulated pocket of air, but also be free-flowing enough to healthily breathe.
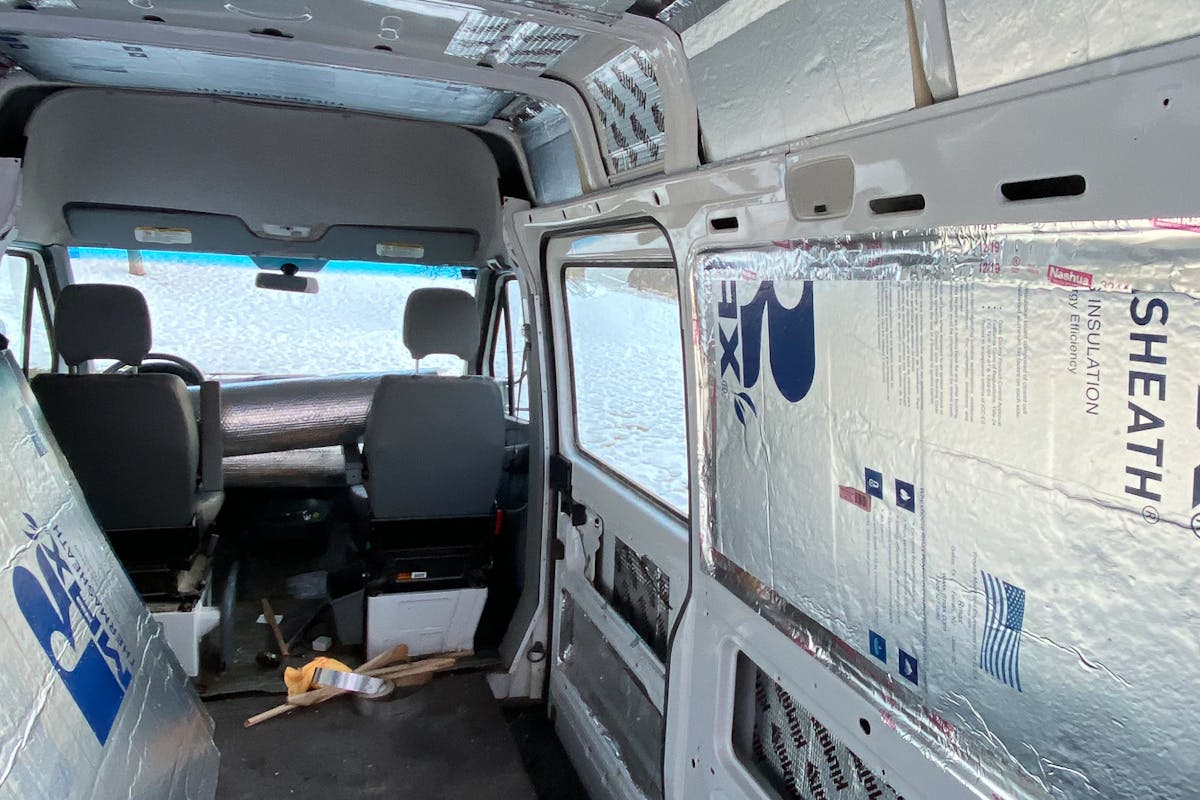
To finish up, you don’t want to forget to insulate the doors, the area above the driver/passenger area and to get at least Reflectix cutouts for the windows and roof vent fans, if not thicker insulated pieces to put in during the winter months.
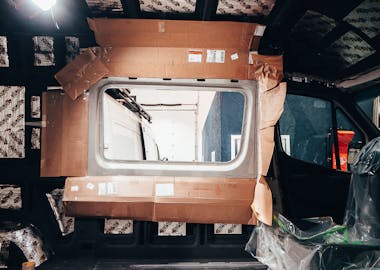
Once you’re all done and ready to put up walls, your van will probably look more like a spaceship than a van.

Enjoy the process and whatever method you use, don’t overthink it.
)
I’ve given myself a timeframe for build #2. How long will it take me?
)
So what is Lizard Skin and why am I using it?
)
Ready to cut some holes in your van? Scary, I know!