
Sign up for The Wanderful newletter
Join our growing community of people looking to live the simple life!
Let’s build your van now
Join our growing community of people looking to live the Simple Life


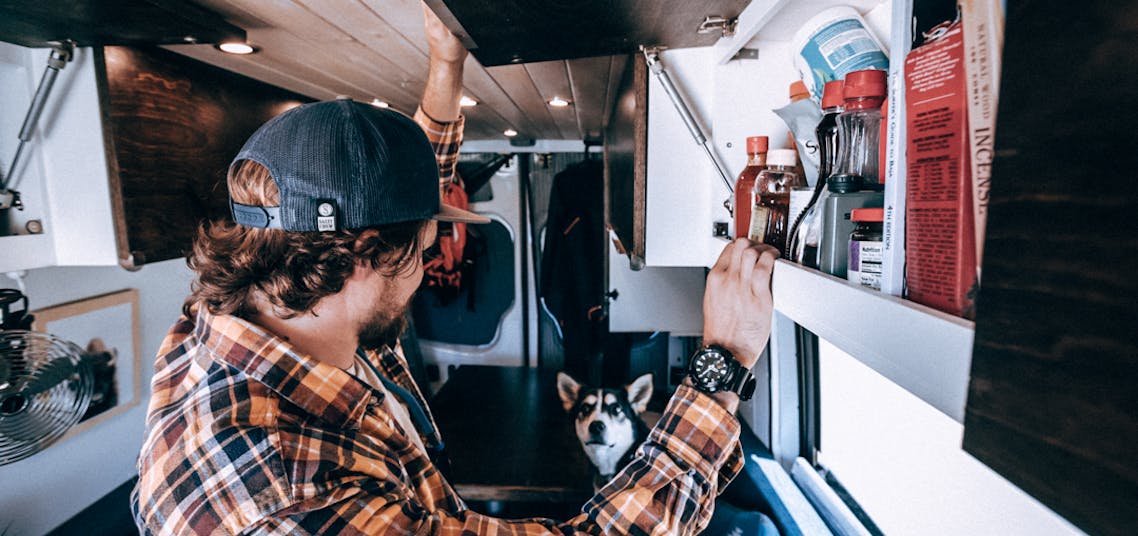)
When I built my first van, I was familiar with woodworking but had no experience in building actual cabinets.
But with a little a lot of patience along with the right tools and materials, I was able to get the exact look and feel I was after.
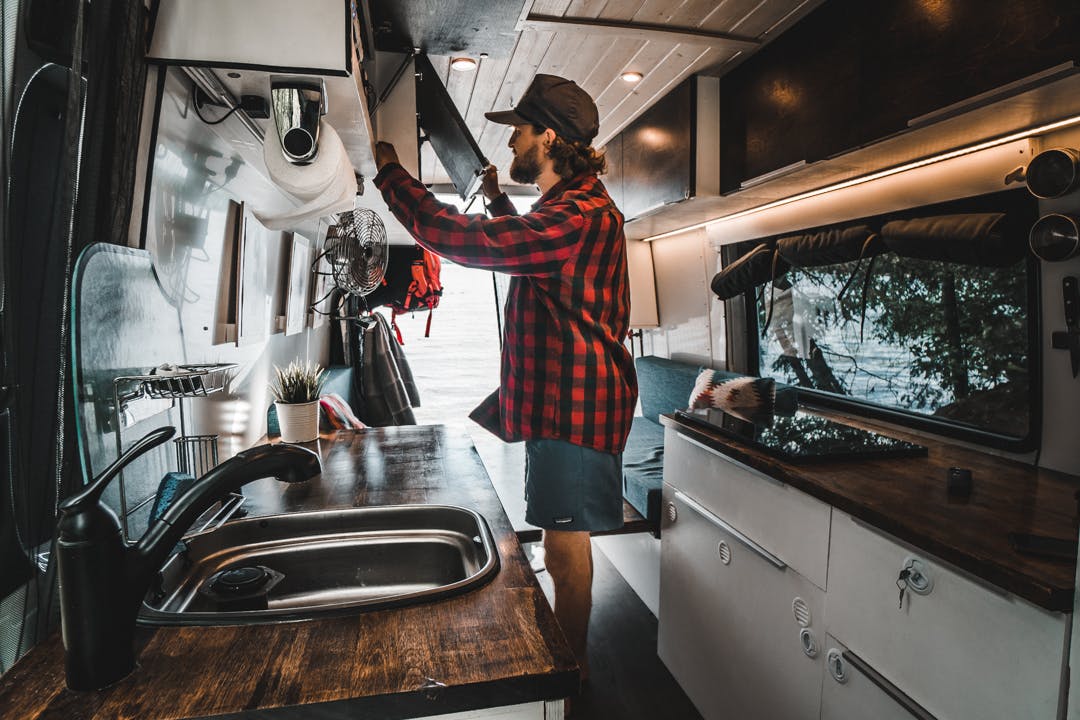
In this article, I’m going to break down all the necessary steps to prepare yourself for a DIY Van Cabinets and Storage installation.
Before you even think of cutting into your first piece of wood, the first step is to map out what your vans layout is going to be.
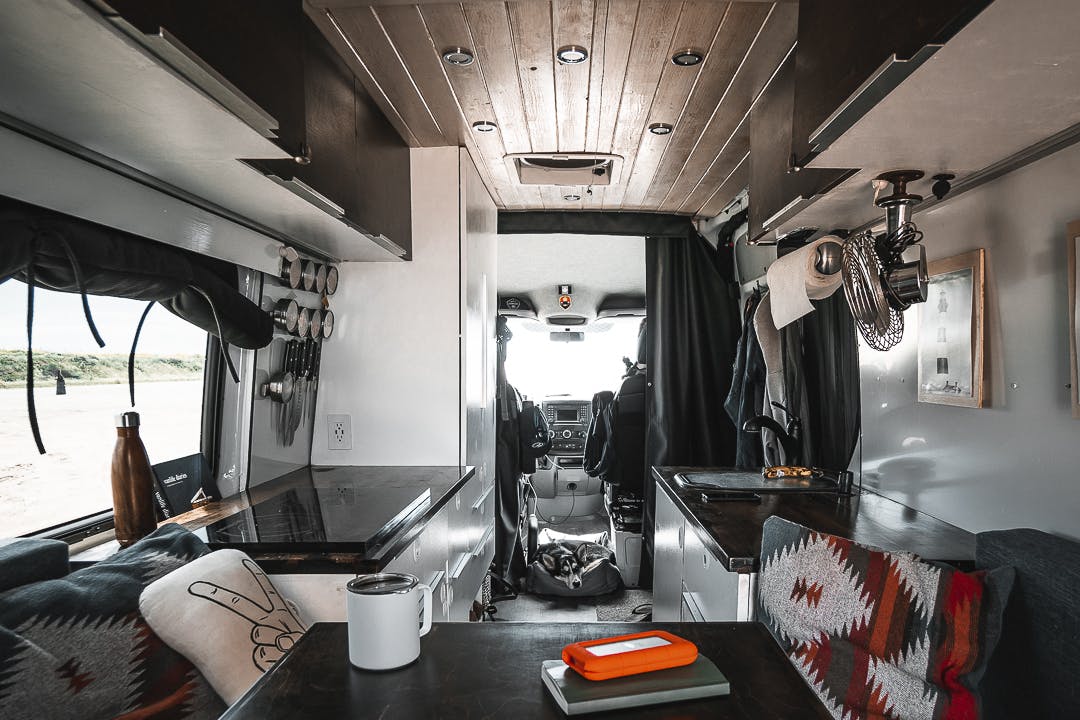
I won’t get into everything it takes to come up with a layout design in this article, but just know that before you do anything, you need to have a full design mapped out to ensure you’re measurements are correct.
Personally, I used a tool called SketchUp to map out various layout ideas for my van. What you see in my van today is extremely close (if not exact) to the final 3D design I made in SketchUp.
Another software option I’ve seen, which is specifically designed for van conversions, is Vanspace. I personally haven’t used this tool, but it looks pretty cool.

Once you’re happy with your 3D design, I recommend taking some green painters tape and mapping out the design on the floor of the van. This helps you get a real feel of how everything would fit.
The next step is to decide what you want your cabinets to be made of. The main materials to consider here are:
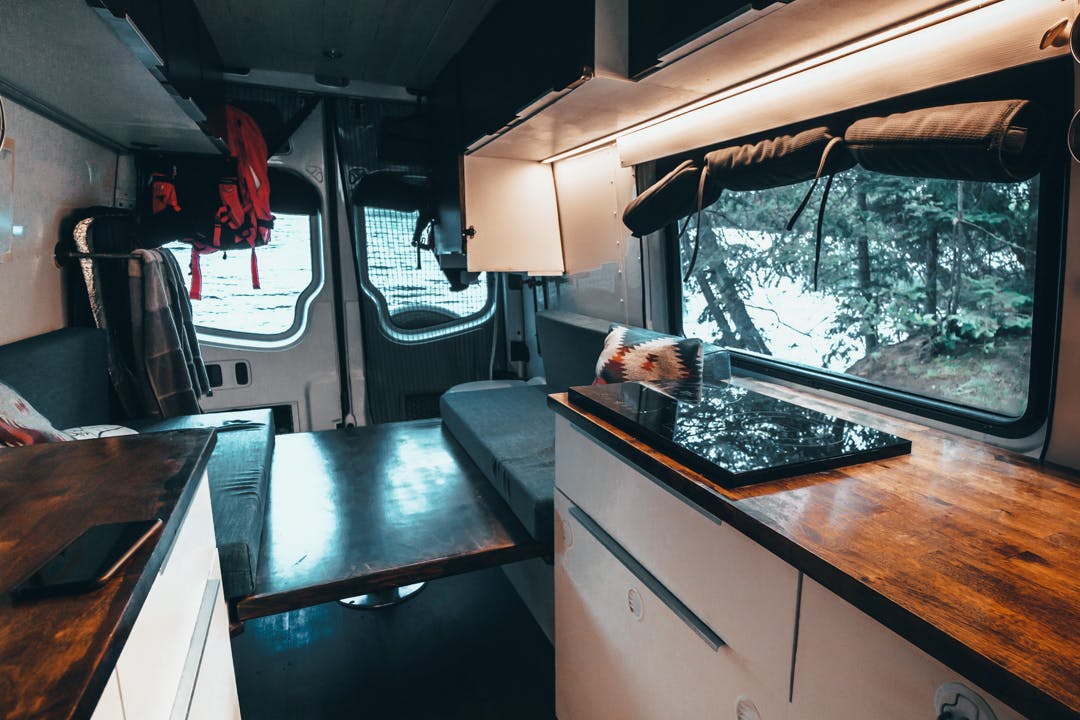
For my cabinets, I decided to go with Cabinet Grade Baltic Birch Plywood.
Baltic Birch Ply has several structure benefits that make a good candidate in vehicles that are going to be bouncing down the highway:
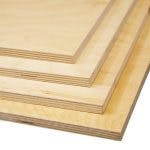
If you do decide to use Baltic Birch plywood, you will notice that it doesn’t come in the standard 4ft x 8ft sheets. It comes in 5ft x 5ft, making it a bit of a pain to transport in a pickup truck (trust me).
Tip: When you’re at the lumber store purchasing your large sheets, it will save you a ton of time if you can have the lumber yard make some of the cuts for you. Most lumberyards have a large table saw which does much straighter cuts than most people can do at home.
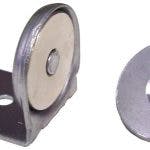
Since I’ve lived in the van for an extended period of time now, latches have been something that I’ve played around with a lot.
Originally, I installed magnetic latches, which look great as they are hidden. They also worked great for the most part, but I found that if you overload the drawer and find yourself off-roading, they can open up on you.
For that reason, I’ve changed all my latches over to slam latches.
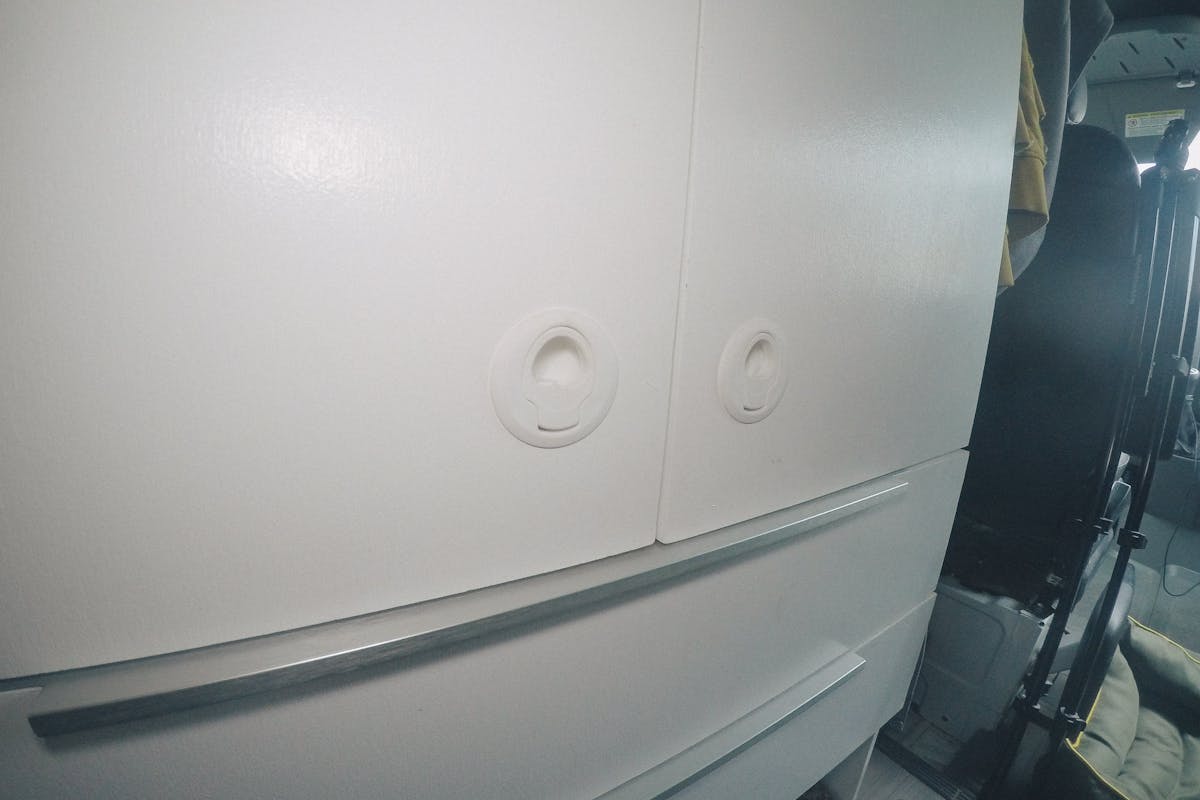
For more information about choosing the best latches for your drawers and cabinets, check out this article.
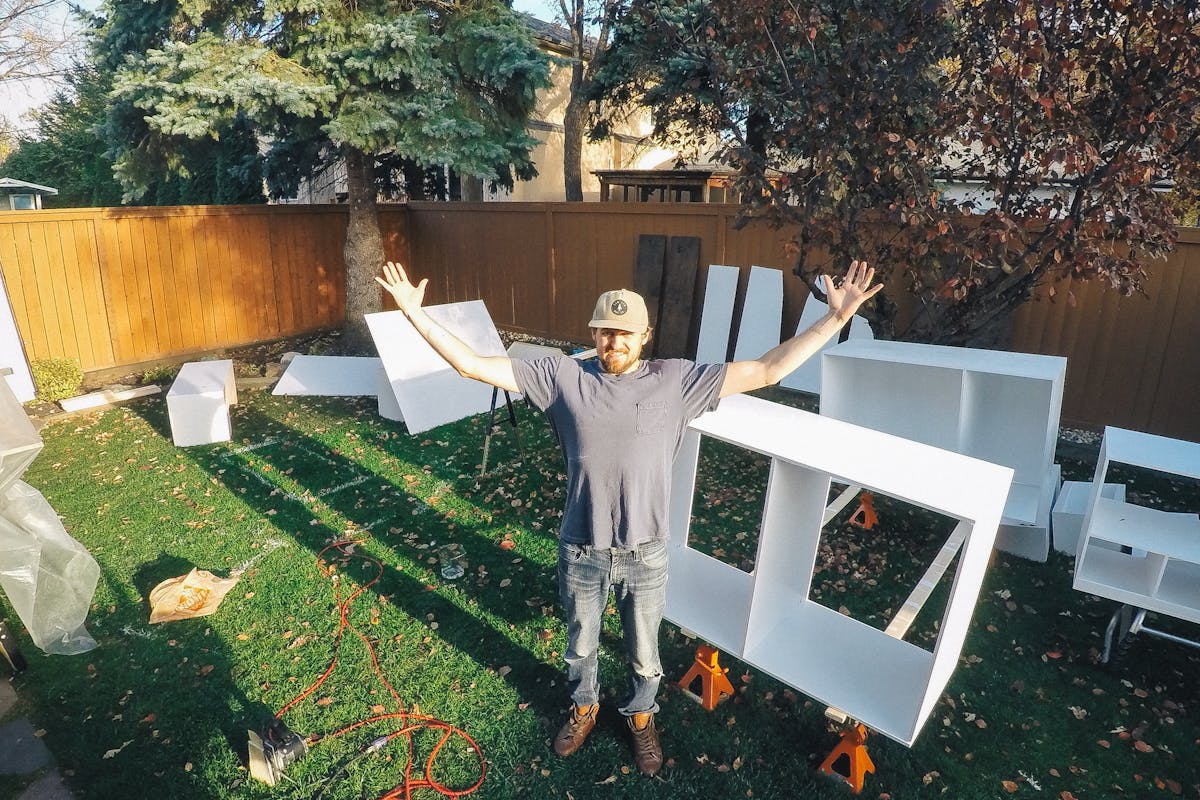
Unlike other aspects of the van build where you are working INSIDE the van, cabinetry takes up a lot of space OUTSIDE of the van, so it’s important to have a designated work area while you’re completing this project.
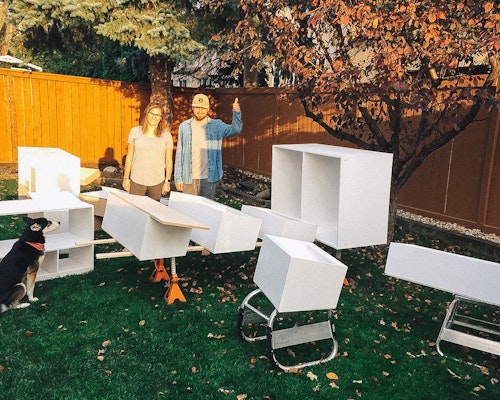
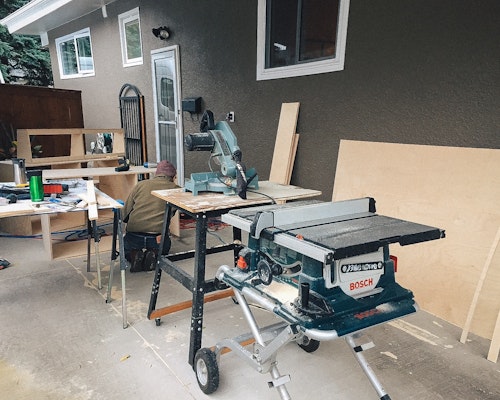
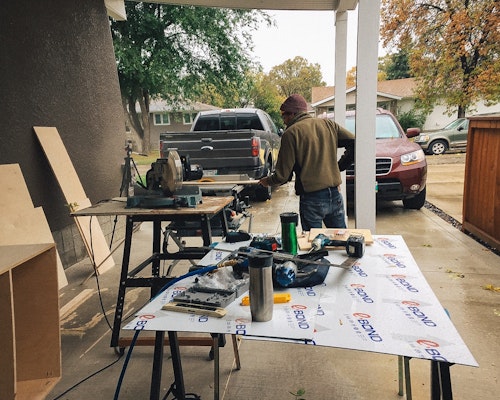
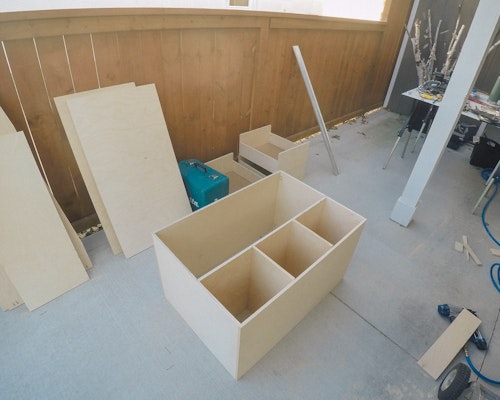


Here’s a list of all the tools I used when building my cabinets:
Tip: I was lucky enough to have access to thousands of dollars worth of tools (I just know the right people). I would suggest seeing how many of these tools can be rented from hardware stores, or borrowed from friends/family.

✅You’ve designed the layout of your van.
✅You’ve selected your materials.
✅You’ve gathered all the tools.
✅You’ve prepared a construction area for yourself.
Now it’s time to get started!
To learn how I installed cabinets in my 2016 Sprinter Van, be sure to check out this article.
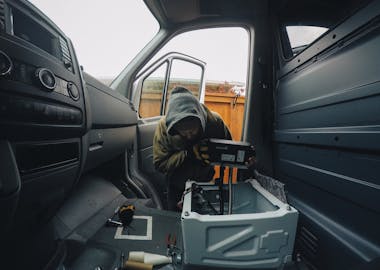)
Installing a diesel heater on your own can feel intimidating. Especially when you first open the box of the Espar D2 Heater.
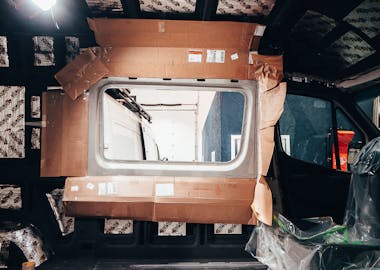)
Ready to cut some holes in your van? Scary, I know!
)
It’s no secret that moving into a tiny home means you will need to downsize (understatement of the year… I know).