
Sign up for The Wanderful newletter
Join our growing community of people looking to live the simple life!
Let’s build your van now
Join our growing community of people looking to live the Simple Life


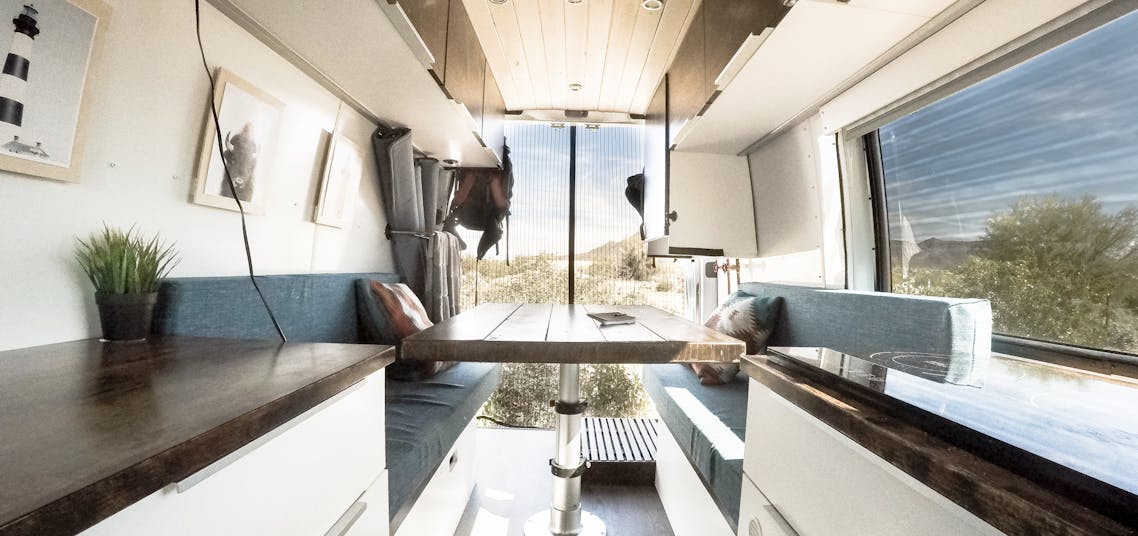)
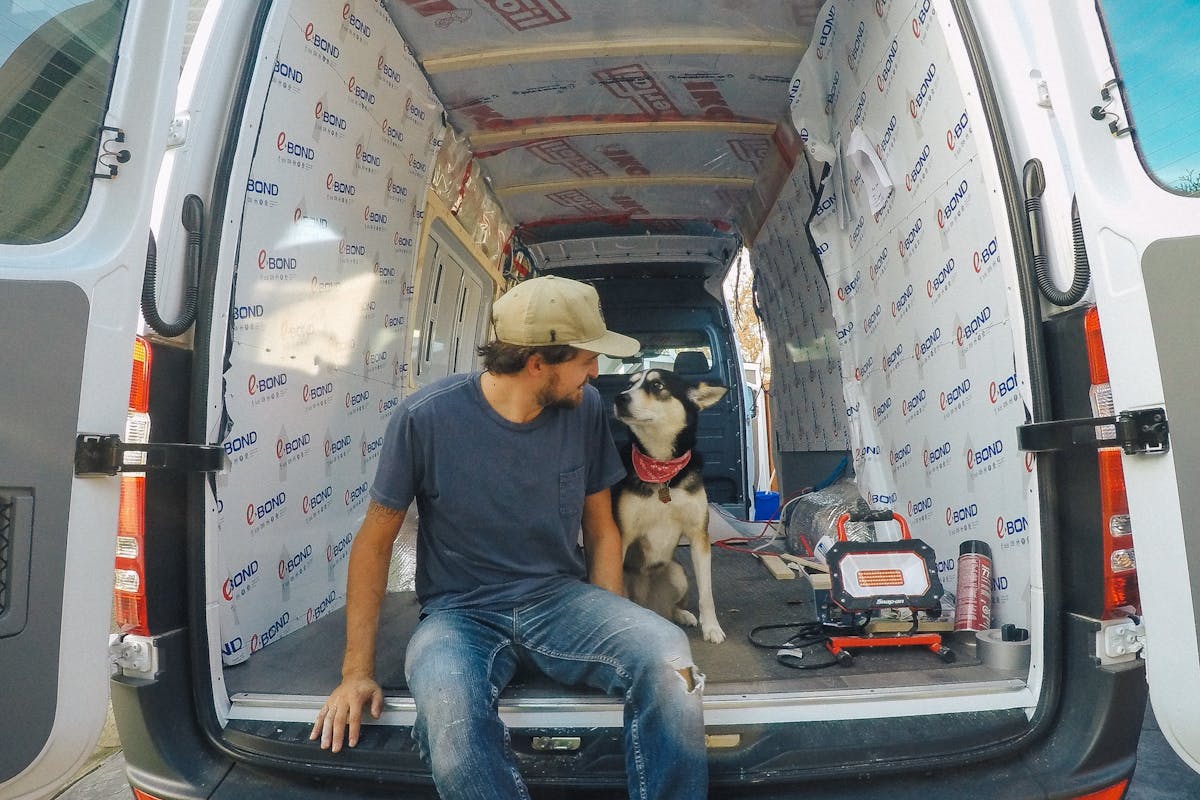
When you’re in the first few phases of a DIY Van Conversion, it’s hard to imagine that it will soon become a livable space. That is… until walls go up!
Covering up the insulation with beautiful walls is a huge leap forward in a van build. While there is still plenty of work to be done after this point, having walls and a ceiling up is certain to re-energize you for the rest of the van build. It will all start to take shape from that point on!
Choosing your wall and ceiling materials is a big deciding factor when it comes to the overall look of your camper van.
Are you after a bright and airy look?
Do you want it to feel like a cozy wooden cabin?
These are the kinds of things that need to be decided before stepping into the hardware store.
When choosing your wall and ceiling materials, you want to make sure to consider 3 things:
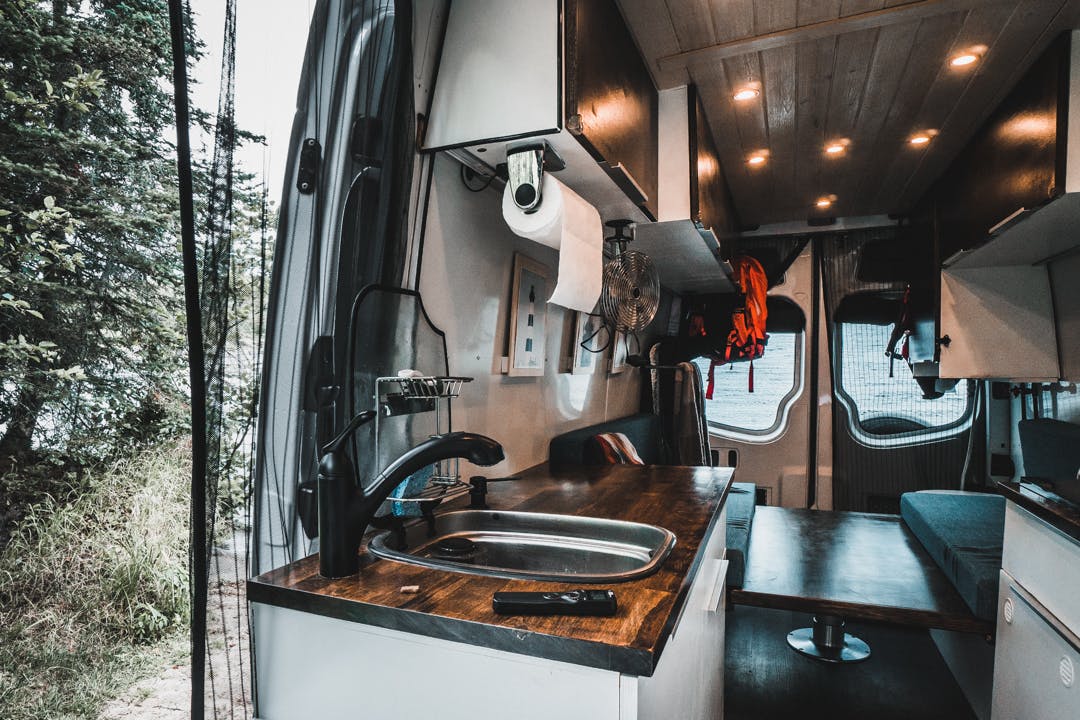
While there are many different material options to choose from, the most commonly used wall and ceiling materials you’ll find in van conversions are:
Luan plywood is one of the lightest materials you could use. It’s common to either paint it or cover it with a Duramax or Vinyl material.
Shiplap and Tongue and Groove are some of the most common materials found in DIY van conversions due to the ease of install. This is a great option for those that are after that cabin-feel inside their van.
View this post on Instagram
These materials aren’t often used in professional builds because the shifting in the van can sometimes cause fastening issues.
ACP is essentially just 2 thin pieces of aluminum bonded to a non-aluminum core. It eliminates the need to paint and is an easy-to-clean surface that won’t stain.
This material is very durable but is a bit heavier than Luan Plywood.

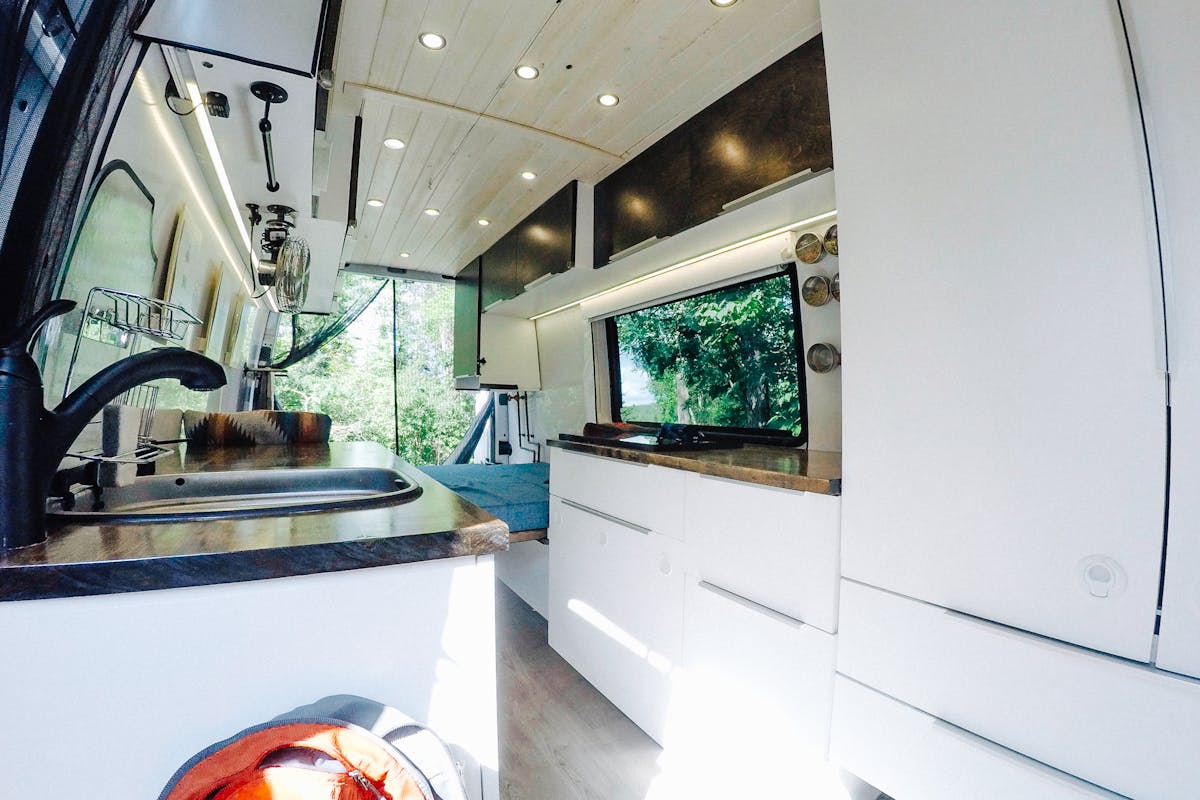
For my first van, I installed:
ACP gave my van that bright high-gloss finish I was after. It was also very easy to install, although it did require 2 people to handle the sheets.
The panels are thin enough that they’re quite flexible, allowing them to follow the contour of the van quite nicely without any force.
I opted for the pine tongue and groove plank for my ceiling because it was the thinnest wood material I could find (to help maintain headroom) and it ties in nicely with my Baltic Birch cabinets.

Now that we’ve chosen our materials, let’s take a high-level view of the install process.
Once you’re finished insulating the van, it’s time to install furring strips (aka strapping) so your cabinets and wall panels have something to attach to. I used 1×4 pine that came in 8ft lengths.
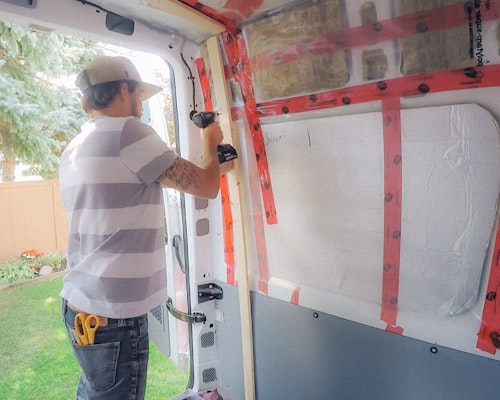
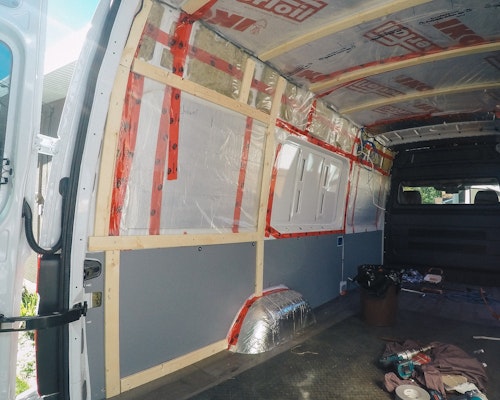
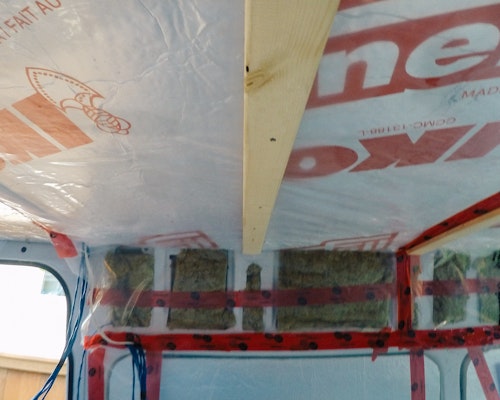
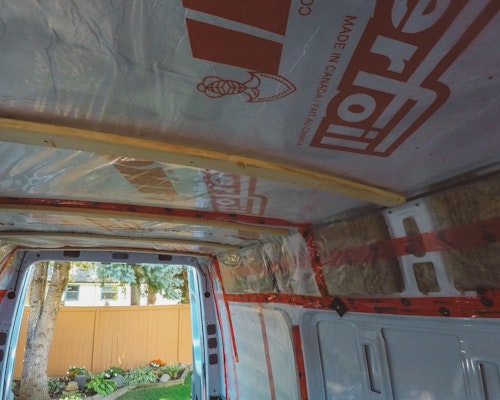

Installing the strapping is quite easy on the ceiling. All you need to do is follow the existing ribs in the Sprinter ceiling and cover them with the 1×4. Once these straps are installed, it will also hold in all of the ceiling insulation.
The strapping on the walls, however, takes a little bit more planning to figure out. Be sure to plan out where your wall panels will start and finish to ensure you have strapping on all the seams and that it can be properly fastened.
The other thing to consider when installing strapping is the ability to securely fasten all your cabinets and shelves within the van.
Tip: More is always better. You won’t regret having more strapping than needed. This will allow you some flexibility to change your mind as you build out the interior of the van.
After the strapping is installed, it’s time to start putting up the walls.
Before continuing any further, it’s very important to create templates before cutting out the actual panels.
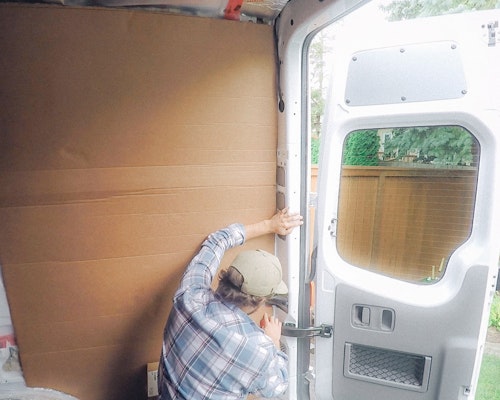
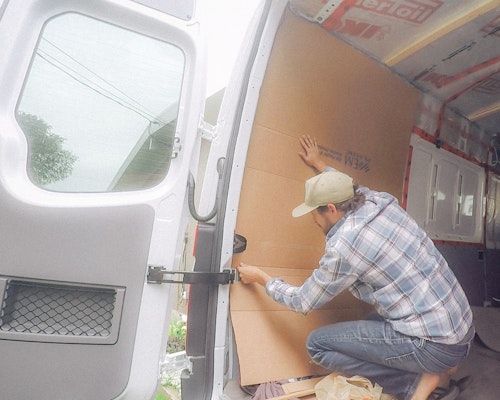
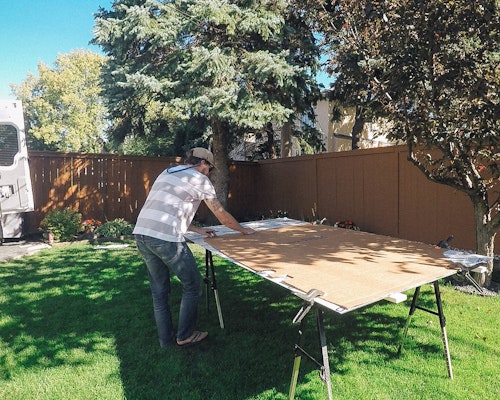
I only used 4 sheets of ACP, which on a 170 Sprinter, was only enough to cover any exposed walls.
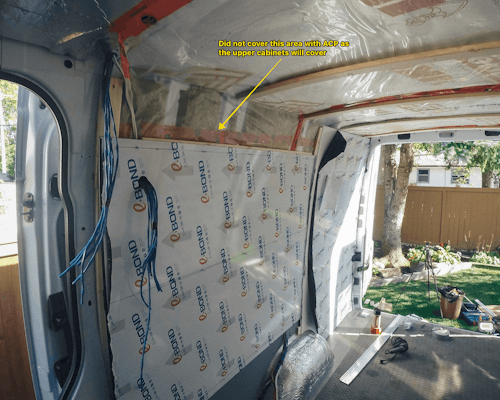
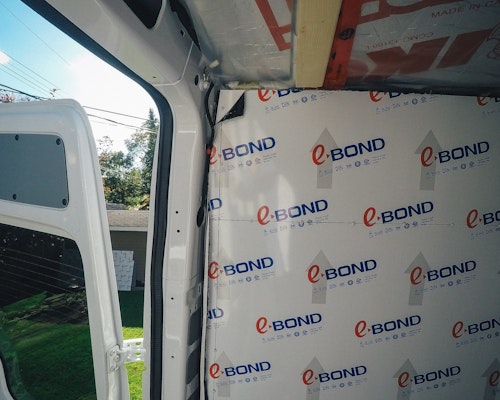
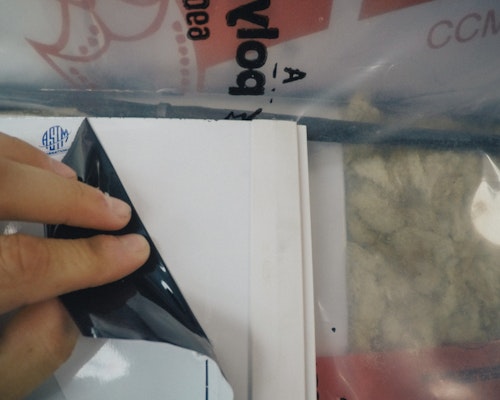
To install the ACP on the walls, I used a round white head screw to fasten it into the strapping behind.
Between the seams of the ACP, I used an FRP Joint from Home Depot to give the interior as seamless a look as possible.
For any exposed cut edges of your wall, for example, alongside the kitchen window and rear doors, I suggest using an automotive trim to cap off the wall panels, using a heat gun. This gives everything a nice finished look.
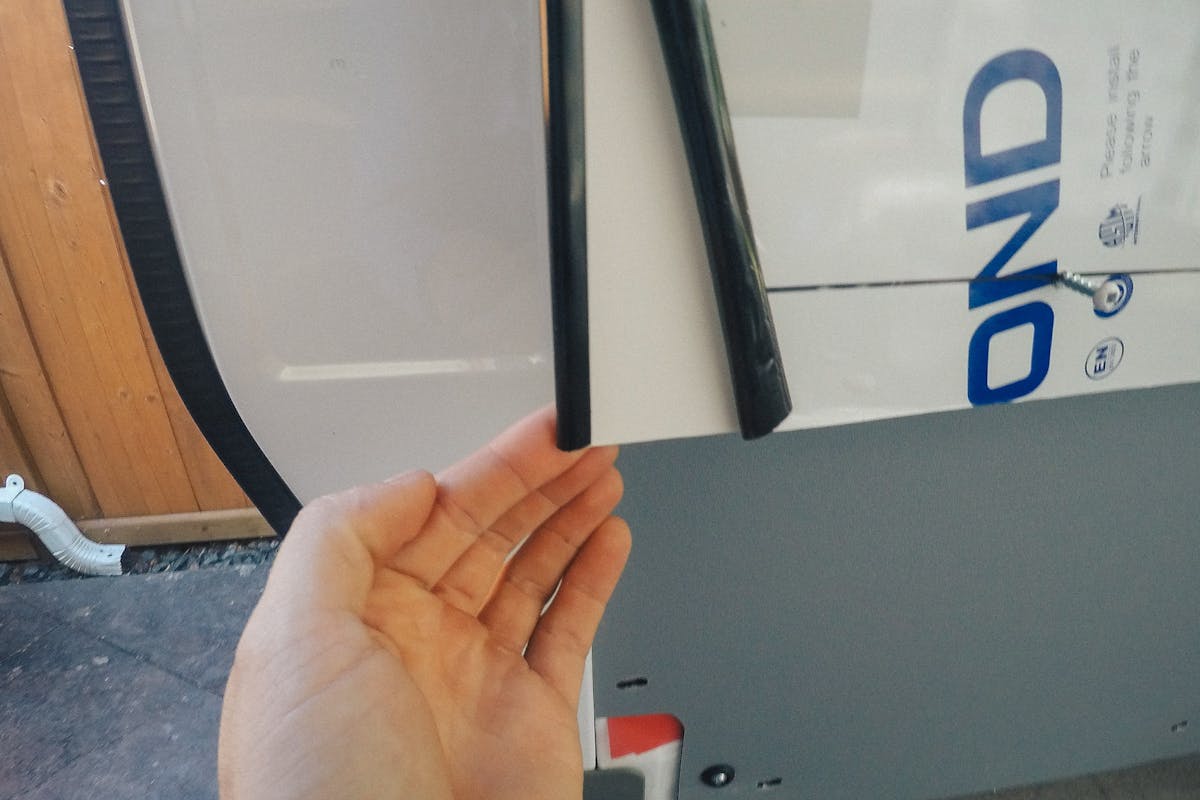
Tip: ACP comes with a protective film on either side. Leave the film on during the entire build to help protect the thin aluminum painted finish.
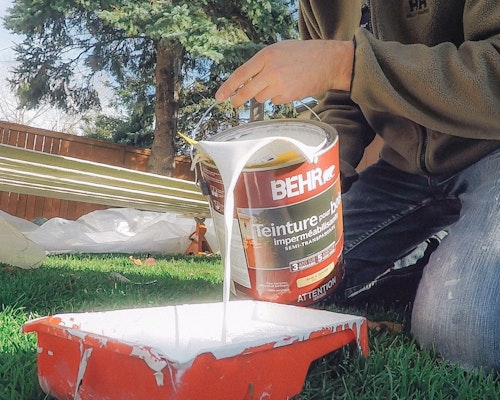
In order to keep the interior of my van as bright as possible, I used White Semi-Transparent stain to give the wood a whitewashed look that tied the ceiling nicely with the white ACP on the walls. I also applied 3 coats of clear varathane to clear coat the panels.
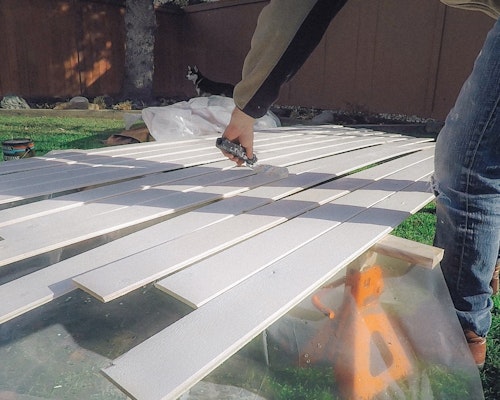
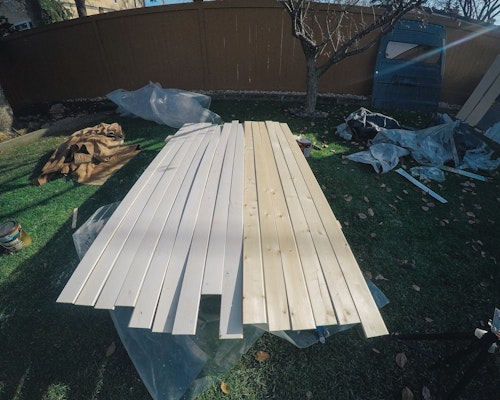
I chose to install the ceiling planks after installing my upper cabinets, in order to reduce the number of planks required.
The planks are held up with construction adhesive and 3/4″ brad nails to tack the planks in place while the adhesive dried.
Since install, the van has hit well over 50,000 miles and things have held up great!
Tip: Leave the last piece on either side of the ceiling until later in the van build. This will allow you enough room to fish wires for ceiling lights.
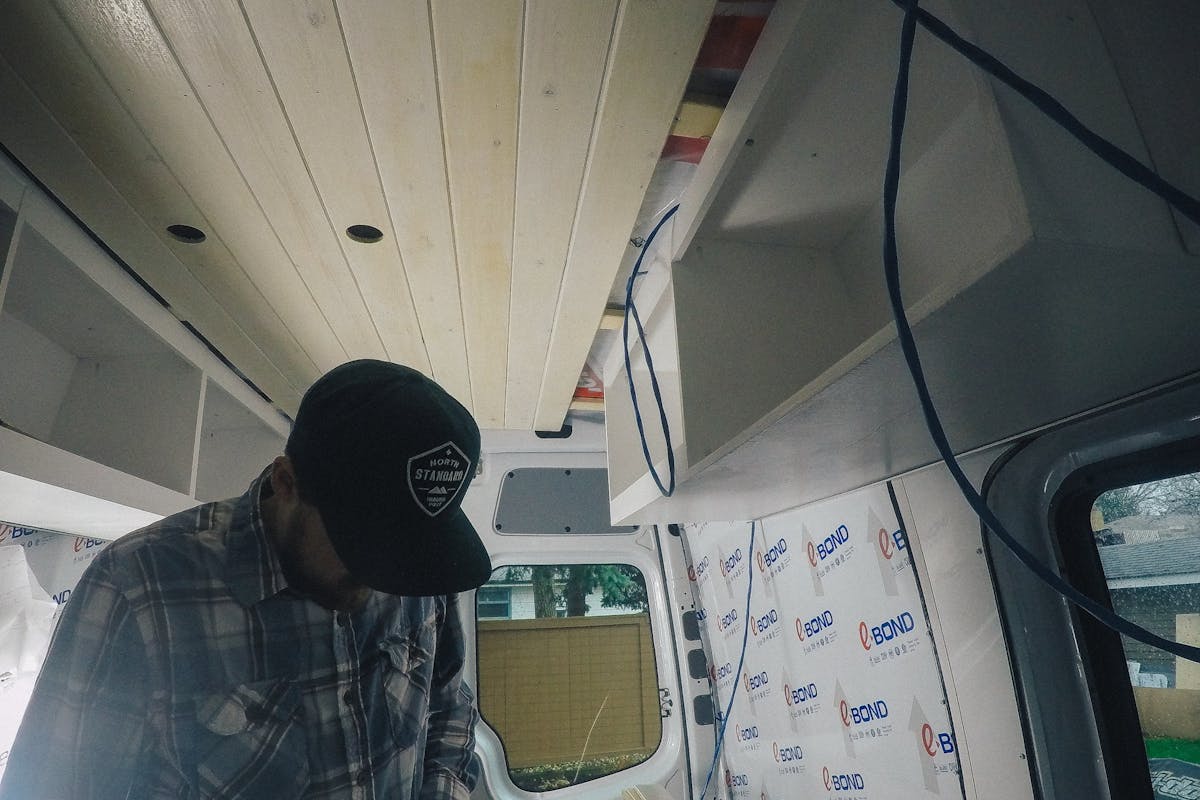
I hope you’ve enjoyed this Wall and Ceiling breakdown for your DIY Van Conversion! For more van build tips and how-to’s, be sure to check out our full Van Build Guide.
)
It’s no secret that moving into a tiny home means you will need to downsize (understatement of the year… I know).
)
Wondering what materials to use for your vans ceiling panels?
)
Framing your Sprinter Van with 8020 Extruded Aluminum is a great way to save weight and increase the overall strength of your van build.