
Sign up for The Wanderful newletter
Join our growing community of people looking to live the simple life!
Let’s build your van now
Join our growing community of people looking to live the Simple Life


)
When camping or living full time in your van, condensation is something that should be monitored and managed at all times. If the health of your van and your personal wellbeing is important to you, then every attempt should be made to prevent moisture buildup in your home-on-wheels.
In this article, we’re going to cover what causes condensation in your van, and what you can do to avoid it.
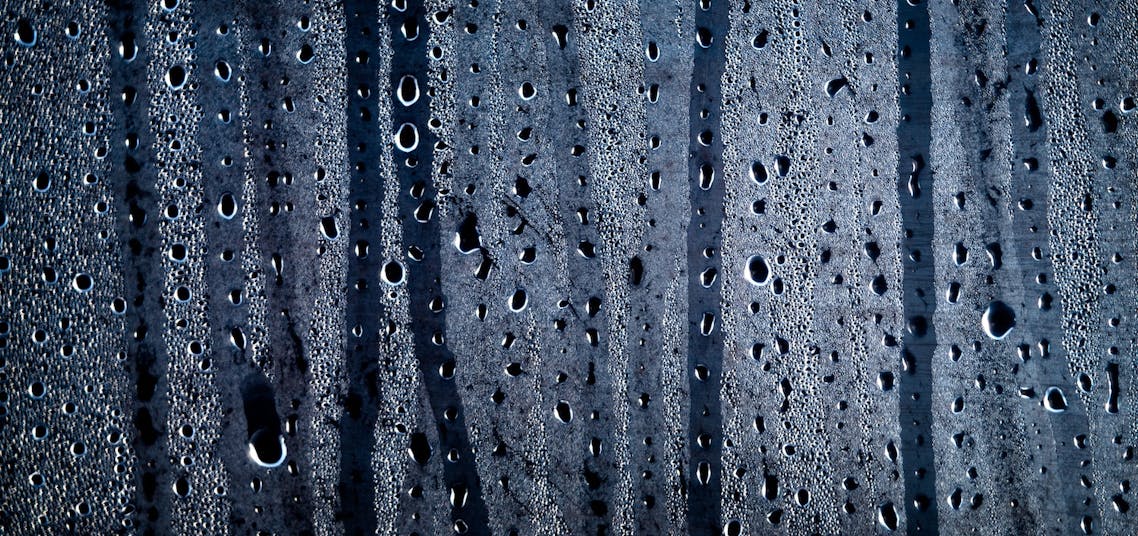
In it’s simplest form, condensation is water that collects as droplets on cold surfaces when humid (moist) air comes into contact with it.
Let’s say your van interior is nice and toasty but it’s cold outside. Now, when the moist air in your van (from breathing, boiling water, etc) hits a cold surface (e.g. your windows), a build-up of water droplets will form on that cold surface.

Ultimately, ongoing moisture buildup in your van can lead to mold, rot, and rust.
How? Well, Water + Metal (Van) = Rust
Rust is every vanlifers worst nightmare. So if rust is something that concerns you (which it should) then condensation should concern you just as much.
Many camper vans are built with poor insulation and untreated wood, which when mixed with moisture, can and will lead to rot.
And if rust doesn’t scare you enough, moisture build-up can turn into mold which is extremely dangerous for your health.
The battle with condensation is something that needs to be taken seriously. It can sometimes take a while for the effects of condensation to really start to show, but typically once you start to see the effects it’s often too late.
If your vehicle is starting to rust from condensation, the cost to repair is going to be significant. When it comes to rot, if your cabinets and insulation have gotten soaked from condensation then mold and rot will start which is almost impossible to reverse.
When it comes to camper vans, condensation is typically formed when you are heating the inside of the vehicle on a cold day. When the warm and moist air inside the van comes in contact with any smooth and cold surface, such as windows, it immediately forms into a water vapor or condensation.
Most condensation will form in the coldest parts of your van such as the:
I have also seen a lot of condensation issues around people’s doors, causing rot to their shiplap, etc.
So how does that moisture get into the van?
Well, there is always a certain amount of moisture in the air. But there are a few other things that can drastically increase the humidity, such as:
The simple act of breathing will introduce moisture in your van. Traveling with a pup? Their breath won’t help, either.
Other catalysts for creating humidity in the van are cooking and boiling water for coffee or tea. While it’s common to cook with a door open and turn the vent fan on in warmer climates, people often choose not to do this in winter as they don’t want to lose precious heat from the van.
Without proper airflow, the humidity from cooking and boiling water will result in a huge moisture buildup in the air. You can expect to see visible condensation on your windows, but less visible areas in the van are sure to be affected.
The next biggest creator of moisture in the van is your heat source. Many Vanlifers choose to use Propane to heat their van. By using propane, you introduce a lot of water into the air. Why? Compared to a diesel fired heater, propane will introduce roughly 2x the amount of moisture into the air.
If you choose to use a propane heater, it’s very important to do things like open a window to let air flow through the van and avoid condensation.
My worst experience with condensation was the area above the headliner.
Due to time constraints in my first van build, I had decided not to remove, insulate, or soundproof the factory headliner area, which is a significantly sized area of a Sprinter van.
When the headliner is removed, this very large area is just a thin, smooth, cold piece of sheet metal, making it the perfect place for condensation to form.

On one of my first snowboarding trips in the van, it was quite cold which meant I was constantly running the heater. Between cooking, boiling water for coffee, and breathing, that moist air found it’s way to the area above the headliner and froze immediately. I didn’t notice it at first (you know… out of sight out of mind). But after a few days, it was time to hit the road for a big driving day.
While the sun was shining down on the van and bringing in some warmth, the frost buildup in the headline started to melt. A steady stream of water was coming out of the vent holes in the headliner light. There was so much water built up that I could have easily filled 3 coffee cups.
A few days later the same thing happened and before the van had a chance to warm up I stuck my hand into the headliner area and I could feel all of the ice chunks starting to form.
I knew I had to do something about it. Unfortunately, this wasn’t an easy fix and I had to wait until I got home with access to the right tools and space.
While it can sometimes take a while for the effects of condensation to show, it’s very difficult to reverse the downfall from mold and rot. That’s why condensation is a battle you want to get ahead of during your van build.
Don’t cut corners like I did with my headliner!
Here are the steps you can take, during your van build, to prevent condensation damage in your van:
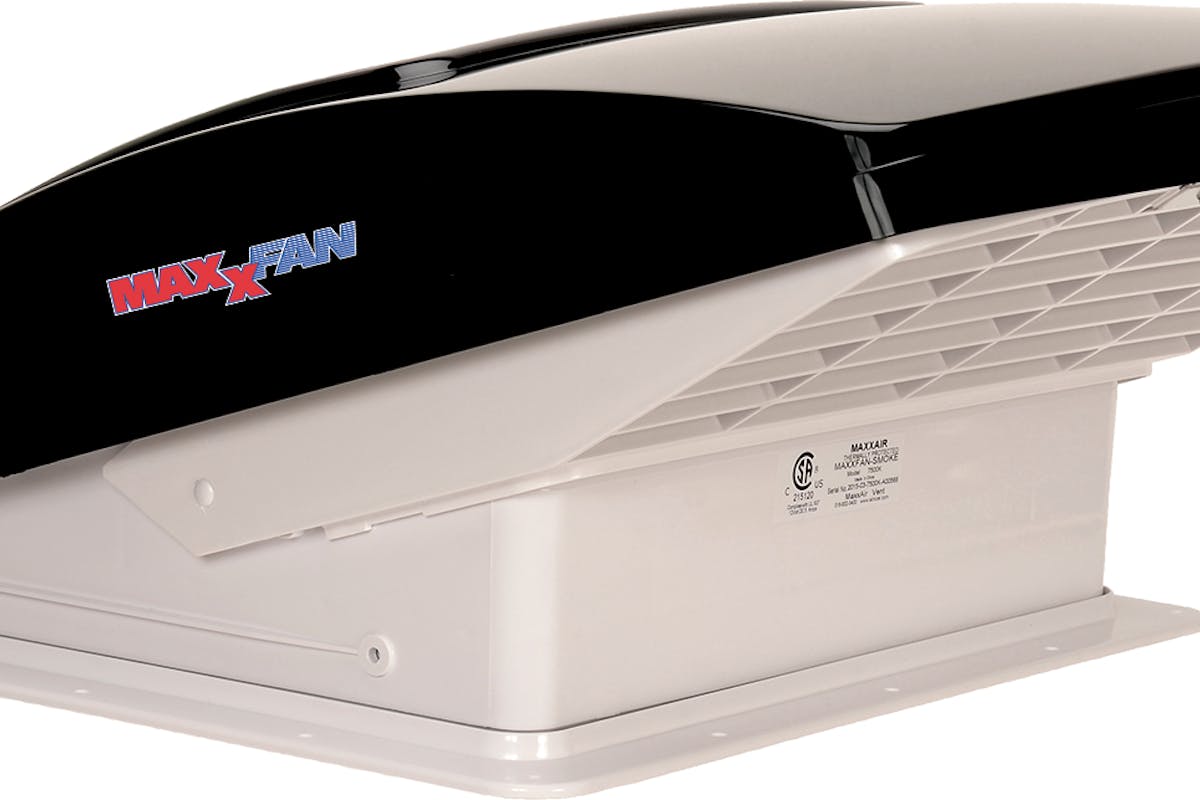
The most effective way to reduce condensation is ventilation. Proper ventilation can sometimes be difficult in colder climates, but it’s a good idea to install a rooftop vent fan, such as a Maxxair, which you can turn on for activities like cooking, doing dishes, boiling water, etc.
Insulation is a constant debate in the vanlife community, but I can assure you that insulation will help to reduce condensation… With 1 caveat. The insulation must run against the metal of the van. If you have gaps between the insulation and the metal, you run the risk of condensation.
It’s nearly impossible to get the rigid insulation to fit perfectly in some areas of the van. In the areas where I need to be able to stuff the insulation in the various nooks, I chose to use Roxul Batt Insulation. It was inexpensive and really easy to work with.
One thing to remember is that condensation forms when warm air meets cold air on a smooth surface. So as an added preventative measure, it’s also a good idea to install a textured sound deadening material, such as Lizard Skin, to make the surface area less smooth and tougher for condensation to form.
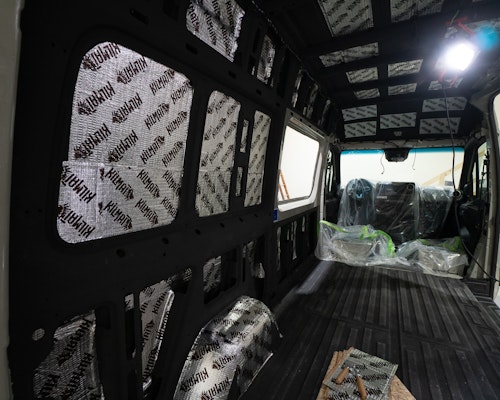
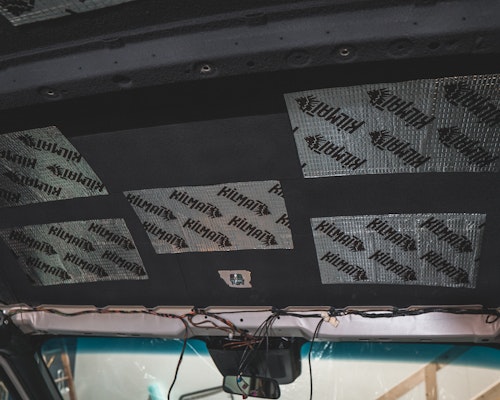
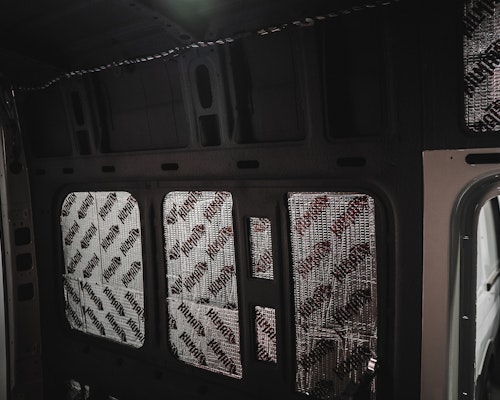
For more information about how to install Lizard Skin, check out this video.
One of the best ways to stay warm in winter is to install an externally ventilated heater, such as the Espar D2. Unlike other heat sources such as a portable propane Mr. Buddy heater, the Espar D2 produces much less water vapor and is vented to the outside of your van.
Vapor Barrier is a material used for damp proofing. It is typically a plastic or foil sheet that resists diffusion of moisture through the wall, ceiling, and floor.
While a vapor barrier is a worthy mention, I will note that this material will only work if it is perfectly installed. This is nearly impossible to do in a van due to the many grooves, curves, and holes. Once your walls are up, it’s hard to tell if the vapor barrier is performing properly.
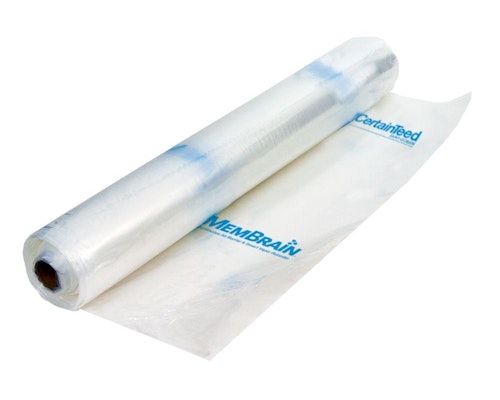
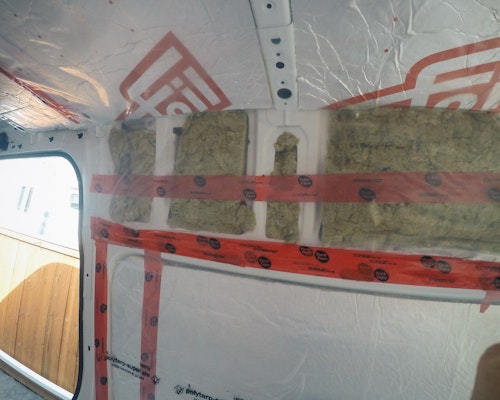
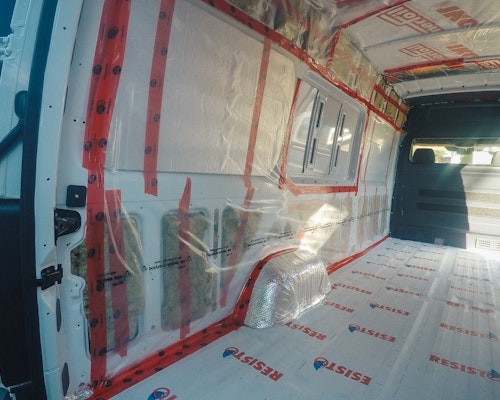
For those reasons, in my second van, I actually chose not to bother installing a vapor barrier and instead use the Lizard Skin sound deadening material mentioned above, to help reduce the risk of condensation.
Once your van build is done and you’re actually on the road, there are a few ways to combat condensation inside your van on a daily basis.
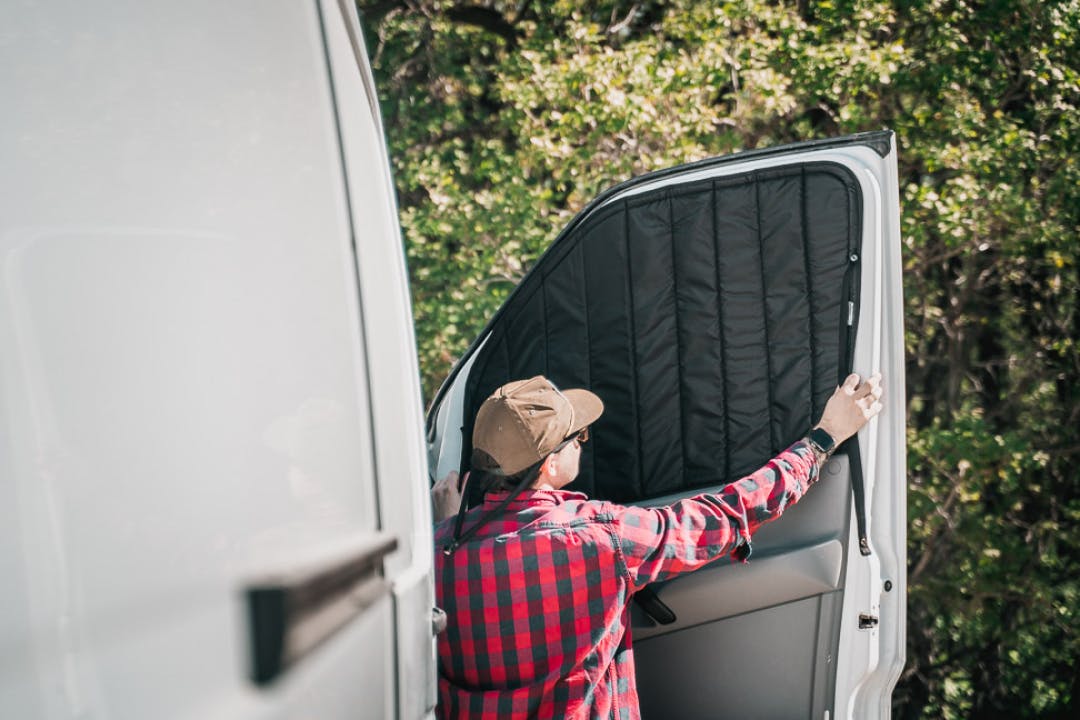
It’s extremely common for condensation to appear on your windows, and potentially frost on the inside if it gets cold enough.
The best way to avoid condensation on the windows of the van is to keep them covered. By using a window shade, you are preventing the moist air inside the van from coming into contact with the cold smooth surface of the window and therefore preventing it from forming condensation.
Window shades aren’t perfect, and it’s really hard to completely prevent condensation from forming, especially if you’re using DIY Window Covers that might not have the best fit.
If you are really looking for a way to reduce the condensation from forming on the windows, have a professionally-made set of window covers that can properly seal.
Keep the air flowing throughout your van, especially during activities such as cooking, washing dishes, or moving around a lot. Having 2 openings to let air flow through the van is always best. You could:
When it comes to condensation, my biggest piece of advice is to be pro-active! Even if you aren’t planning on traveling in colder climates, condensation can take place on any chilly night. Finding condensation damage is a gut-wrenching feeling while you’re on the road, and the truth is that the damage is likely worse than you can see on the surface.
)
Insulating a van’s floor is often what separates the professionals from the DIY community.
)
Whether you want to incorporate all the comforts of home into the van, or you’re gearing up for some adventurous offroading, you may find yourself with a long wishlist of upgrades for your van.
)
Are you about to kick off a journey of learning how to convert a van into a camper? Read this before wandering down the aisles of your local hardware store!