Summary
I don’t think you are ever really done your van build…
Look:
When you are starting to plan your Sprinter Van build you will probably start by making a large list of everything you need to include in the build. Then at some point throughout the build process you will add more items and start to make sacrifices with things you no longer need in the van.
I found out very quickly that when doing the build that less really is more and you cannot lose sight of the goal on the project…. Get the van on the road.
For me the van has turned into what has seemed like a never ending project and I am always adding new things and making minor changes to the van because you really can’t think of everything right off the hop.
In this section you will find some of the items that I don’t feel are necessary in the build but were things I wanted to add to my van.
Some of the items listed below were part of the original van build and others were done after some time spent living in the van.


Install Process
The additions that I have made to the van have happened in phases and I’m going to break them down into those phases here.
Phase 1 was everything that I completed before I left in the van, Phase 2 is everything I completed as soon as I got far enough south that it was no longer freezing cold and Phase 3 is the items I completed after living in the van for an extended amount of time AKA Non Essential items….
Well in all honesty most of these items are non-essential.
Before Departure
Tires
If you have been following along you will know that I started my build in fall and finished it in the middle of winter in a city that gets an average of 3.5 plus feet of snowfall on an annual basis. So the stock tires that came with the van just weren’t cutting it for me.
So I upgraded the tires after about 200 km and getting stuck twice in the snow to BF Goodrich K02 245/75/16 A/T (All-Terrain) Tires and these tires have been awesome. I was able to sell my original tires for a fair price so the upgrade wasn’t a total bank breaker and I know without these tires I would have spent a few nights in the ditch driving through the Teton Mountain Range near Jackson Wyoming in the middle of a snowstorm.
Asides from working well I think they look pretty cool on the rig as well….
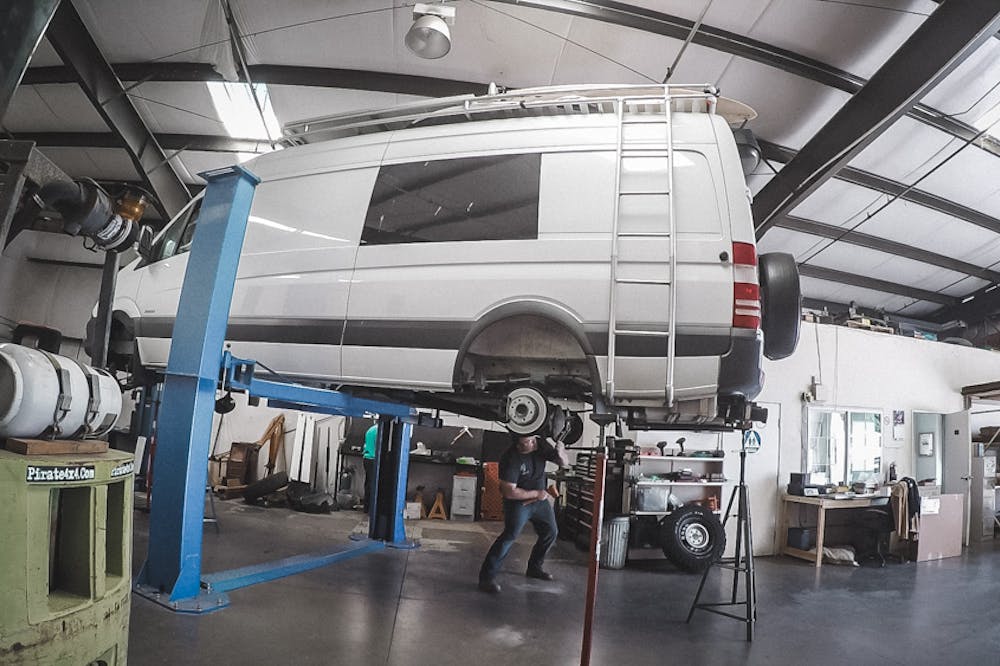
Rack and Ladder
Adding a rack on your van is sort of like putting a crown on the entire achievement of building the van.
I like the look of the rack on the van it allows me to mount my solar panels, Thule rooftop carrier, and surfboard.
There are a lot of different options for mounting items to the roof without adding a rack. So if all you’re looking to do is mount solar panels, maybe take a look at some other alternatives.

And

Since A) I really loved the look of a rack and B) didn’t know everything I wanted to mount on the roof I decided to go with the full rack as it gave me a bit of flexibility in how I wanted everything to mount up top.
If you are looking at different rack options the most common racks you will find are the Aluminess custom racks and after doing tons of research on the company they probably are the best bet for most people. They are well made, high quality, already powder coated coming from a reputable company, and guaranteed to fit….
So if you are looking to save yourself some headaches and time I suggest giving them a call. However, if you live in Canada like myself getting the rack shipped up here and the current exchange rate on the Canadian dollar made the rack from Aluminess quite expensive. So I ordered up the material and got a buddy to let me use his shop to fab up a rack and ladder for my van.


Lucky for me I had no idea where to start and was able to get a buddy to help me. The rack is made entirely out of aluminum and took us 3 full days in the middle of winter before it was finally mounted on the van.
The rack was a big learning curve and required a few things to be redone… Such as forgetting about the roof vent and having a support brace go directly across the vent…(Start cutting that out and restarting) and also I didn’t find this out till I got out of the freezing cold and in a climate where rain was possible but 2 of the areas I fastened the rack leaked really bad…. I didn’t use any sealant at first since I was in a rush…. Fixed now and was a complete headache so just do it right the first time.


You will notice that during phase 1 I didn’t have the rack powder coated and just went with the bare aluminum finish. This decision was based on time and money and the fact that it was the middle of winter.


Thule
I’ve got a lot of gear for a lot of seasons and rather than try to cram everything into the inside of the van I got a Thule Rooftop carrier and keep a lot of items inside there that wouldn’t easily fit into the van. Having the Thule has been a lifesaver and I would have to make a lot of changes to the interior of the van if I decided to get rid of the Thule….. I think the golf clubs would have to go.


Half Door Stop
I found out about this little half doorstop for the sliding door on the Sprinter Vans
The sliding door mount can be picked up from the team over at Sprinter Upgrades and at first, I didn’t really see the value in having it on the van. But now that I have it it’s become one of my favorite add-ons I’ve put on the van. I’ve found that 90% of the time I am sitting in the van I only want to open the sliding door halfway to get some airflow through the van but would like to keep a certain amount of privacy.
Insulated Curtain
In order to separate the front cab area from the living area, I purchased a black curtain from Ikea. It also did a decent job at keeping the heat from the Espar Heater in the back of the van and limited the heat loss through the front window and windshield.

**update since this post I updated all my window covers and curtains and purchased some from a professional upfitter**
My DIY curtain worked well for over a year but as it started to show signs of wear and some of the clips were starting to break, I decided to upgrade to a professionally made blackout curtain. Thanks to the team at ADF!


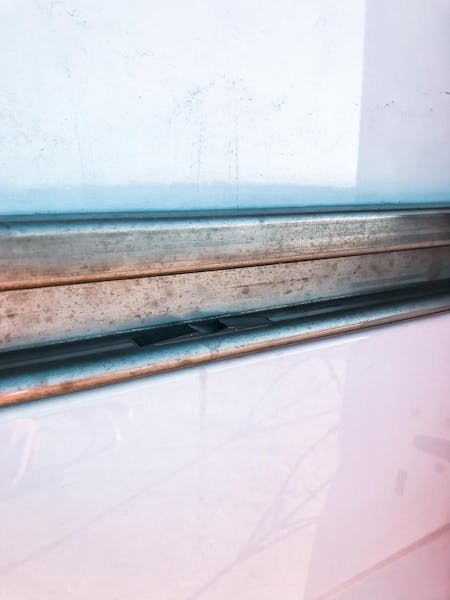
Window Covers
When I first started living on the road, I made some DIY window covers for my van using leftover reflectix and fabric. They weren’t very nice to look at, and they also didn’t last very long.
I decided to invest in some professionally made window covers but even after spending nearly $2000, I still wasn’t happy with the fit and magnet strength.
That’s when I decided to launch my own Window Covers.
The areas I focused on were:
- Privacy & Safety
- Perfect Fit
- Complete Blackout
- Great insulation
- Strong magnets


Thinking about making your own? I’d recommend saving the hours of templating and frustration. Our covers are made using a custom cutting die which means every cover is the perfect fit.
Dump Hose Holder
In my van, I went with a dump toilet and black water holding tank…. So that means that once every two weeks or so I need to empty the tanks and start over.
For the most part, this process has been pretty straight forward as most large cities / campgrounds have dumpsites you can use for free or a small fee. When you are installing black water or greywater system you need to have a way of dumping the tank.
For my system, I used the Valterra Gate Valve system which seems to be one of the most common among RV enthusiasts. Installed the valves onto the system was fairly easy but I did have to find a way to store the large drain hose required to dump the tanks.


Swivel Seat
The last item that I installed in the van before hitting the road was a passenger swivel seat. In my set up having both seats, swivel doesn’t really work because the driver’s seat would swivel right into the wardrobe unit but it makes perfect sense for the passenger seat.
Having the ability to spin this chair around makes the van feel a lot larger inside and creates another usable space when you have more than one person in the van. This upgrade was easy to install and is something that can easily be done later if you decide you would like to add this to your project. Here is the link from the swivel I purchased.
Phase 2
Before hitting the road I knew I had some items I wanted to include in the van but due to the timing and weather, it just made more sense to get down south to warmer weather and finish up these items on the build.
Router / Antenna
In order for me to make living on the road a viable lifestyle, I needed to be able to continue working from anywhere. Luckily as long as I have reliable internet I am able to complete what is expected of me and work from almost anywhere. In the van, I decided to go with the IBR1100 Router from Cradlepoint and with an exterior mounted antenna. This system has worked great so far and gives me the ability to use different carriers depending on my current locations. While traveling the US I use a combination of Verizon and T-Mobile and when in Canada I use Bell and Rogers.


This solution is probably overkill and unnecessary for most users but for me it was really important to have the best solution available and this seems to be working for me. One thing to consider is that when working remotely in this fashion you will need to reduce your data usage because mobile data plans are not cheap and when using YouTube and Netflix you can burn through a lot of data really quickly.
GPS / Backup Camera
Driving a sprinter van is probably a lot bigger than whatever you were driving before… so it takes a bit of getting used to it. My van came with a backup camera from the factory but it was designed in such a way that it was almost useless by itself. The camera from Mercedes points straight down and only give visibility of what is 5-8ft from the vehicle. After a few visits to your local parking lots, you will know/understand quite quickly that having a camera pointing straight back makes life much easier.
After some quick Google research, I was able to find a backup Camera / GPS Combo from Garmin that has a wireless backup camera and GPS. The camera is installed on the rear passenger door with wires fed to the 12v Fuse panel for power and as once paired to the GPS display upfront it will display with Video Feed from the camera at all times.

Adding Surf and Hi-Lift Mount
It’s a good thing that I didn’t powder coat the rack before leaving because after a month or so of using it I noticed one piece on particular that I wanted to add to the rack so I found a local welder just outside Palm Springs to help me out.

Hi-Lift Jack / Recovery Gear
I ended up getting a Hi-lift jack and some recovery gear after getting stuck twice and having to spend the night digging my way out of what could have been an avoided situation. So far I haven’t had to use the jack or gear but I know that day is coming and oh will I be happy to have it.
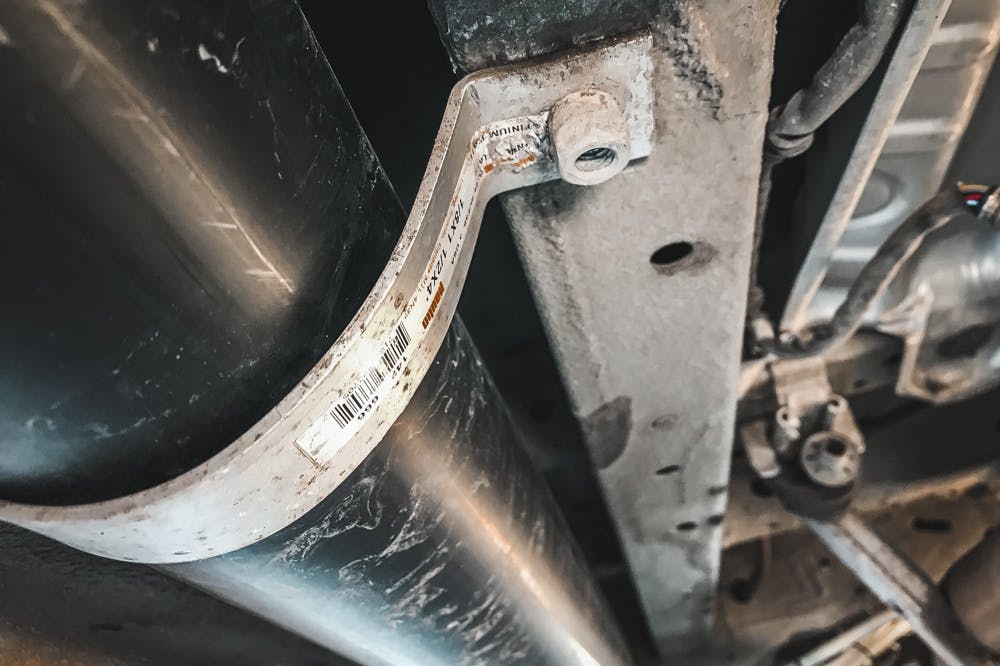
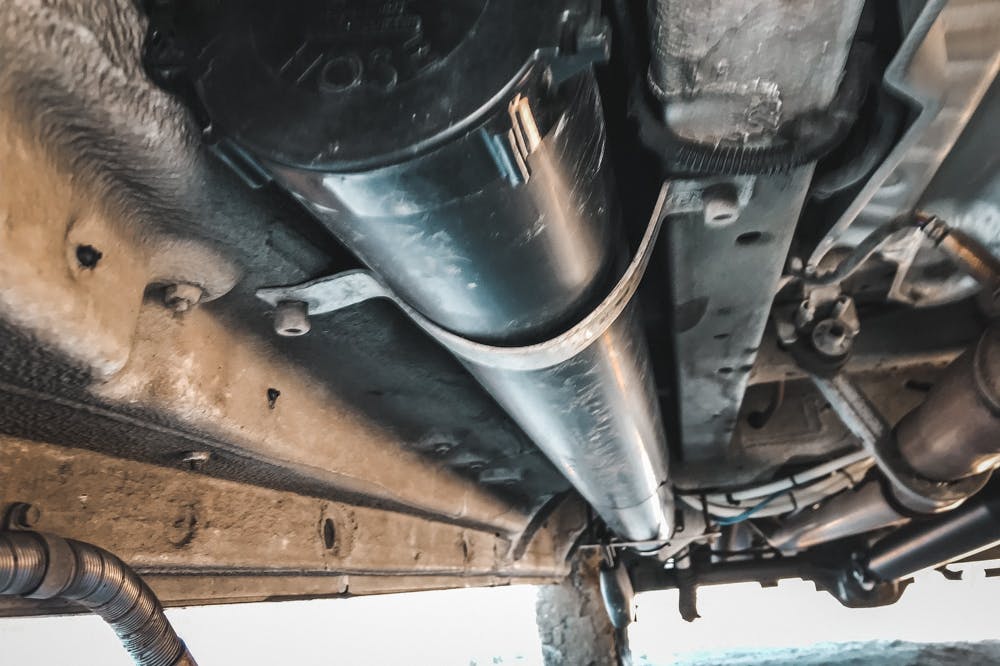
Van Compass Lift
The last and largest change I made to the van after being on the road for about 5 months was to have the guys at Van Compass give me a 2inch lift and massive suspension upgrade. As I was building out the van in the middle of the prairies ground clearance was never an issue and I never thought of the issue I was going to have with my under mount tanks. Well, pretty much 2 days after getting into the mountains I bottomed out the grey water tank and ripped out a section of plumbing…
So in order to help with the clearance issue, I changed out the grey water tank (phase 3) re-routed my dump valve, and added the Van Compass 2 inch lift kit. Since making the changes to the van I haven’t had any issues and the suspension upgrades make the large heavy vehicle drive noticeably better down the highway.
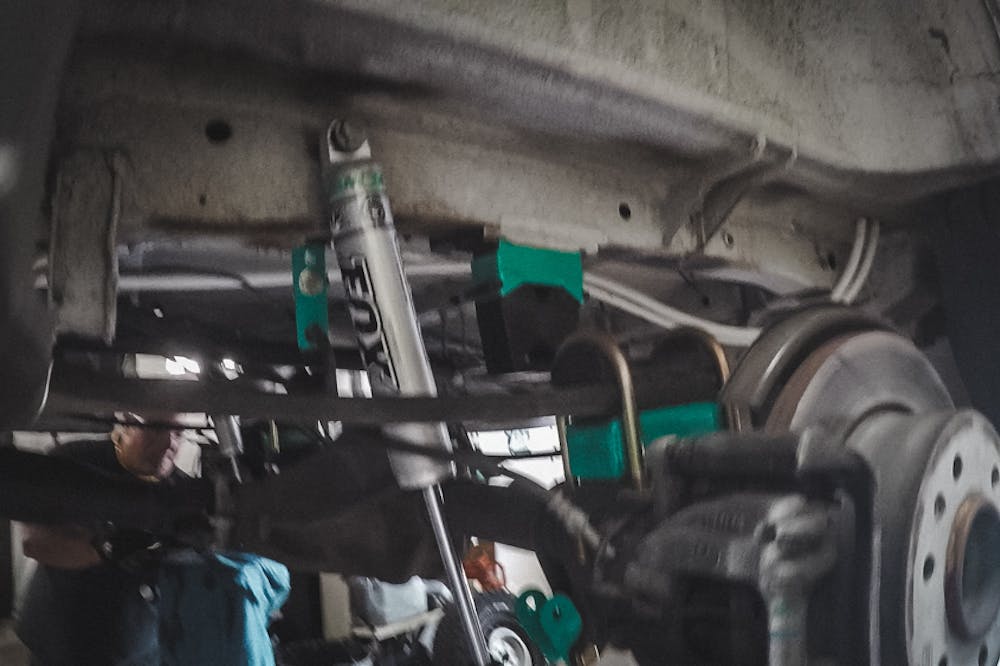
These upgrades are not cheap but if you have the room in your budget I highly recommend contacting the guys over at Van Compass!.


Depending on how you plan on using your van and how much weight you’re carrying I would almost say the VC upgrade is a must-have for a van owner. The suspension upgrades dramatically increase the handling of the van and make the overall ride feel much safer while carrying all of the weight constantly.
Phase 3
Phase 3 is sort of the never-ending wishlist phase of the van build and these are items that I completed after being in the van for over 6 months and learning things that I wanted to change and add.
This list will continue to grow and I will either update it here or do blog posts as new things come up. I’ll be first to admit in Phase 1 and 2 you get a lot of it’s good enough because you are so eager to get on the road and then when it comes time to handle phase 3 items my motivation was low because these are all the nice to have items and clearly not 100% essential because well I was living in my van on the road without…. So yeah here it goes.
Plasti Dip Lower Portion
I can’t take credit for this idea but I have the way it turned out…. I was hanging out in Encinitas CA and saw a 144 Sprinter and the owner had Plasti Dipped the lower white section of the van. It was easy and cheap to do and so far it’s held up quite well.
I’m a big fan of the look as before I did the Plasti Dip I always felt the van looked a little out of proportion but by adding that small amount of black I think it looks less like a moving billboard and gives the illusion of an overall shorter well-proportioned vehicle.
One thing I have learned regarding Plasti Dip is that if you let any diesel spill on it while filling up it will dissolve all of the plasti dips. So be careful! I also spray down the plasti dipped areas with a spray wax in between washes which seems to make it easier to keep clean and more resistant to anything that might damage the coating.
Roof Truck Bed Liner
When I got some downtime from traveling I knew I wanted to take off the rack and reseal off the mounting locations because I had some issues with leaks before and wanted to fix it right. This wasn’t a small job because it included removing the two large 260W solar panels, undoing all wires on the roof solar and router antenna, removing the ladder, and then unmounting the rack and taking it down.
So while I was doing all this work I figured I might as well do everything 100% the way I wanted it…. So I did.
Once you have the rack installed it’s really hard to keep under the rack clean and any debris you get on the vehicle or tree branches can scratch the paint and eventually lead to rust. My plan was to get the entire roof coated with truck bed liner so I never had to worry about this and so far I’m really happy with how that all turned out and now it’s nothing I ever need to worry about…. Well, I hope not anyway.
Rack and Ladder Powder Coat
Since I already had to take the rack off to fix the mounting locations and properly seal them and I was going through the effort of applying a truck bed liner over the entire roof I figured why not make this the last time I have to take this rack and ladder off. I got on the phone made some quick calls and was able to locate a sandblasting and powder coating shop that could fit the rack and ladder.
They were super helpful and let me use their forklift to take the rack off and when the rack was down they helped me lift it back into place and hang out in the parking lot for a few hours while I mounted it back on the vehicle. Now the rack looks awesome and hopefully, I never need to take it off again…. Moving the rack is awkward and just not fun so fingers are crossed its not coming off again as long as I own this van.
Rack Lighting
After I got the rack looking sharp I had always wanted to have a few sets of rack lighting for when I am camping eliminating the need to always have a flashlight or headlamp going at all times.


Interior Water Tank Addition
When I designed my plumbing layout it was done with the mindset of spending the majority of the time in warmer climates. But after a while, I decided I also want to be able to snowboard out of the van for a month a year roughly. So I decided to make some adjustments to my plumbing system and have a smaller freshwater and greywater system located in the van so I don’t have to worry about freezing.
With my new system, I completely bypass the standard freshwater and grey water tanks and use 2 6 gallon tanks one for fresh and one for grey what will be used when in colder climates. This gives me the ability to completely drain and winterize the other sections and not worry about the plumbing that exists below the vehicle. One thing to note is that in the winter I don’t have any black water system available just fresh and grey…. I’ll probably still do #1 in the black tank and just let it freeze and wait to dump it when I’m in warmer climates but no #2 action.


Change out Grey Water Tank
If you have read the plumbing section or my notes on the Van Compass lift kit that I had installed on the van you know that I had some ground clearance issue with the first tank that I installed for the grey water on the van and so I order a tank with the same capacity just different dimensions to reduce the height of the tank by two inches.


Seat Covers
Even though my van had the upgraded seat package when I purchased it I decided to get some seat covers to protect the seats. I found that the seats were constantly getting dirty and needing a good scrub and by installing these they stay nice and clean. These covers also provide a bit of extra cushion for those long drives.


Gallery
VIEW ALL


Author
Scott Adamson
Vanlife aficionado with his rescue dog Ellie. We travel around North America in search of good times and fresh coffee.