Summary
There are many different flooring options you could consider for your van build. The main things to keep in mind when choosing your flooring is that you go with something quite thin and durable.
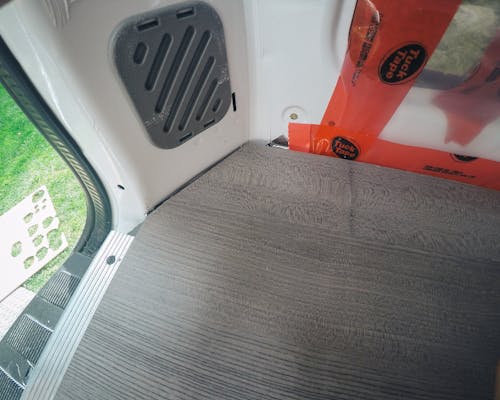
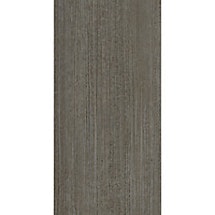
I decided to go with a vinyl laminate flooring that, at first glance, resembles a high end hardwood floor. The benefit of going with a vinyl laminate floor is the thickness of the product, its durability and, not to mention, it’s easy clean up.
The flooring is pretty easy to install. Like many other parts of the build, just make sure take your time and it will be smooth sailing!
Tools used
Install Process
Install Process
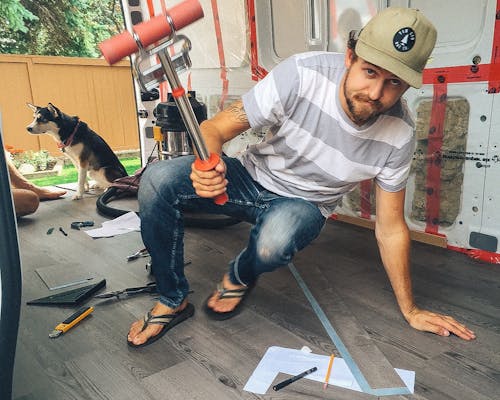
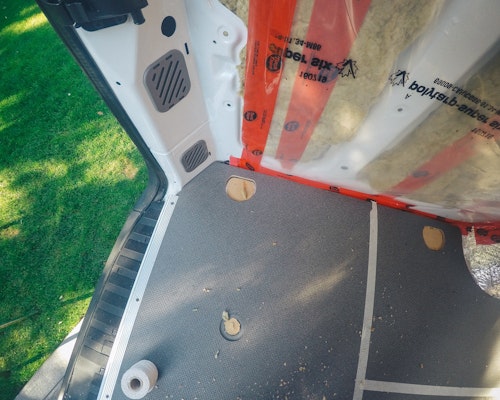
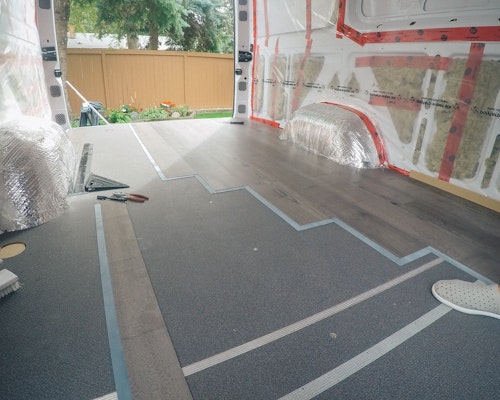
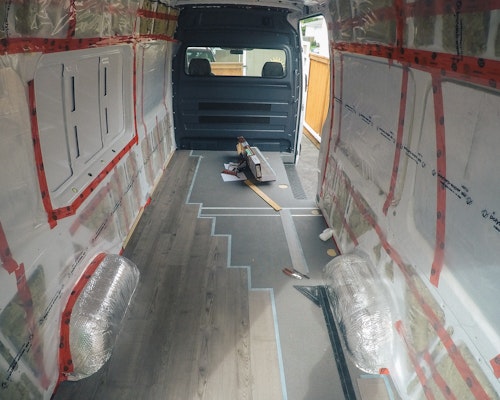
When you have your plywood sub floor installed, which I talk about in the insulation section, you’re ready to have your flooring installed. Since I reused the existing floor that came with my van I had to plug some of the holes before I was able to install laminate plank flooring.
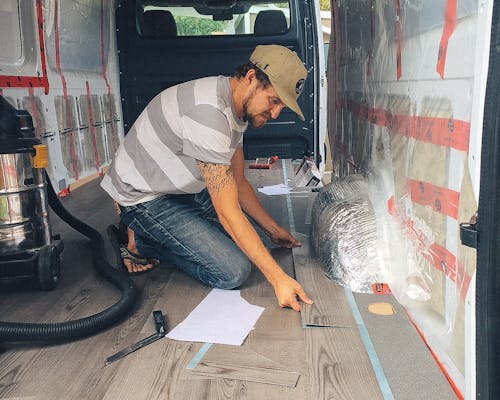
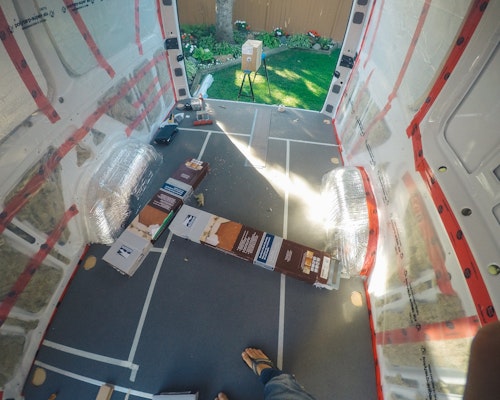
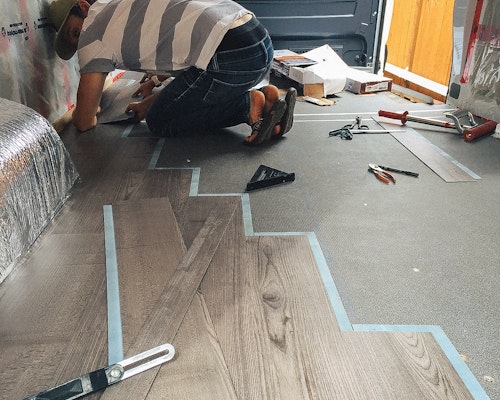
The install process on the floor goes quite quickly once you get started and can easily be completed in a half a days worth of work. Before you begin laying the the flooring material you are going to want to map out the spacing from your starting side to make sure when you reach the far side you aren’t left with a sliver of a piece that becomes impossible to deal with. After you’ve laid out the first row of the flooring I recommend creating a stagger pattern which will not only speed up the install process but also ensure that your seams in the flooring match the suggested specifications from the manufacturer.
Most flooring applications, depending on the length of your planks, will have a 3 or 4 step pattern so just check the packaging that your flooring came it and it will tell you the amount of stagger to use with your particular flooring.
Pro Tips

Install the floor later
I was eager to install the flooring right after I finished insulating the van. If I could go back in time, I would have waited until the van was nearly finished before installing the floor. Reasons being, it:
- Reduces the chances of damage during construction
- Reduces the amount of flooring required since you won’t be installing the flooring under cabinets you can’t see
- Eliminates bubbling. Although I love my vinyl flooring, when areas of the floor are exposed to direct sunlight, the floor will expand due to the heat. With this floor being a floating floor it is meant to be able to expand and contract with changing temperature.
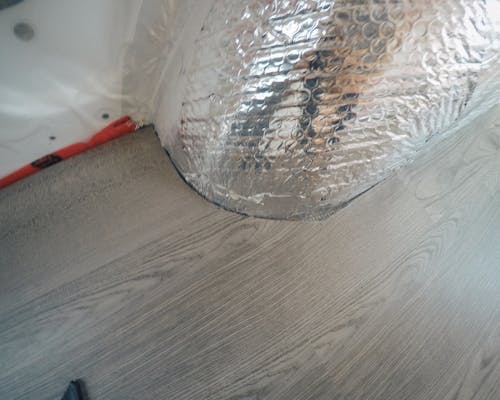
Since my flooring goes under all the cabinets and the cabinets are fastened through the floor, it has no ability to expand and contract. Hot days often cause large air bubbles to form where the sun is hitting the floor. So make sure to leave a bit of clearance around the edges to allow for the expansion and contraction of the floor.
Trim pieces
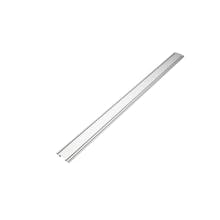
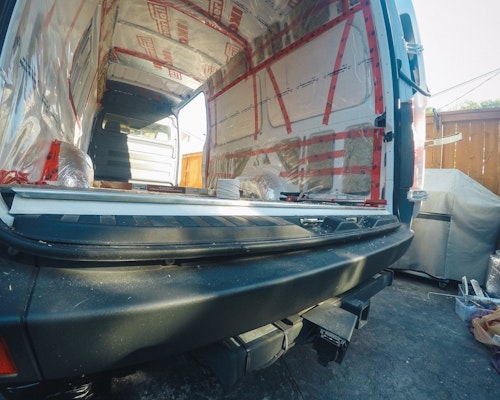
I tried to use a rubber edge piece with a 3M spray adhesive but when the sun hits the sliding door opening directly the glue gets soft and allows the trim piece to peel off. I am going to have to install a metal trim piece with proper fasteners at some point.
If you do decide that you want to install the flooring before you are closer to the end of your build I recommend placing down some sort of hardboard over the floor to protect it during the construction phase.
Gallery
VIEW ALL